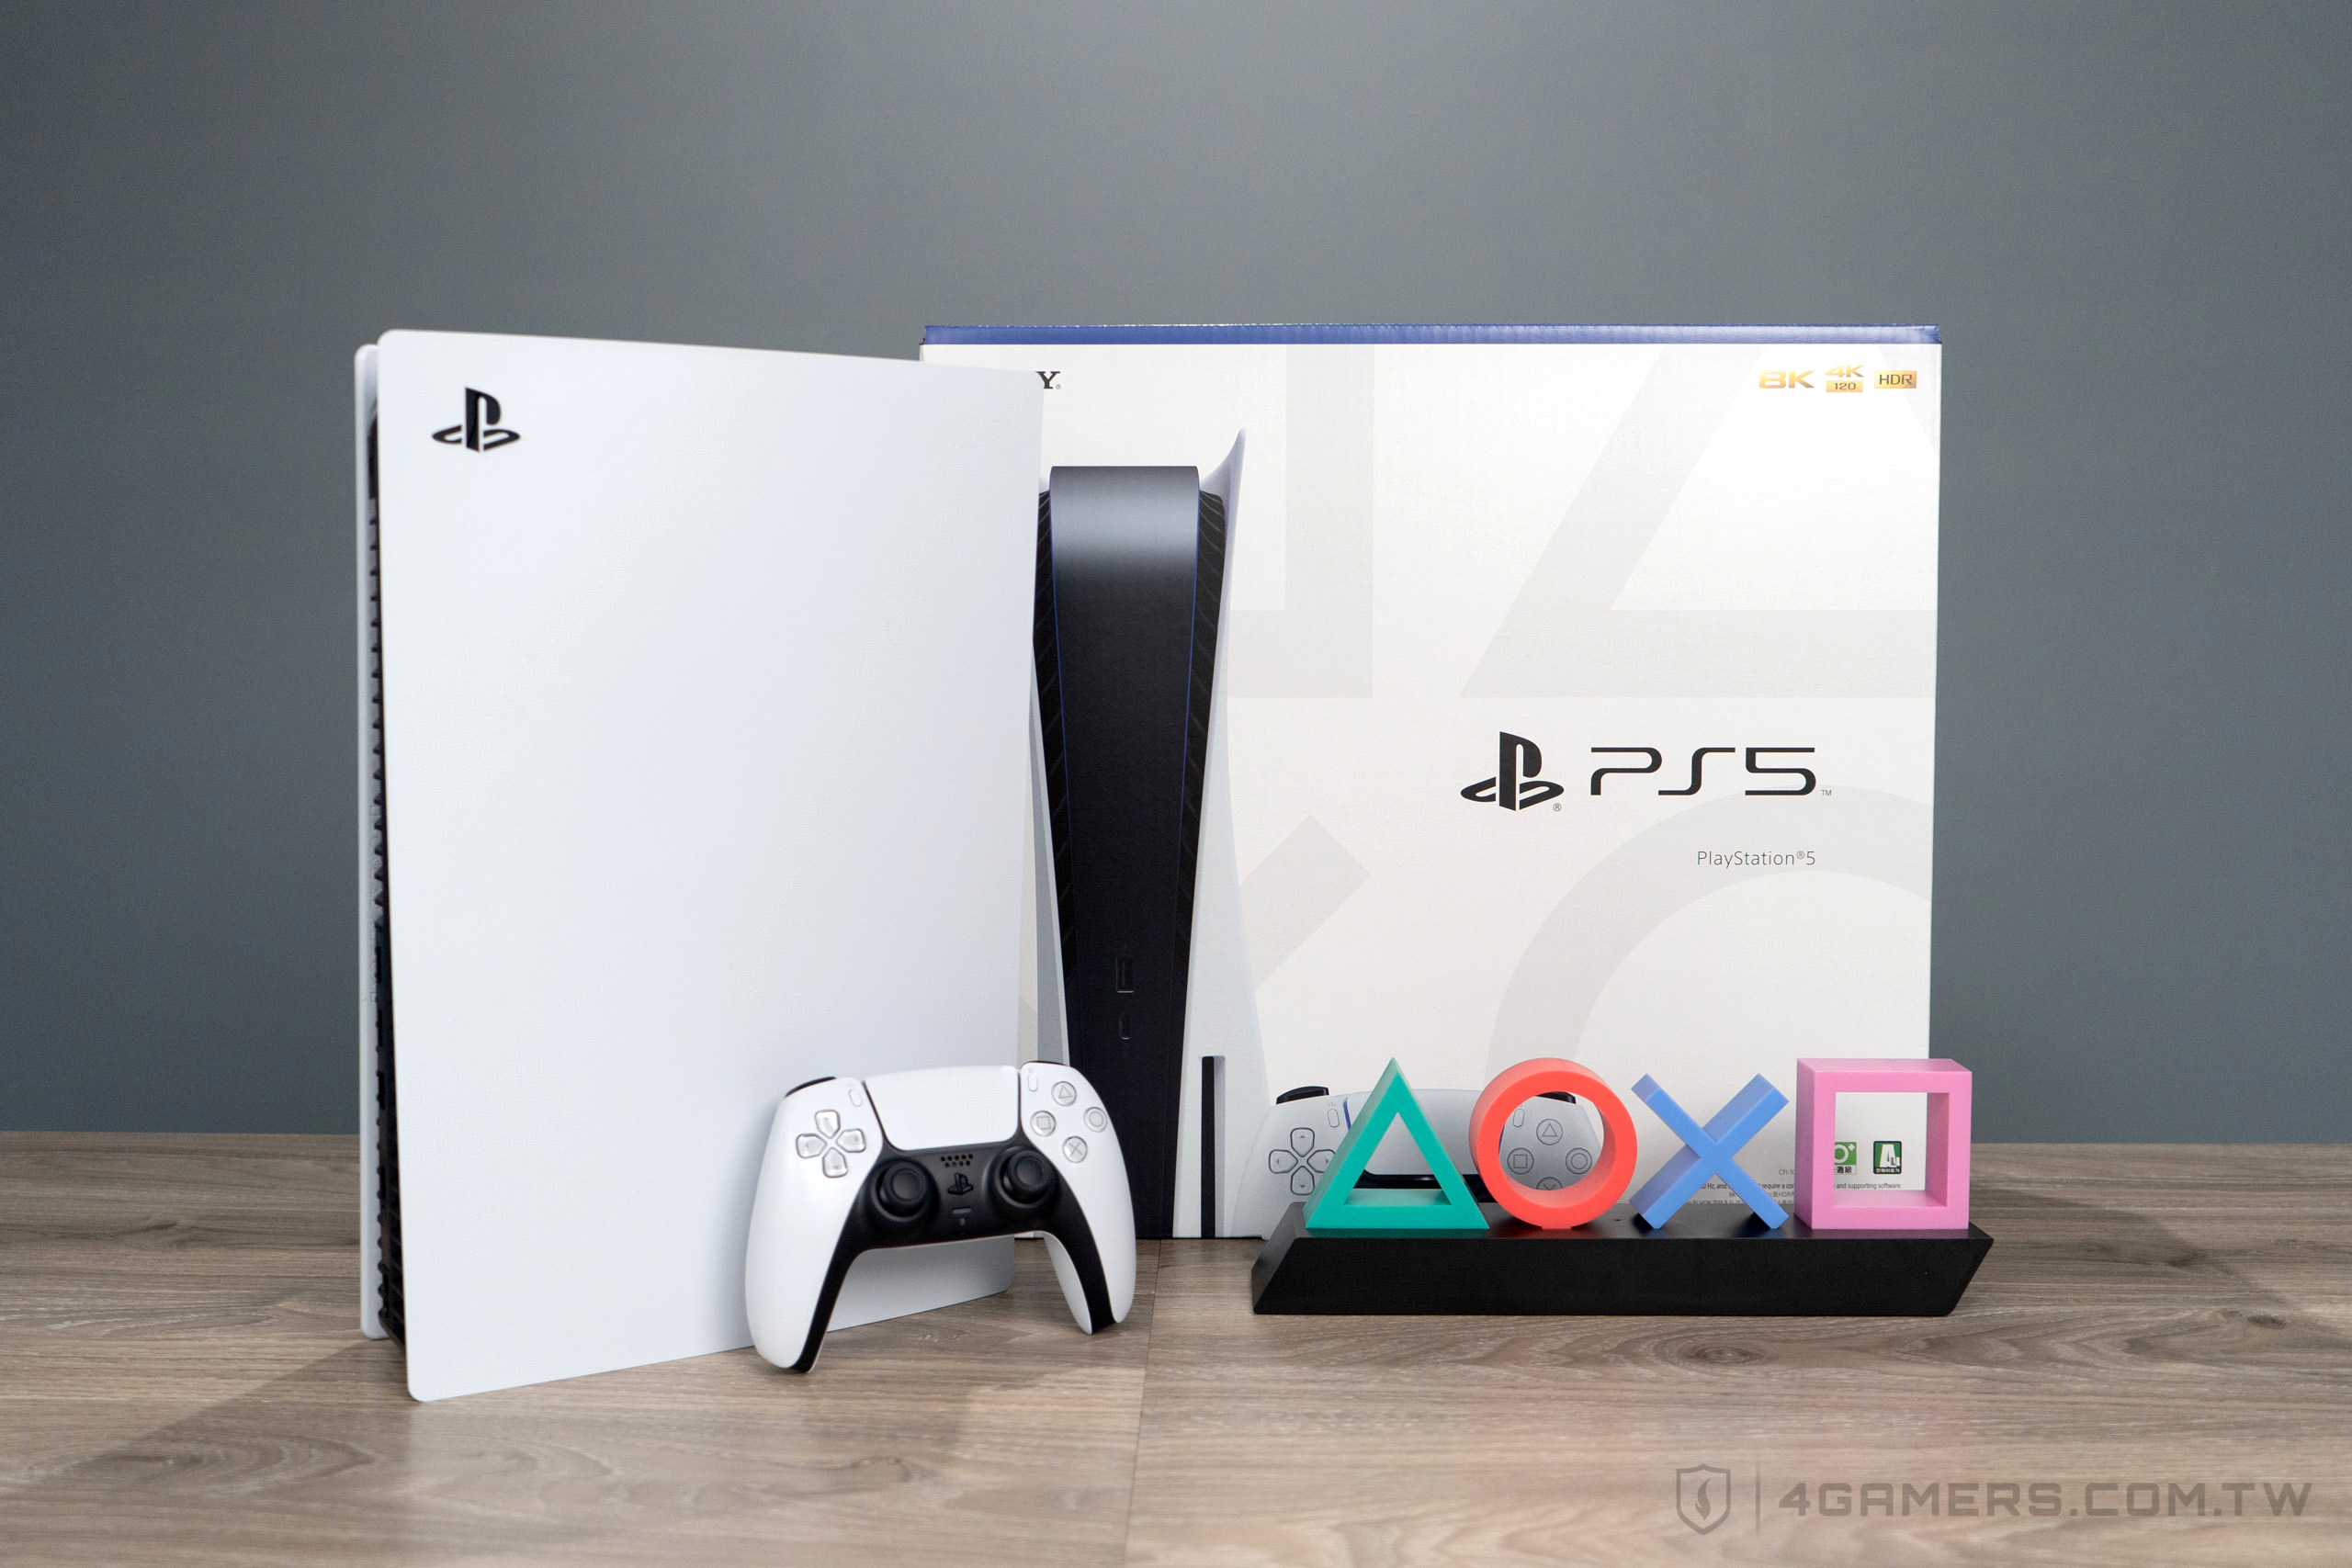
接著 Xbox Series X|S 的腳步,索尼次世代家用遊戲主機 PlayStation 5 終於在今(2)日早上發出媒體測試機,本篇僅為初步開箱;之後還有幾波詳細的試玩內容,敬請期待。
這篇會提到 PS5 的底座安裝方式,以及注意事項。
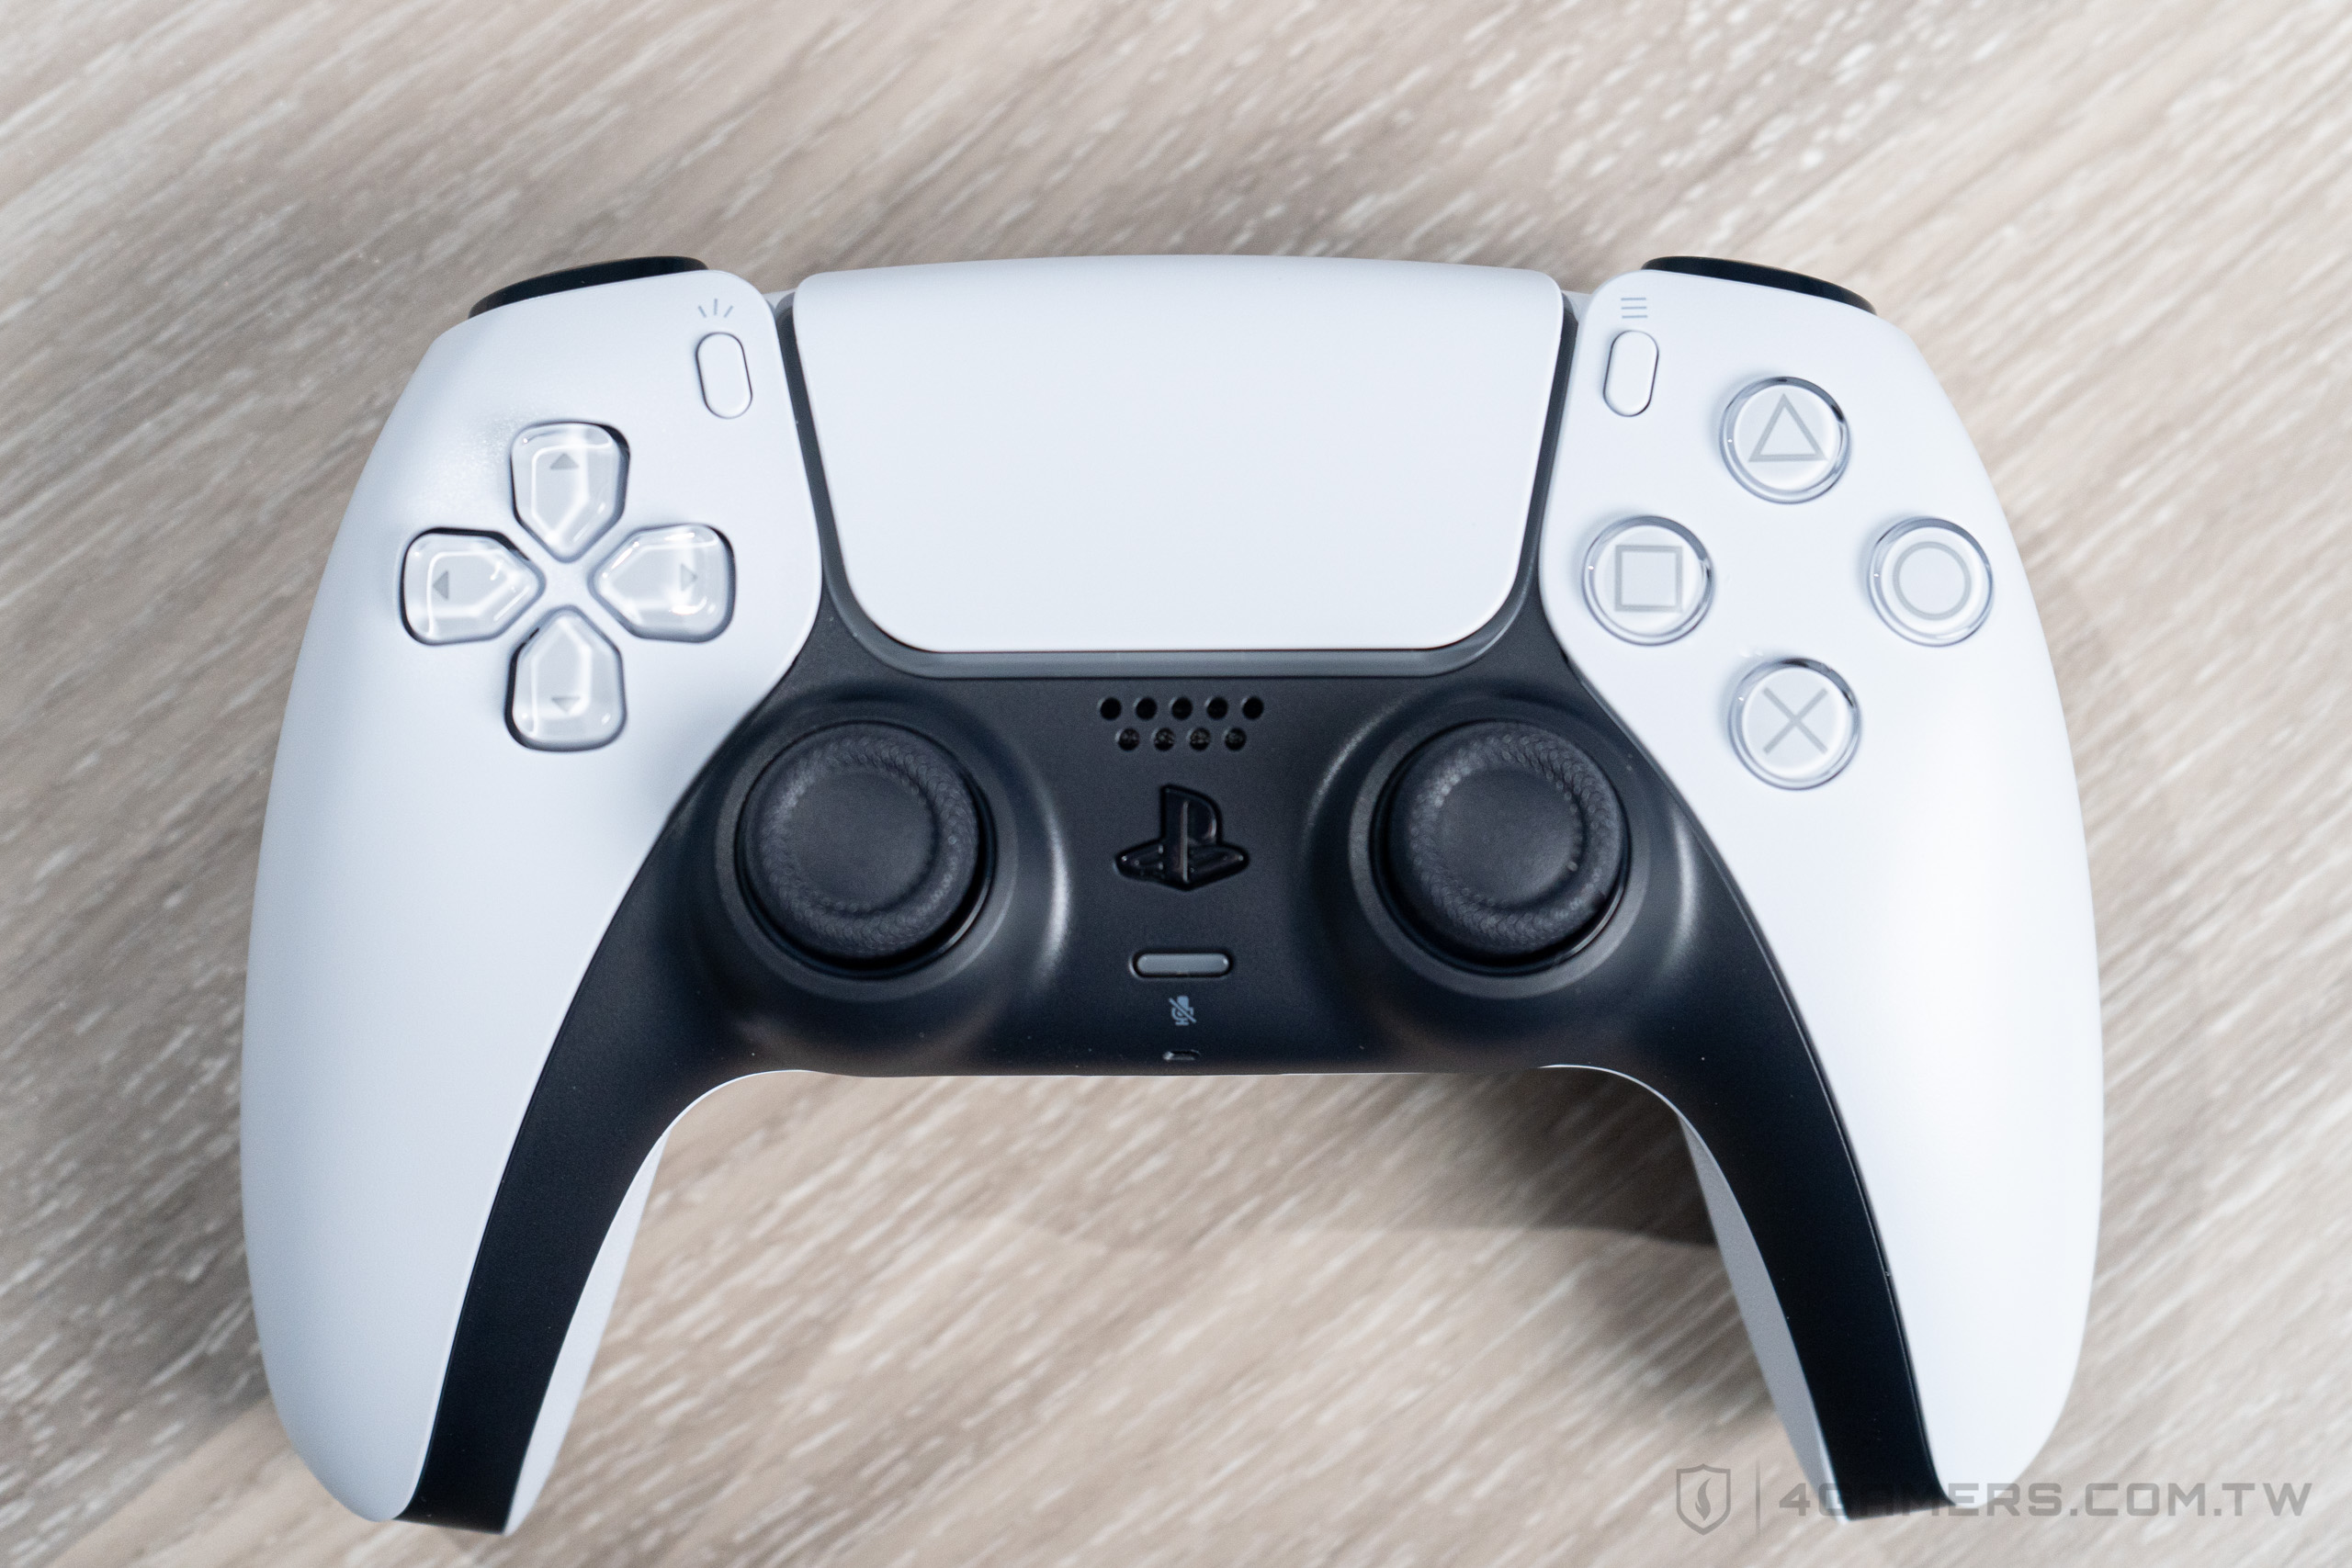
先來看一下這次讓不少人很有印象的「△◯╳▢」圖案彩蛋,密密麻麻且清晰可見地分布在 DualSense 無線控制器與機身白色外蓋內側。
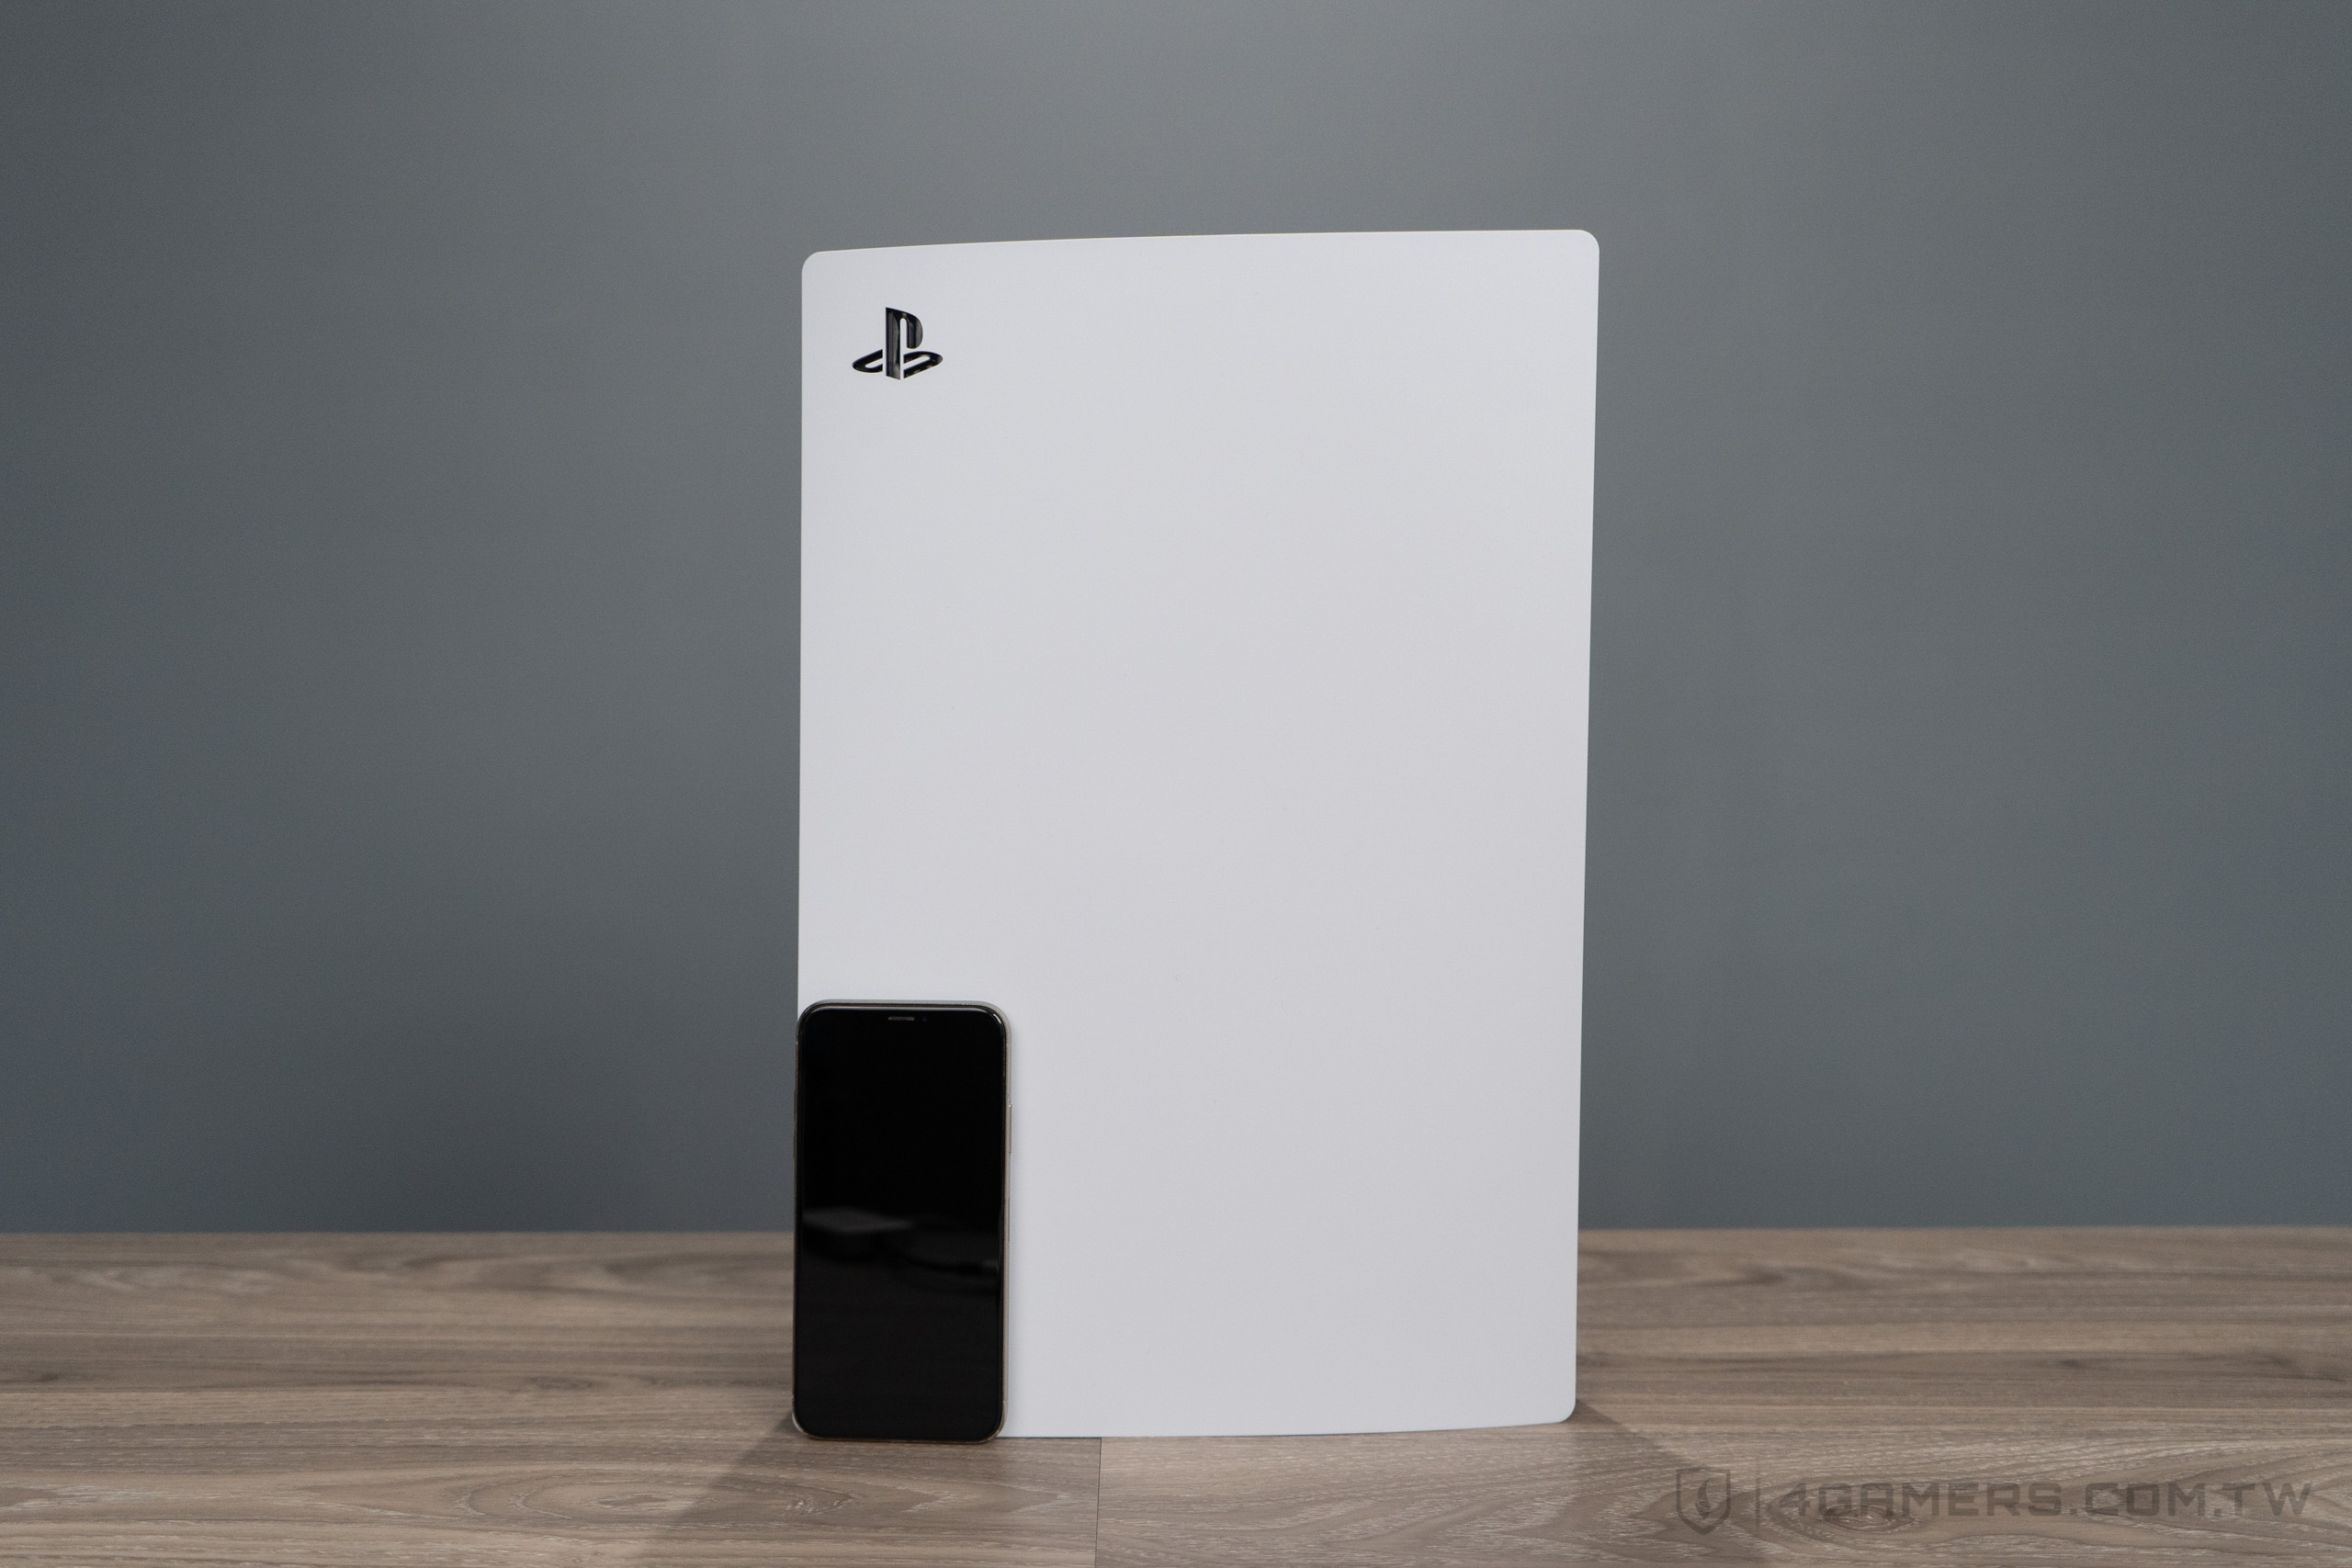
PS5 到底有多大?拿一台 iPhone X 手機稍微比對一下;PS5 尺寸 390mm x 104mm x 260mm;iPhone X 尺寸 143.6mm x 70.9mm x 7.7mm。
同時,PS5 比 PS 家族最大台的 PS3 初代機(325 mm × 98 mm × 274 mm),恰恰好大了一圈。
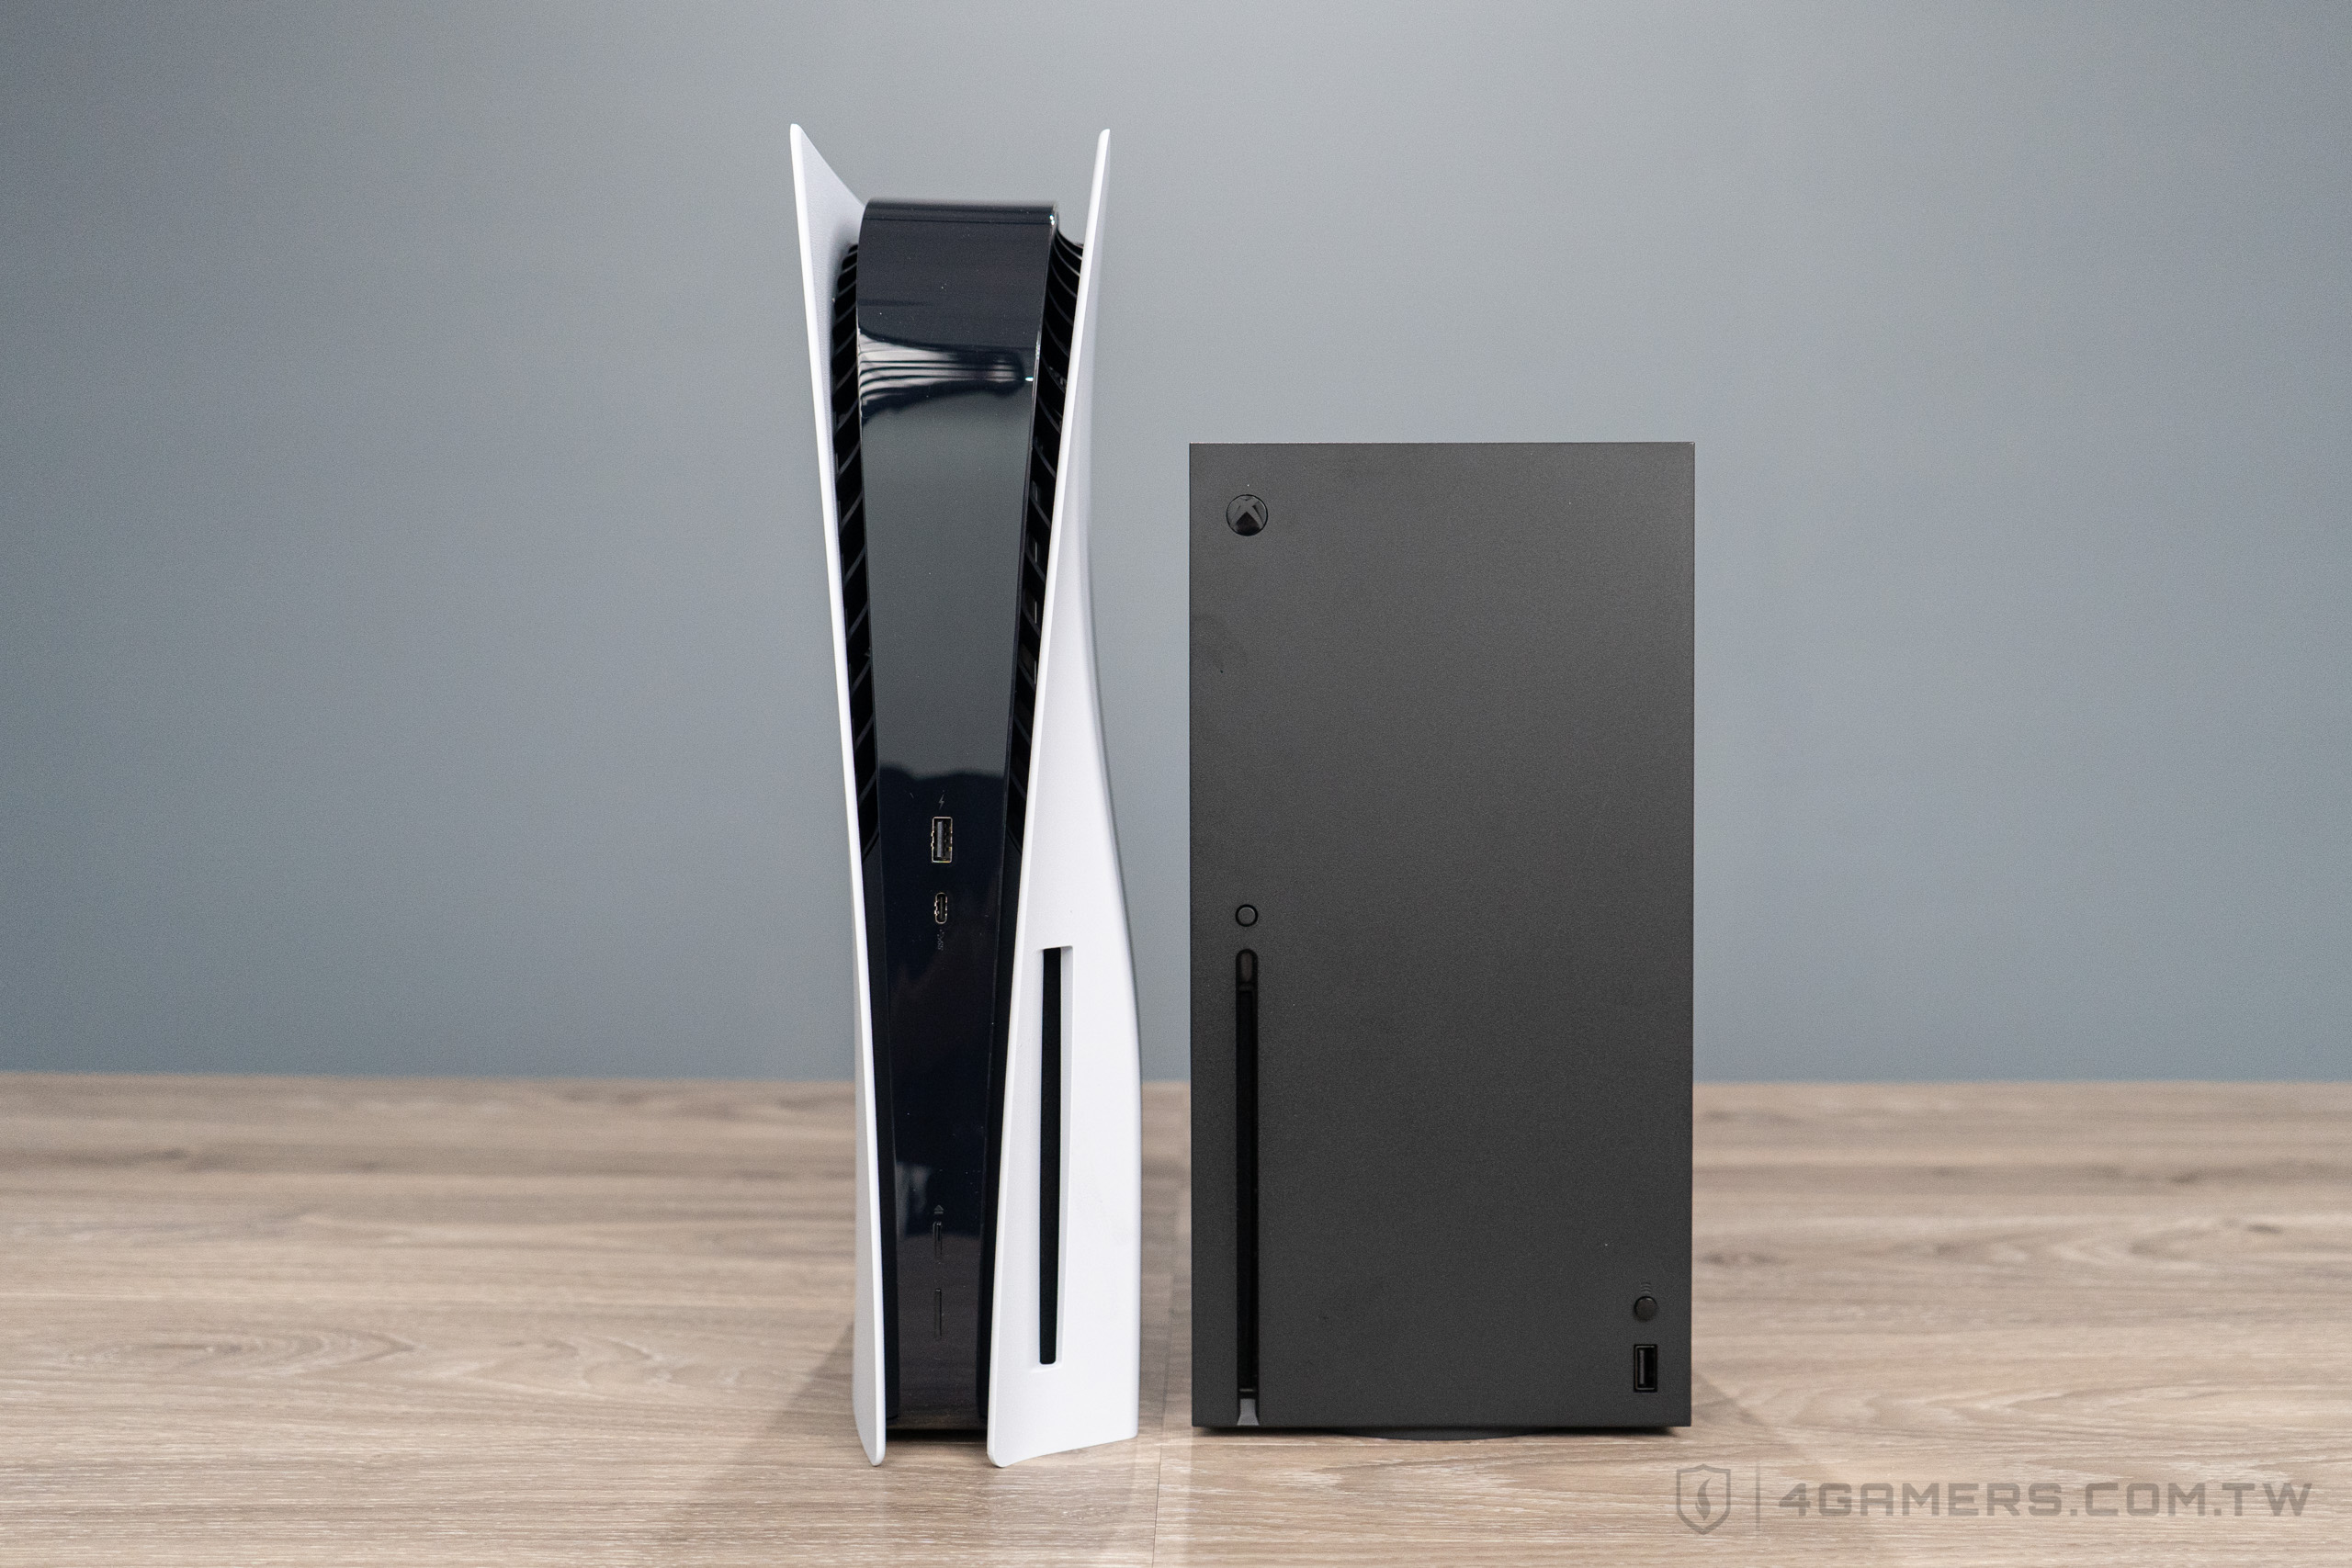
接著,PS5 先與 Xbox Series X 拍張合照。
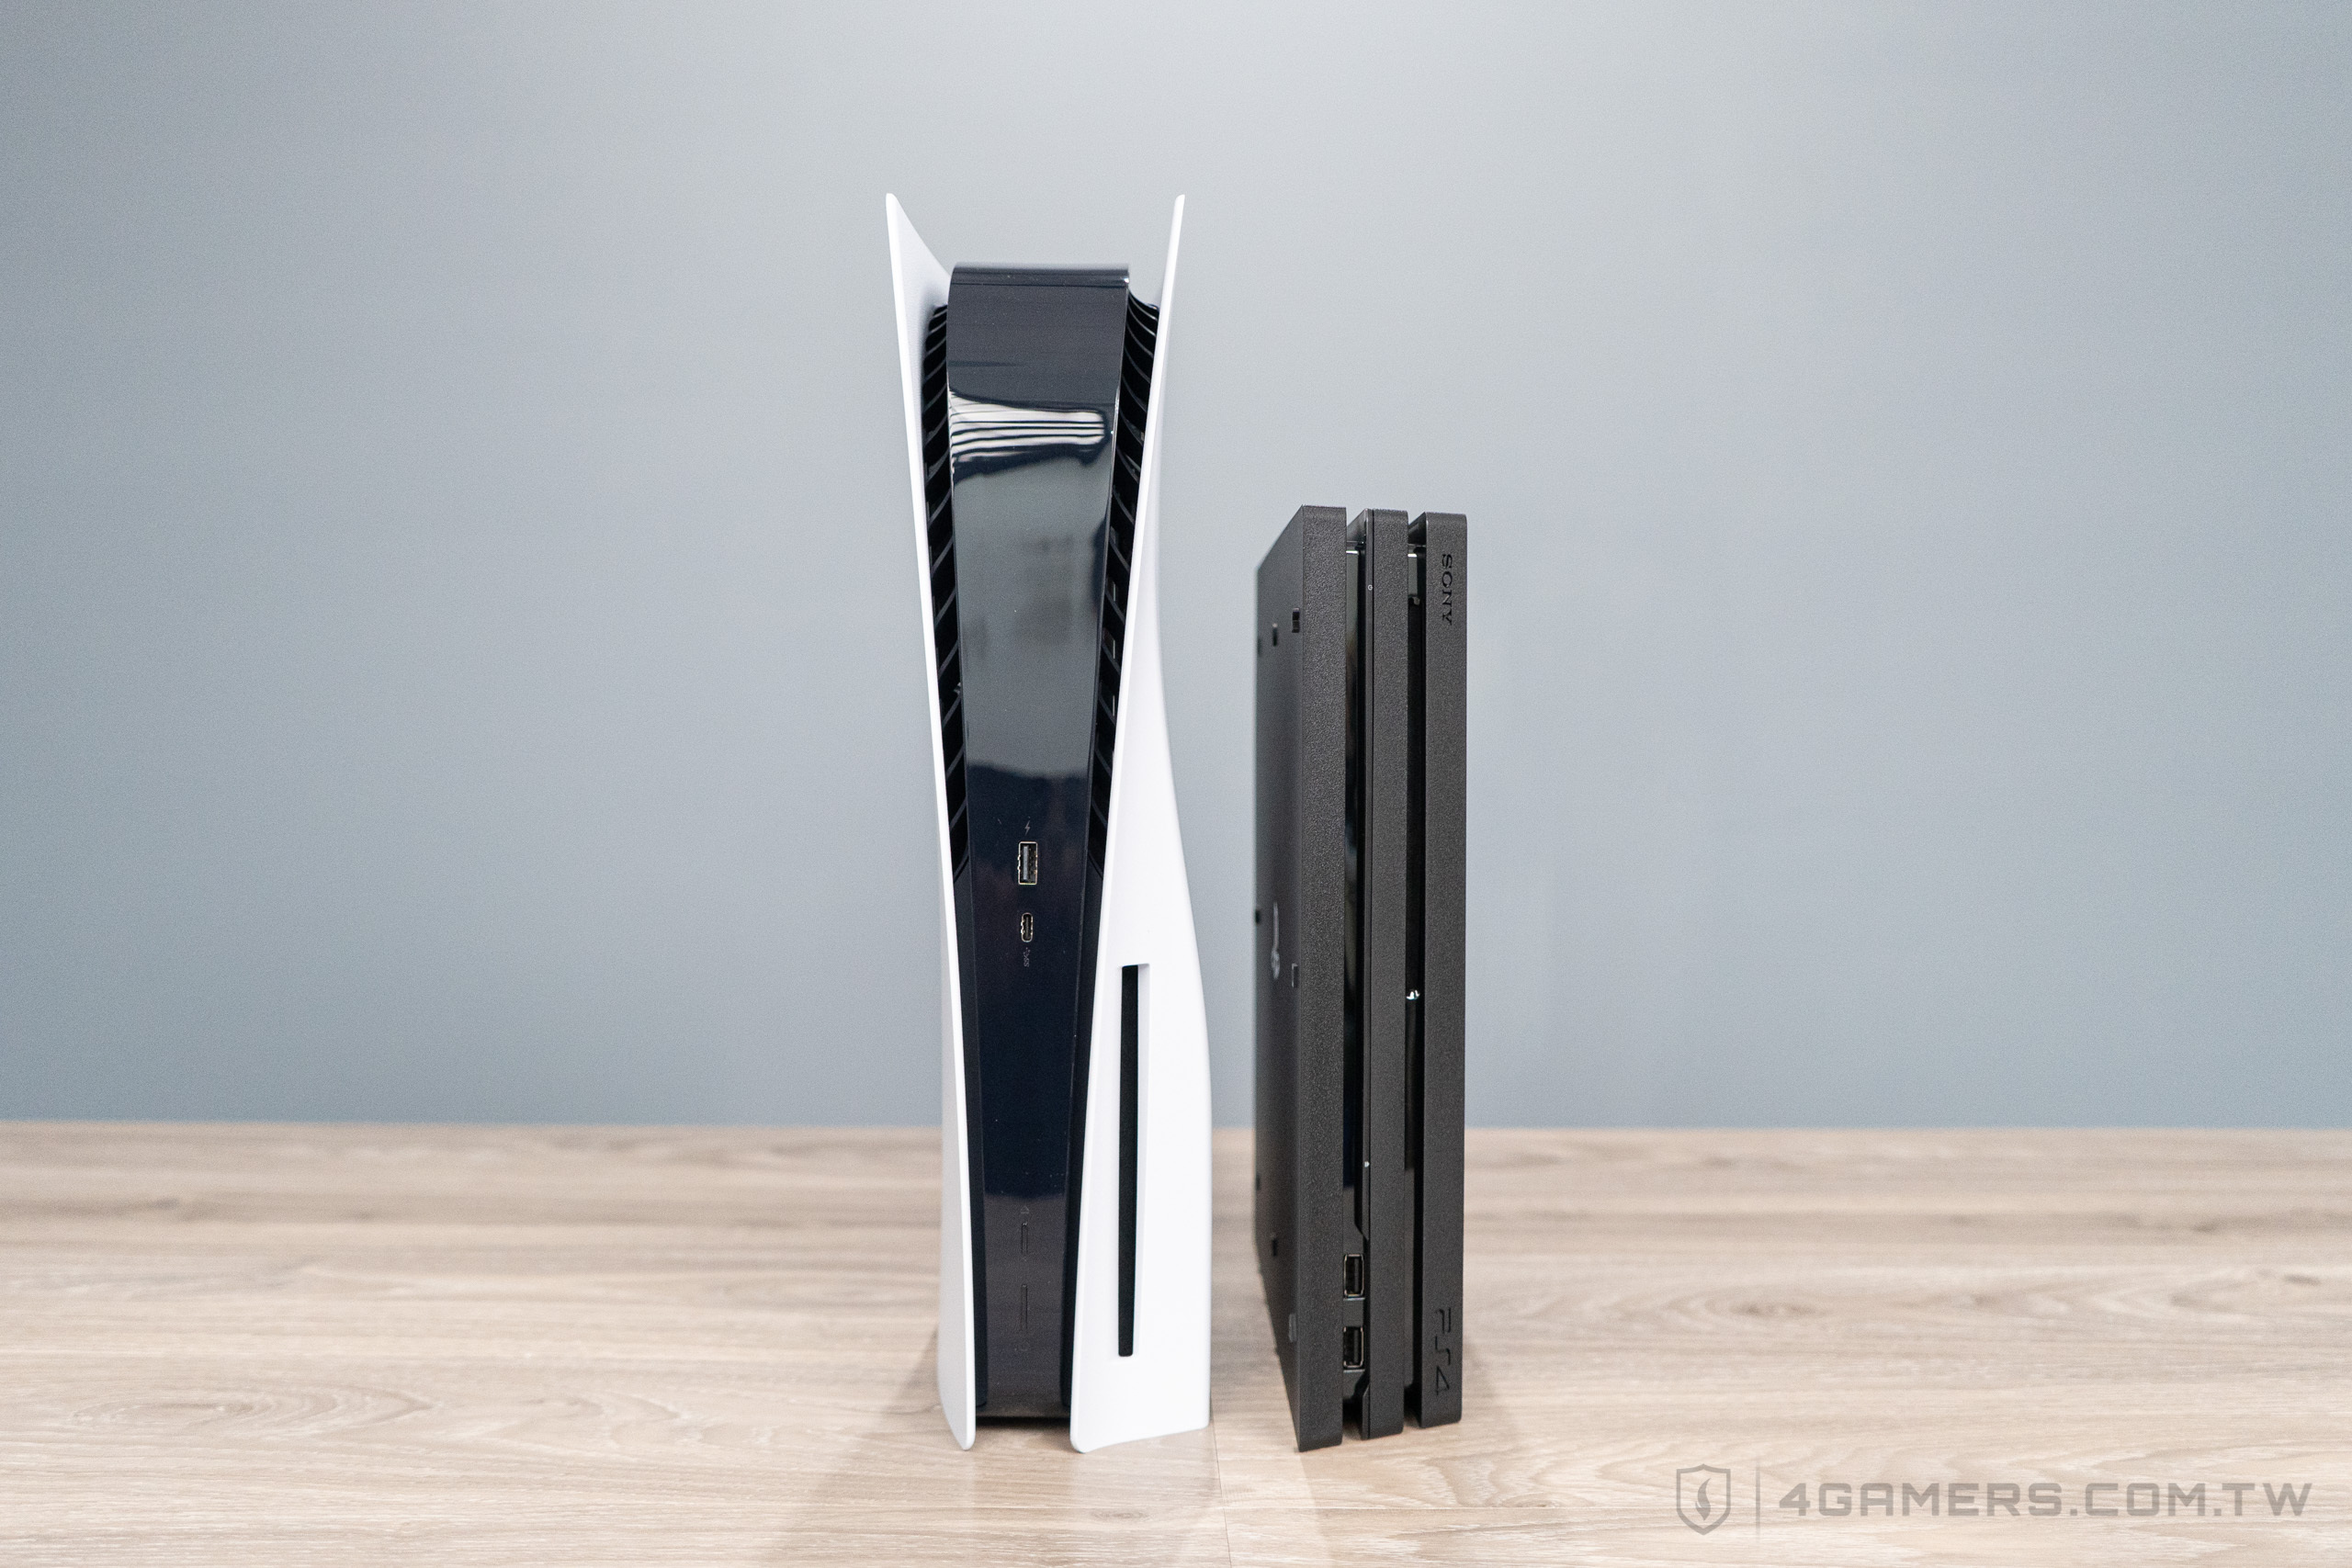
再讓 PS5 跟自己的兄弟 PS4 拍一張合照。
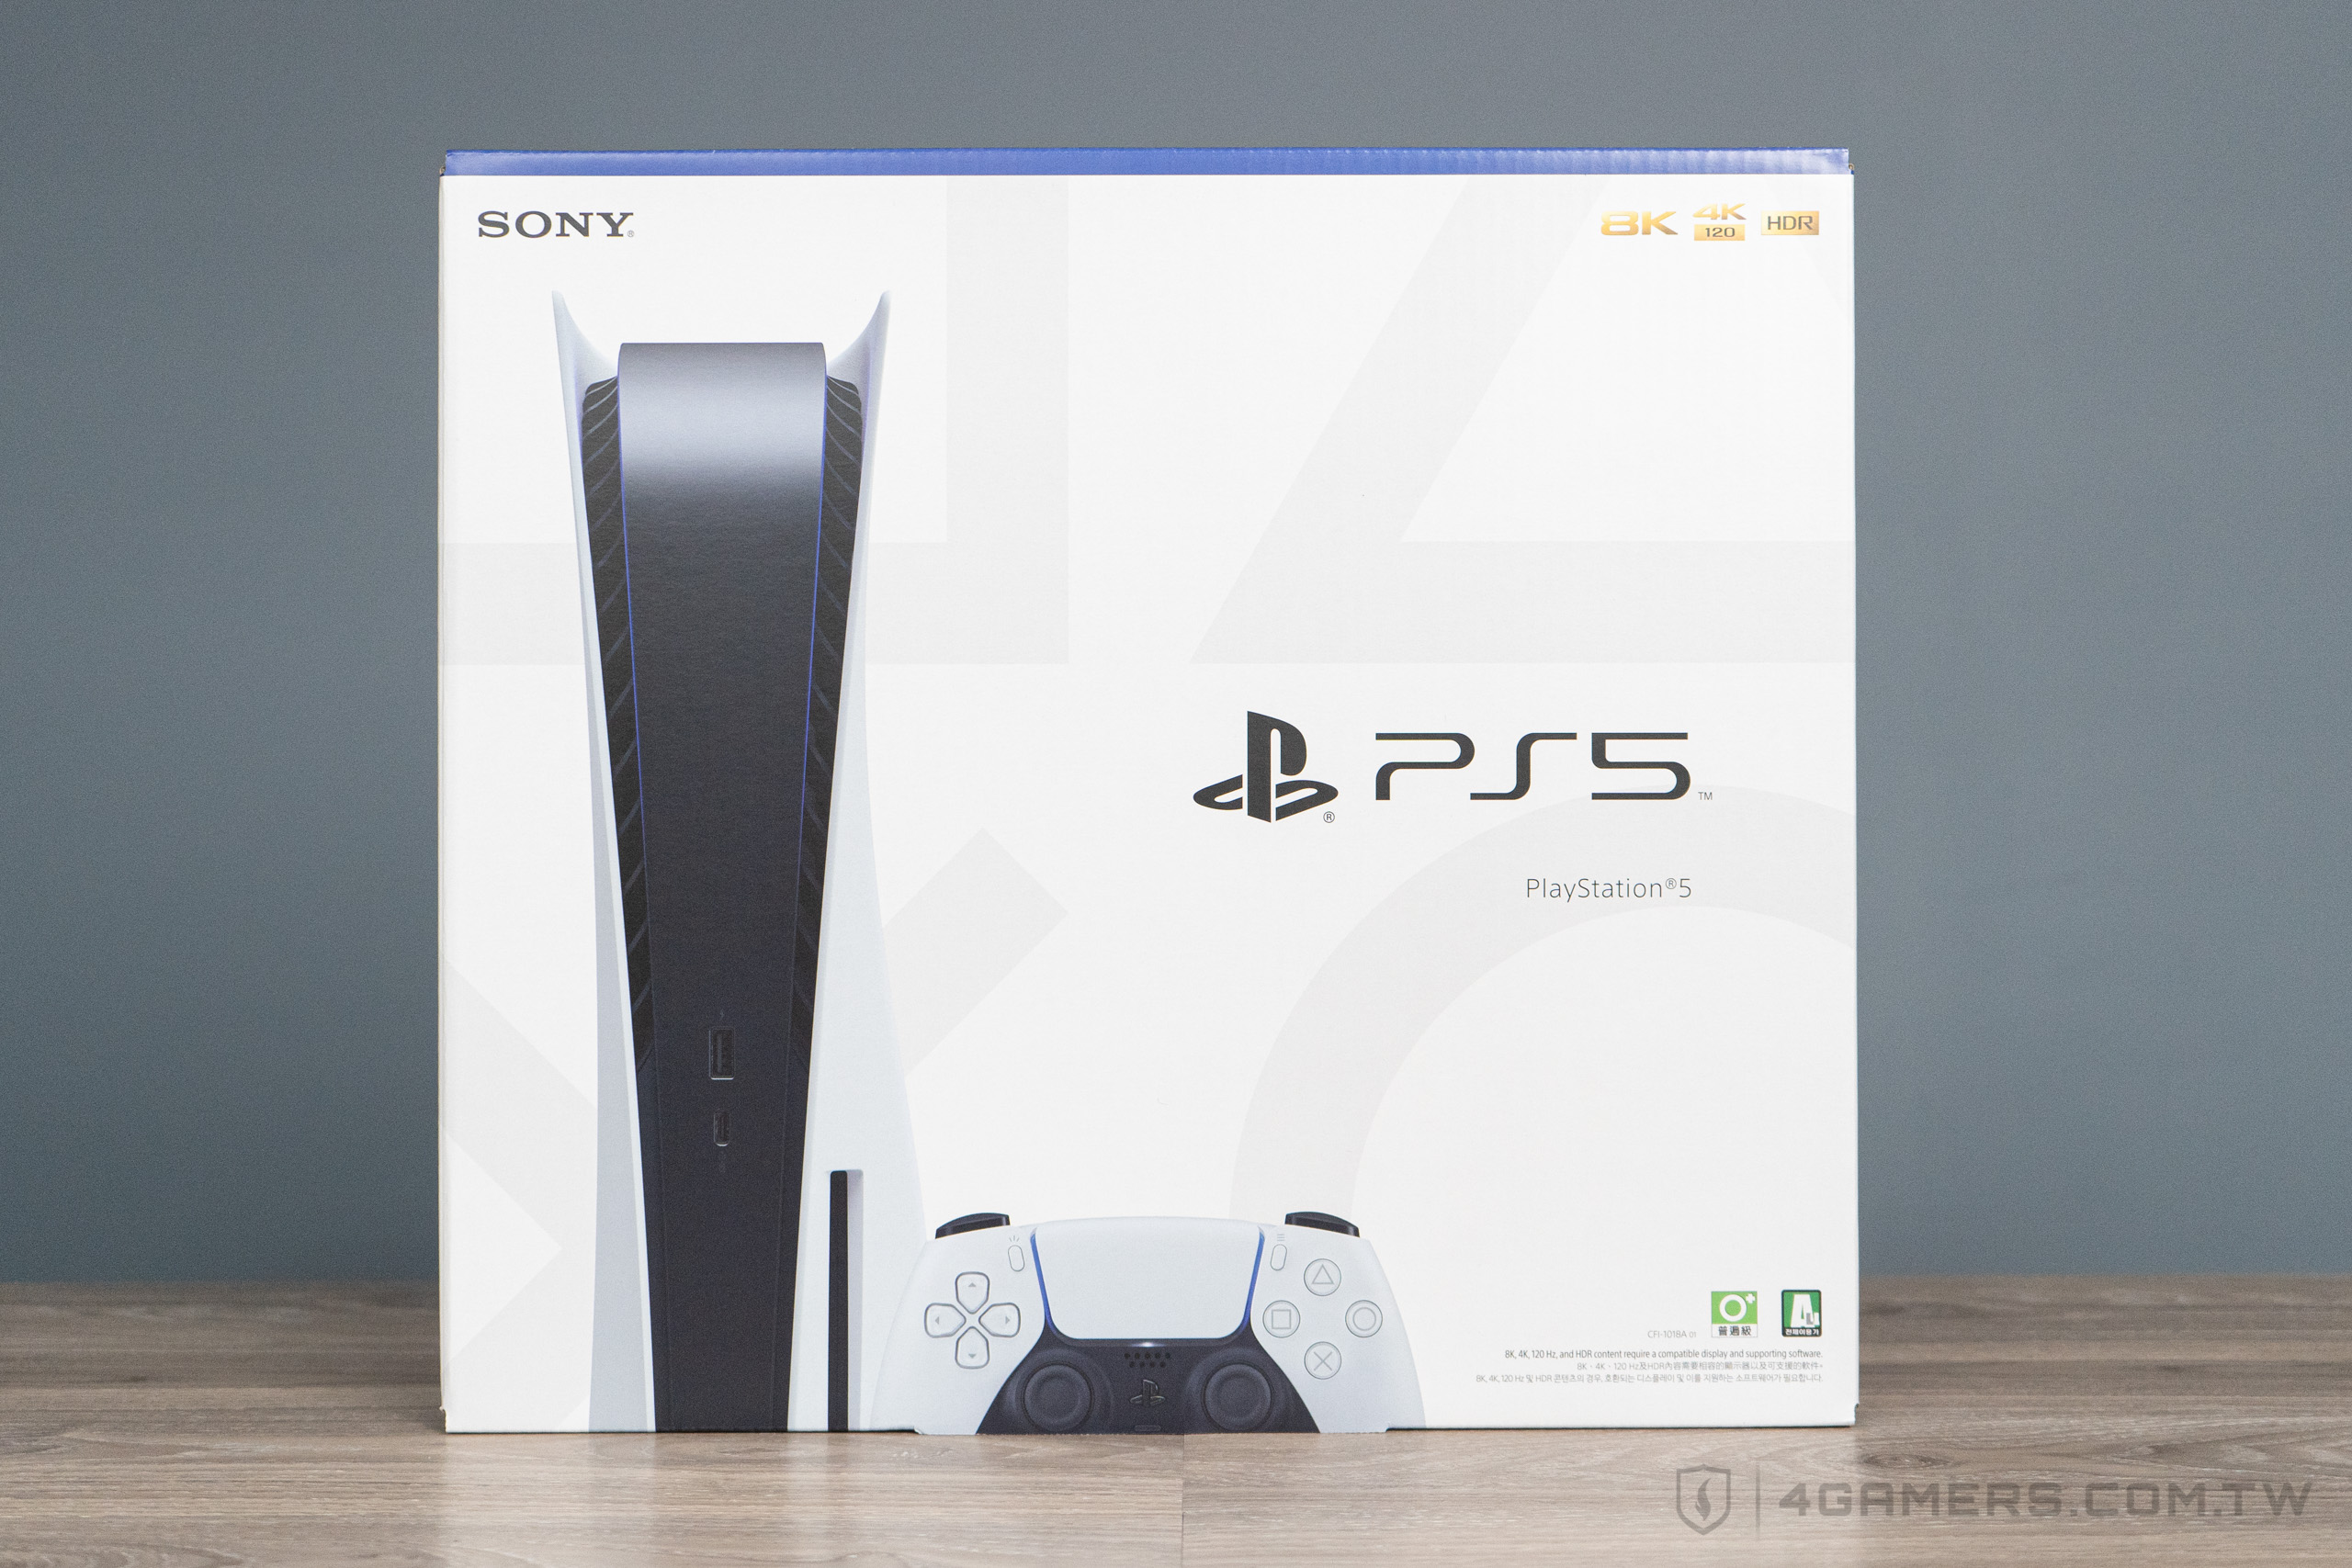
接著進入基本開箱程序,PS5 台灣公司貨的外箱,跟主機設計一樣都是白色居多。
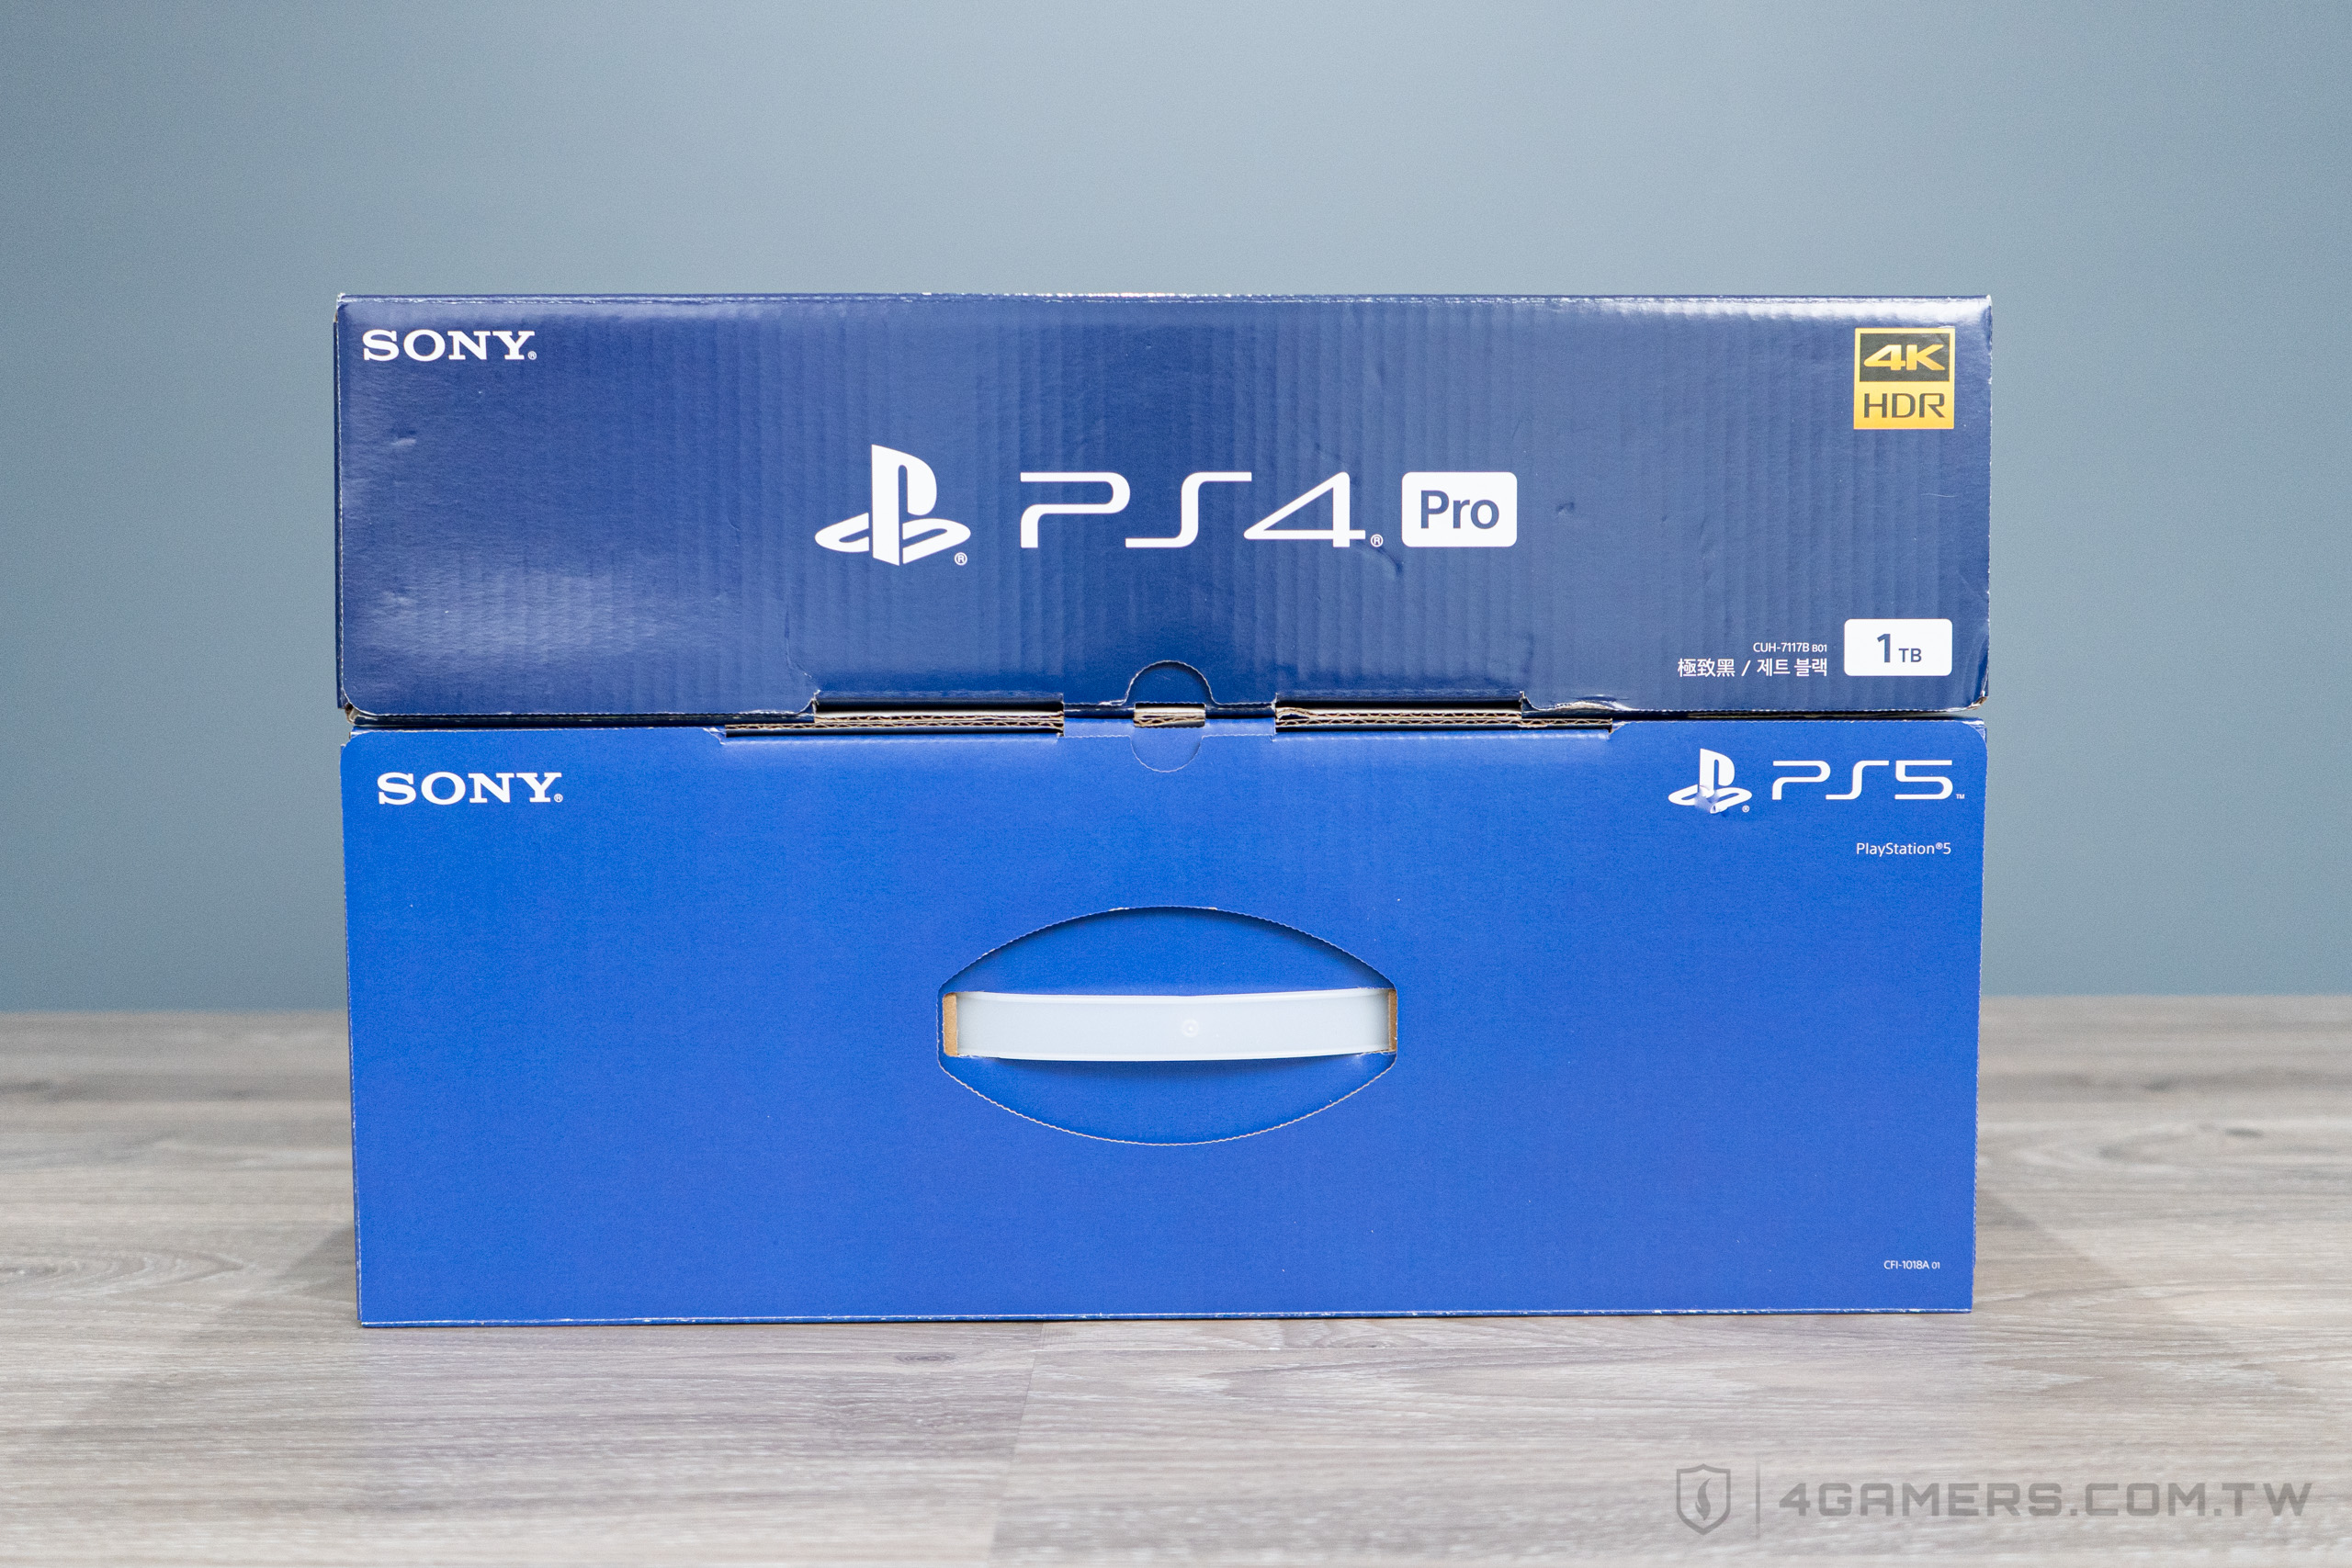 最後把 PS4 盒子跟 PS5 外盒相比一下
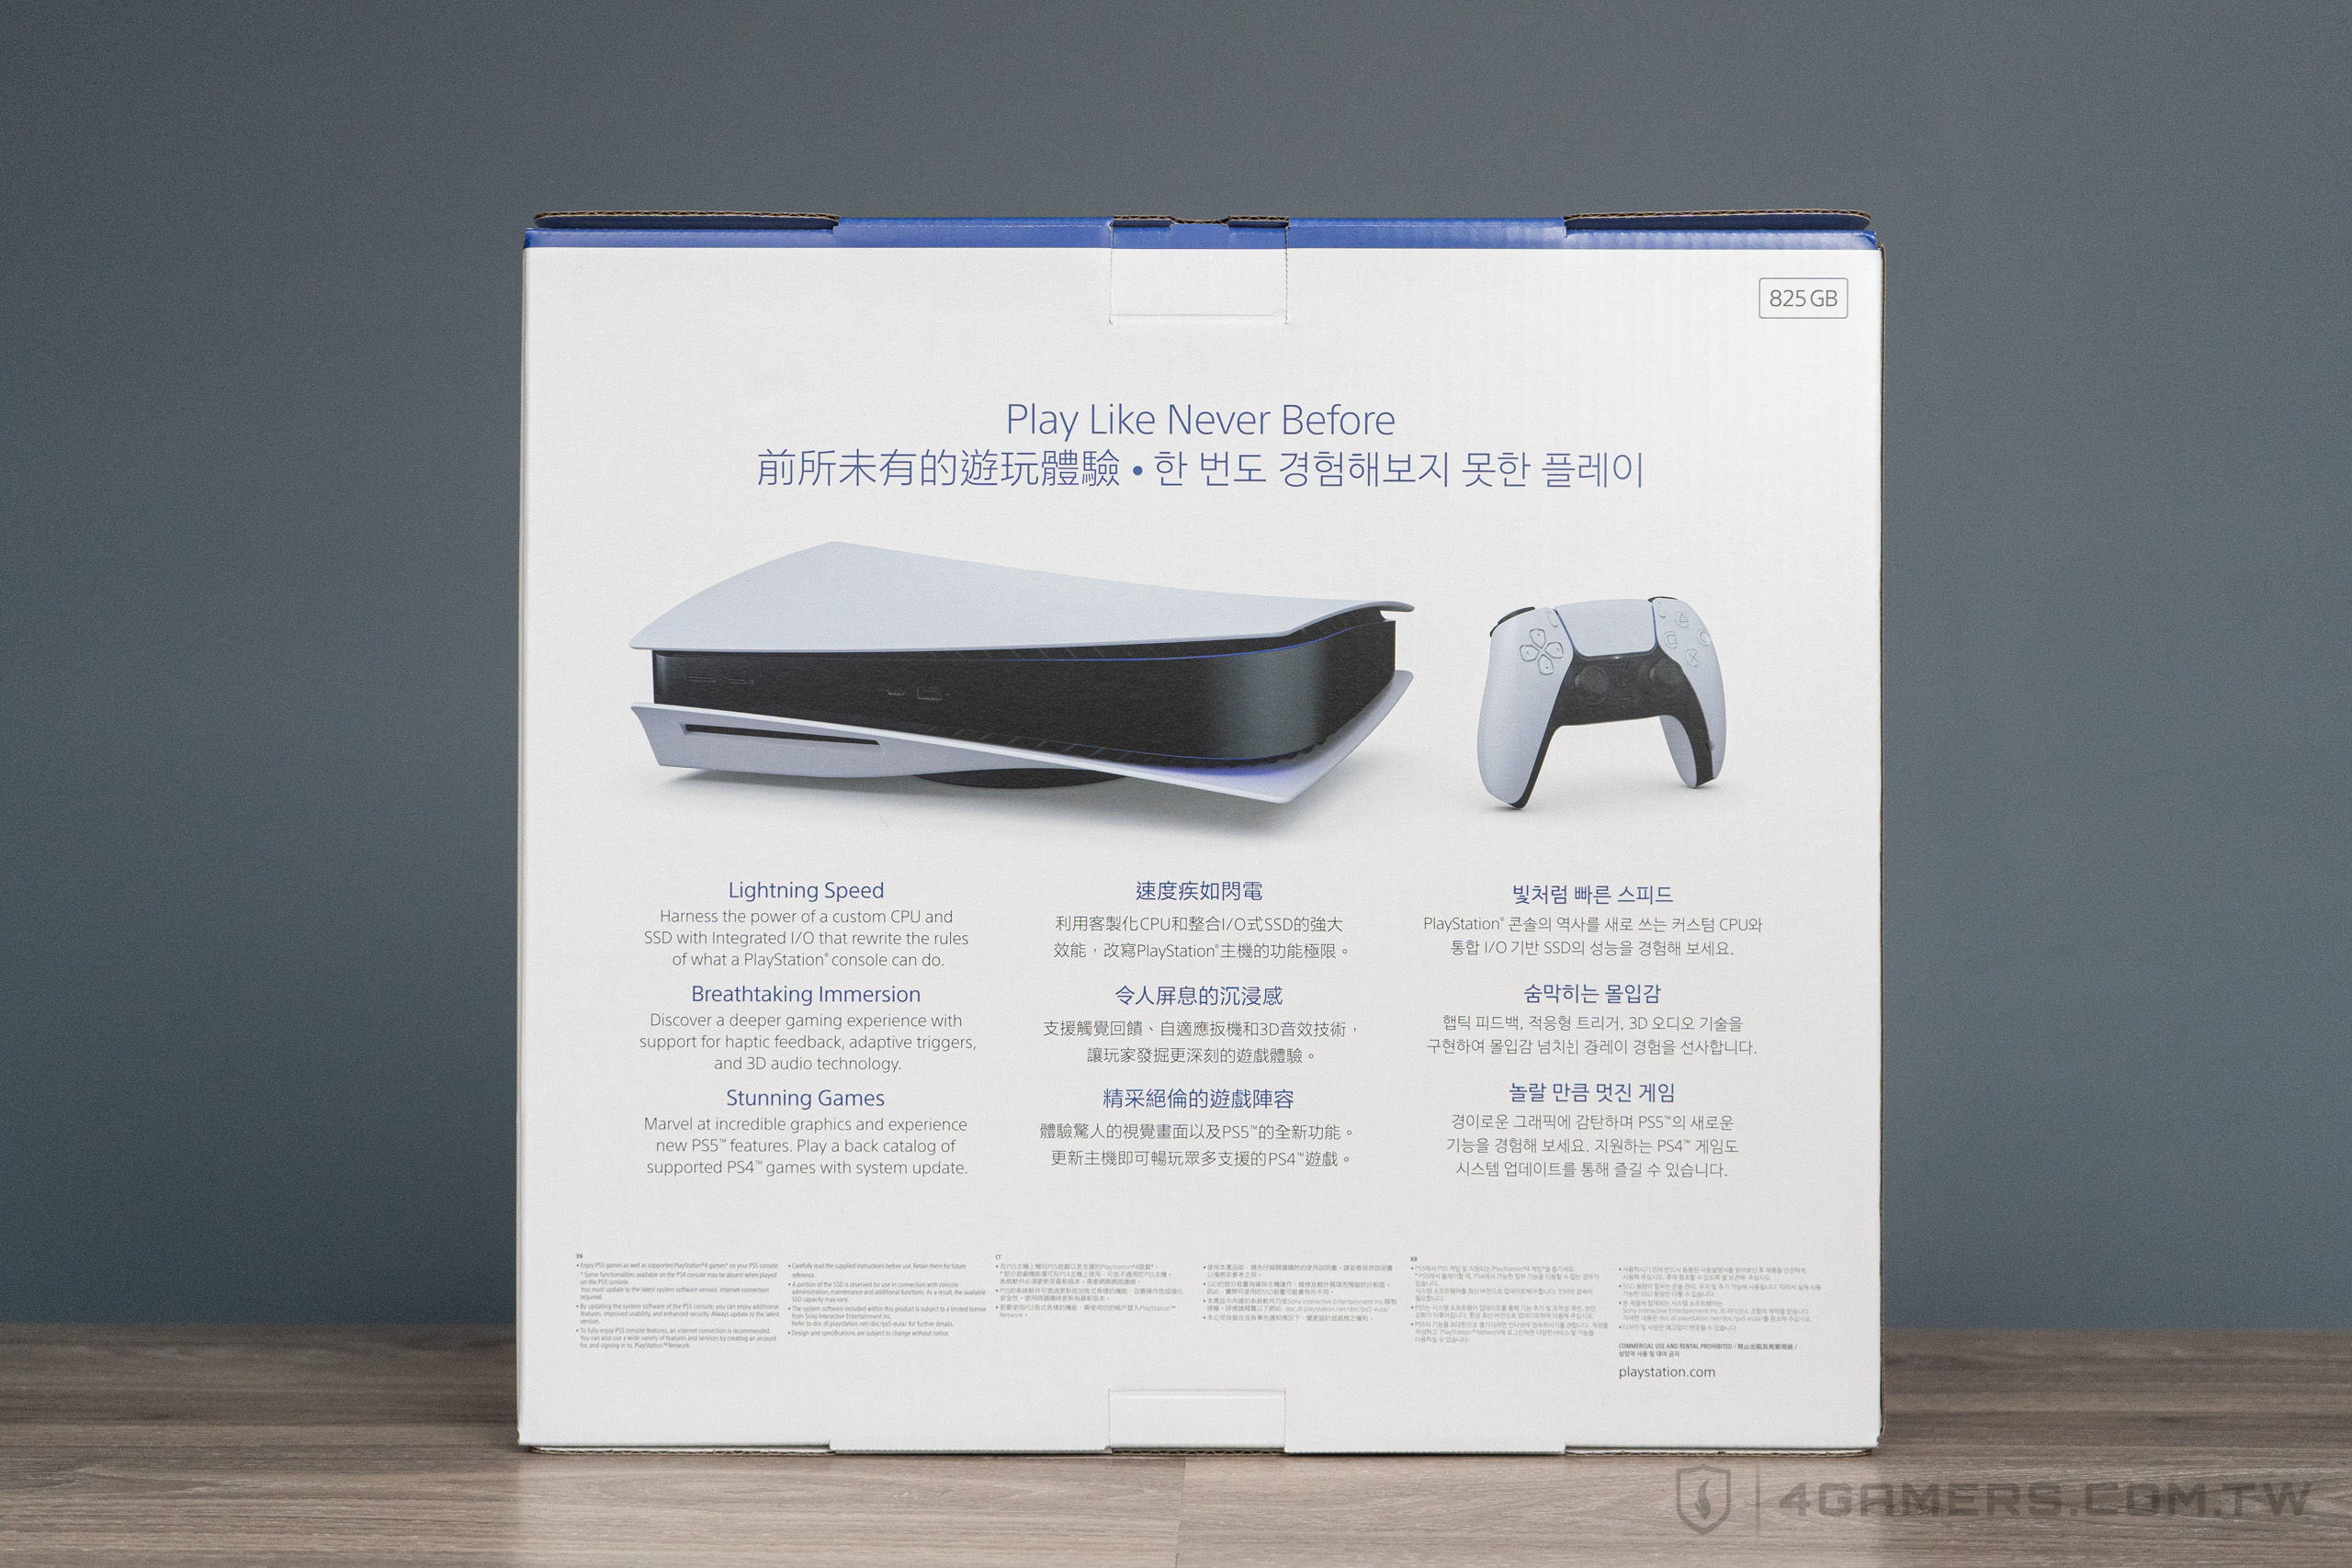
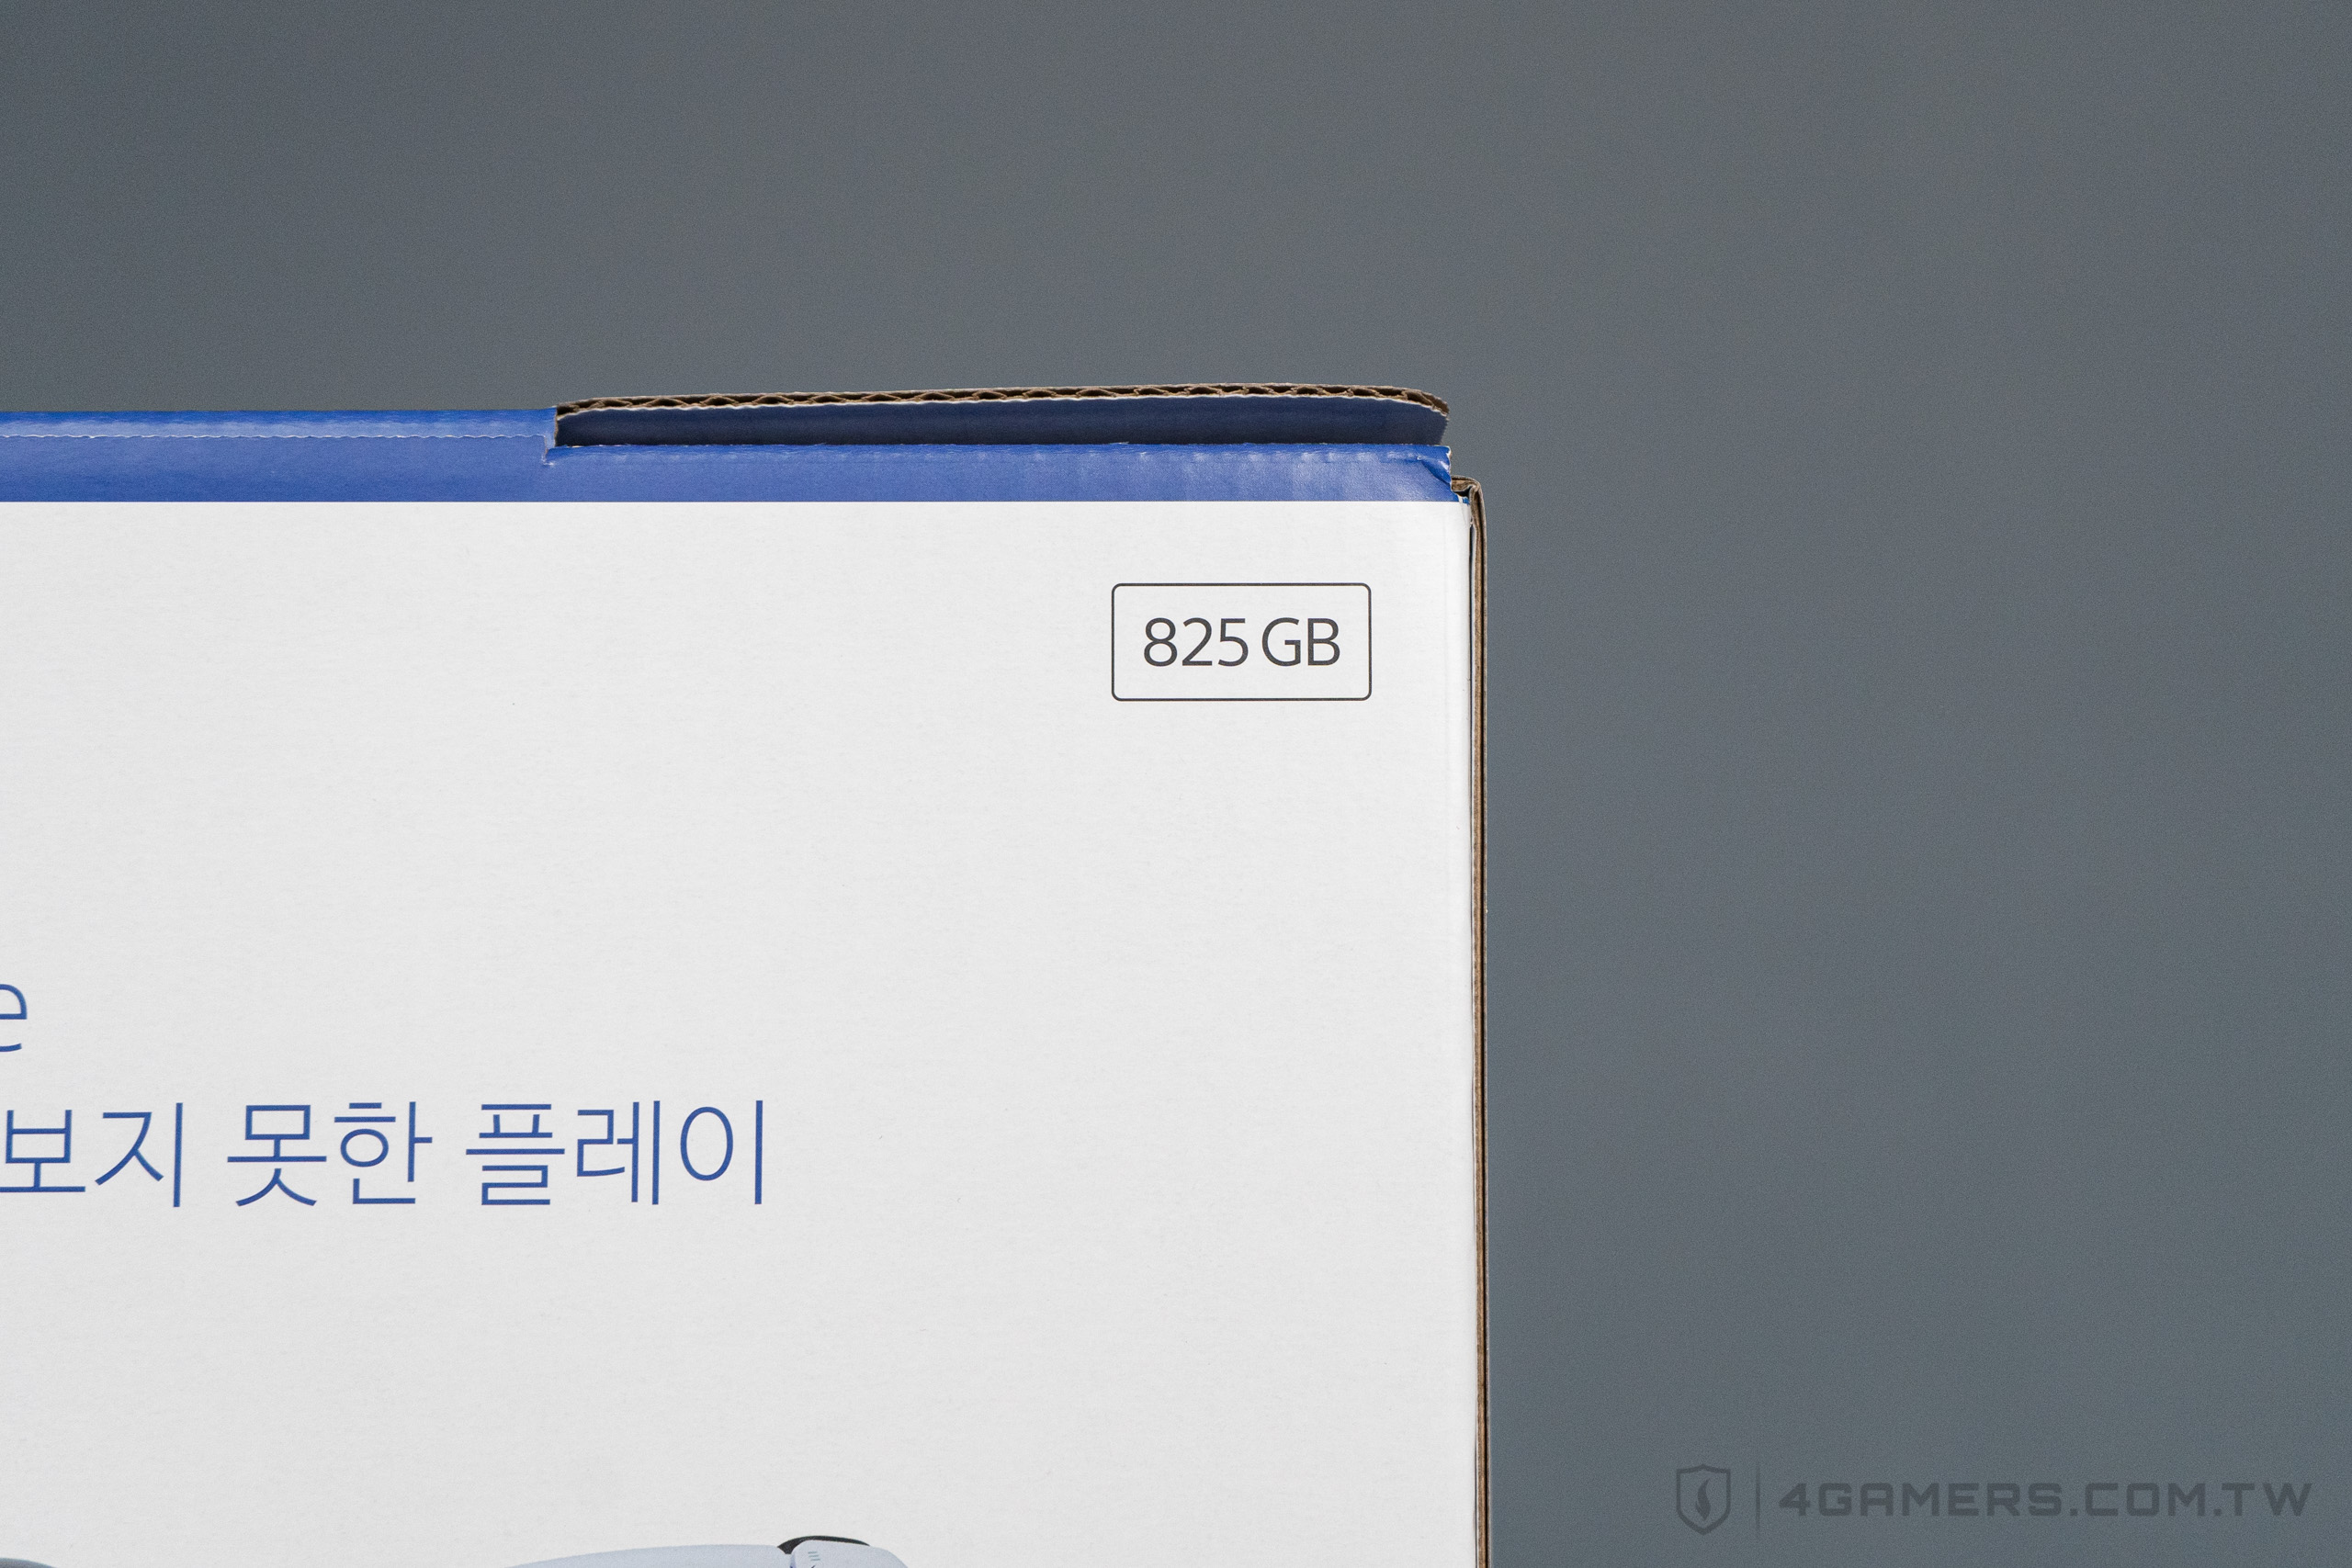
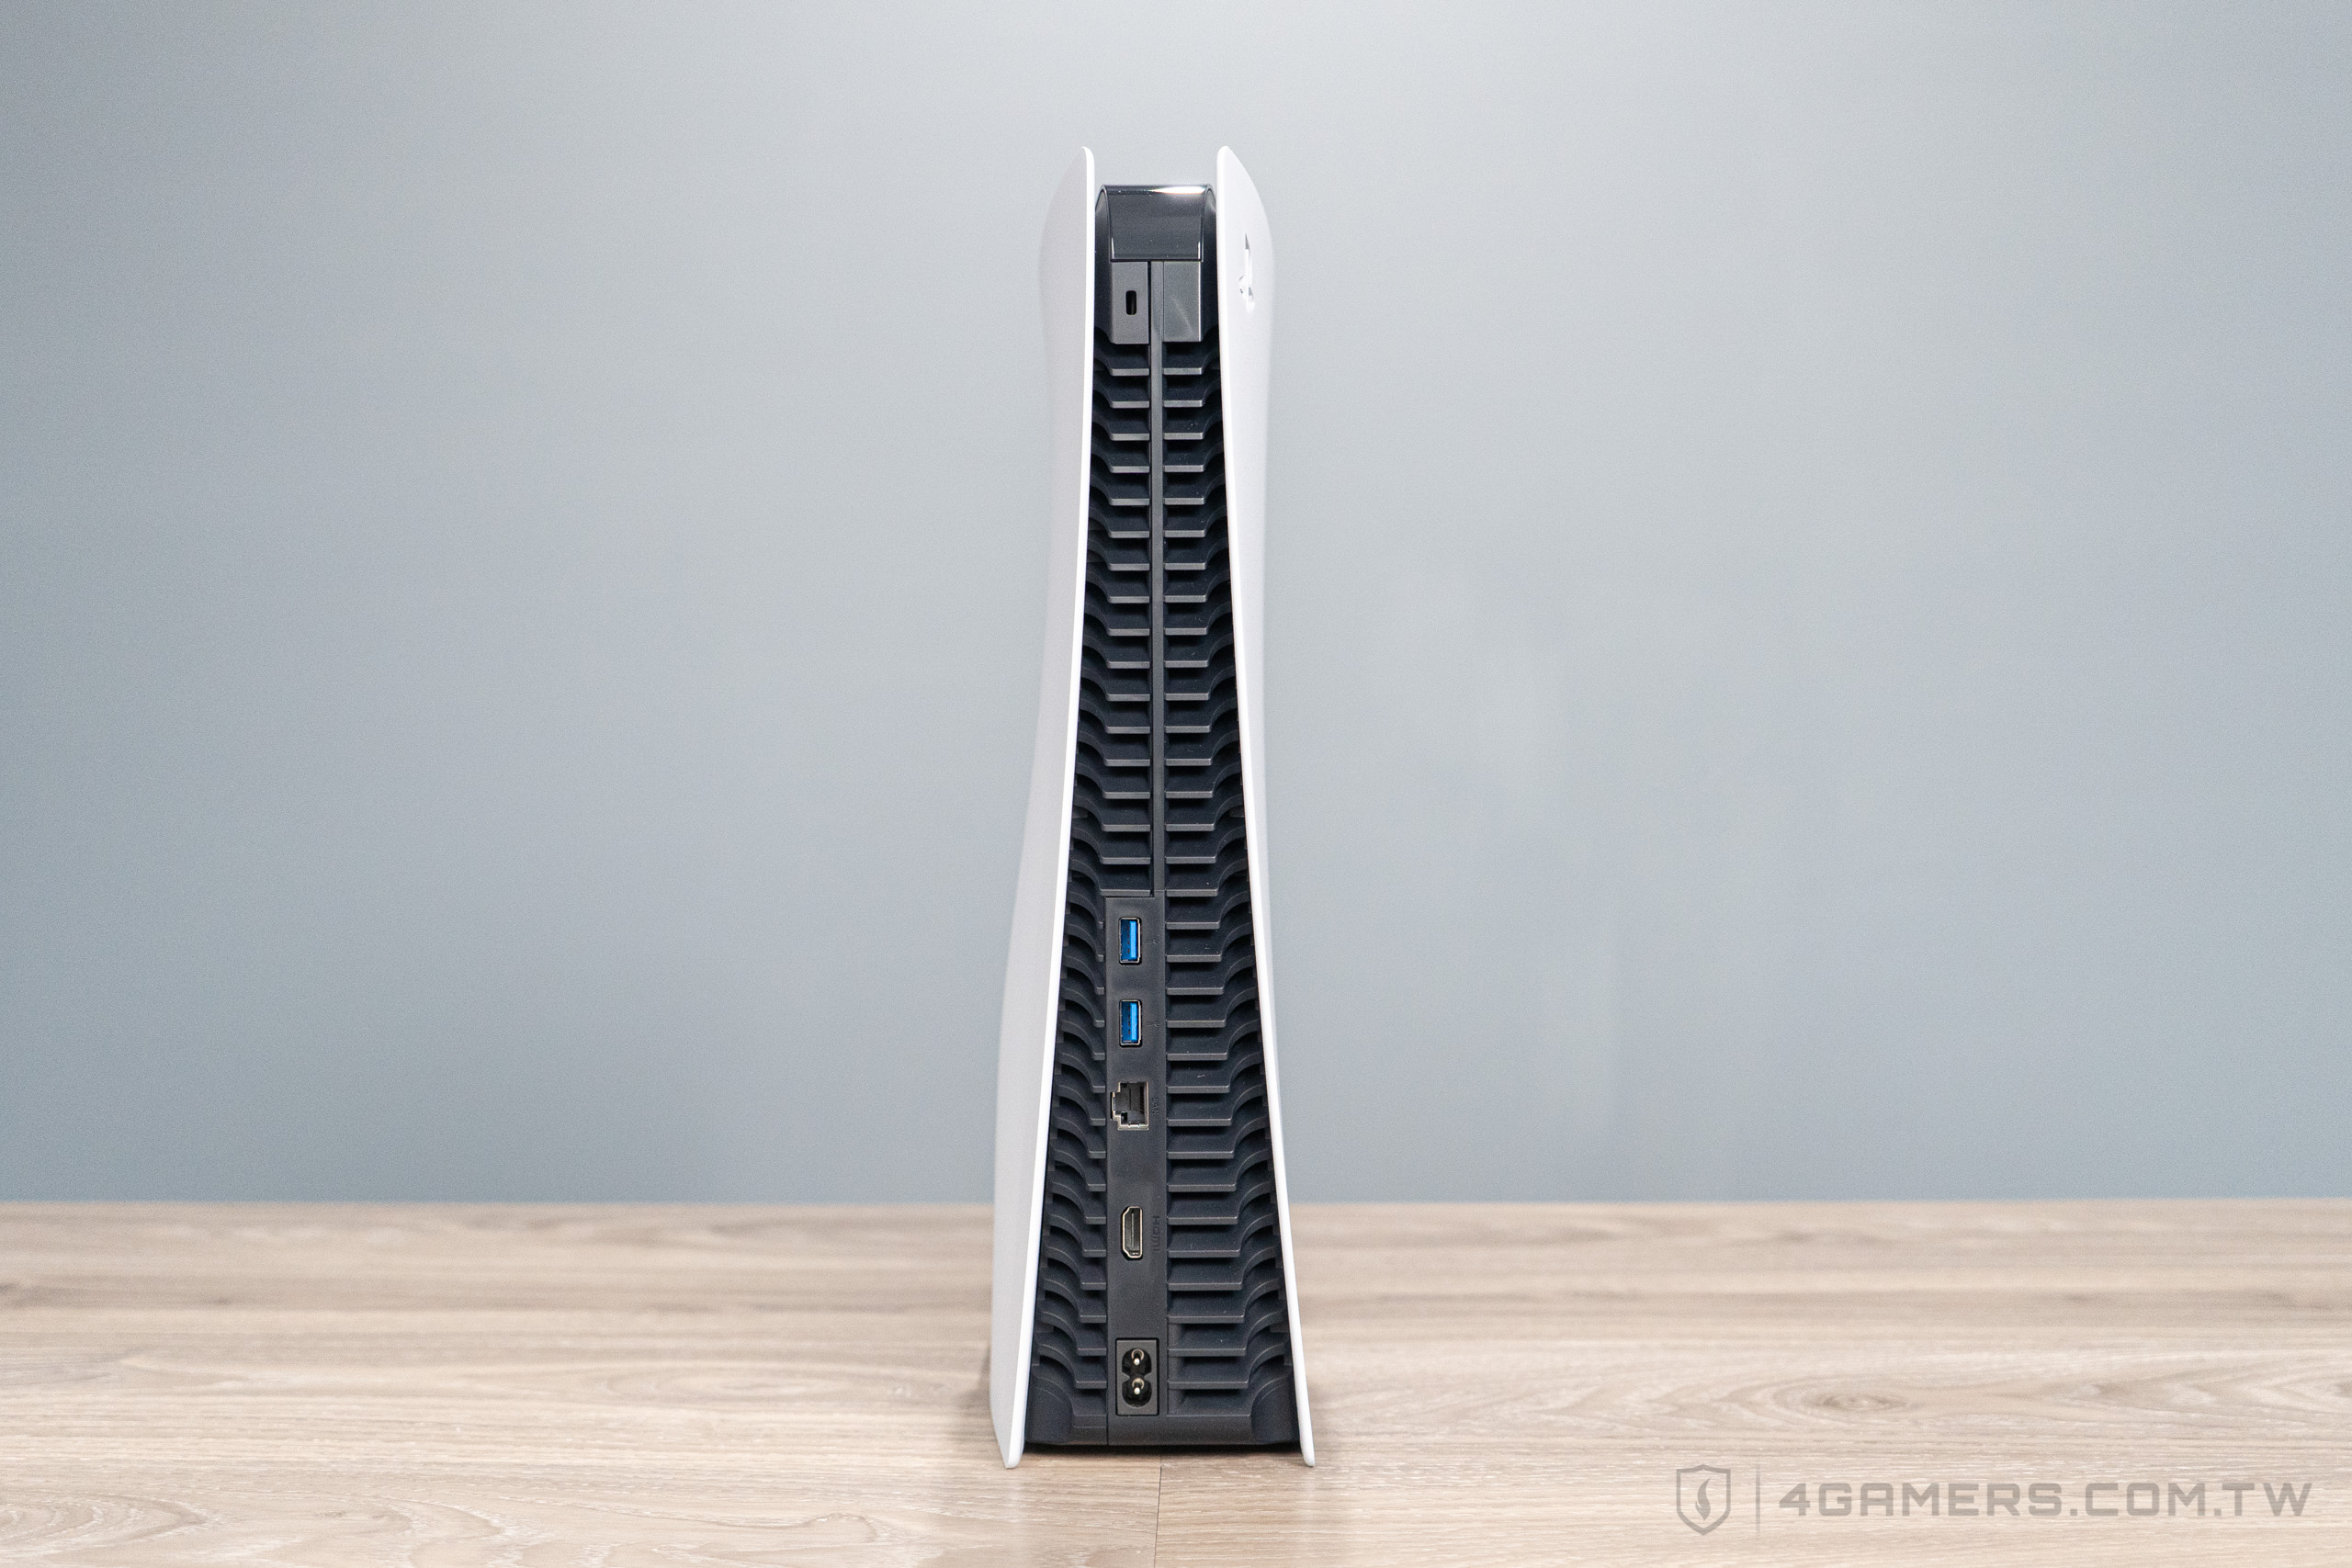
近一步看外盒一些細節,PS5 的 SSD 硬碟空間是 825GB。
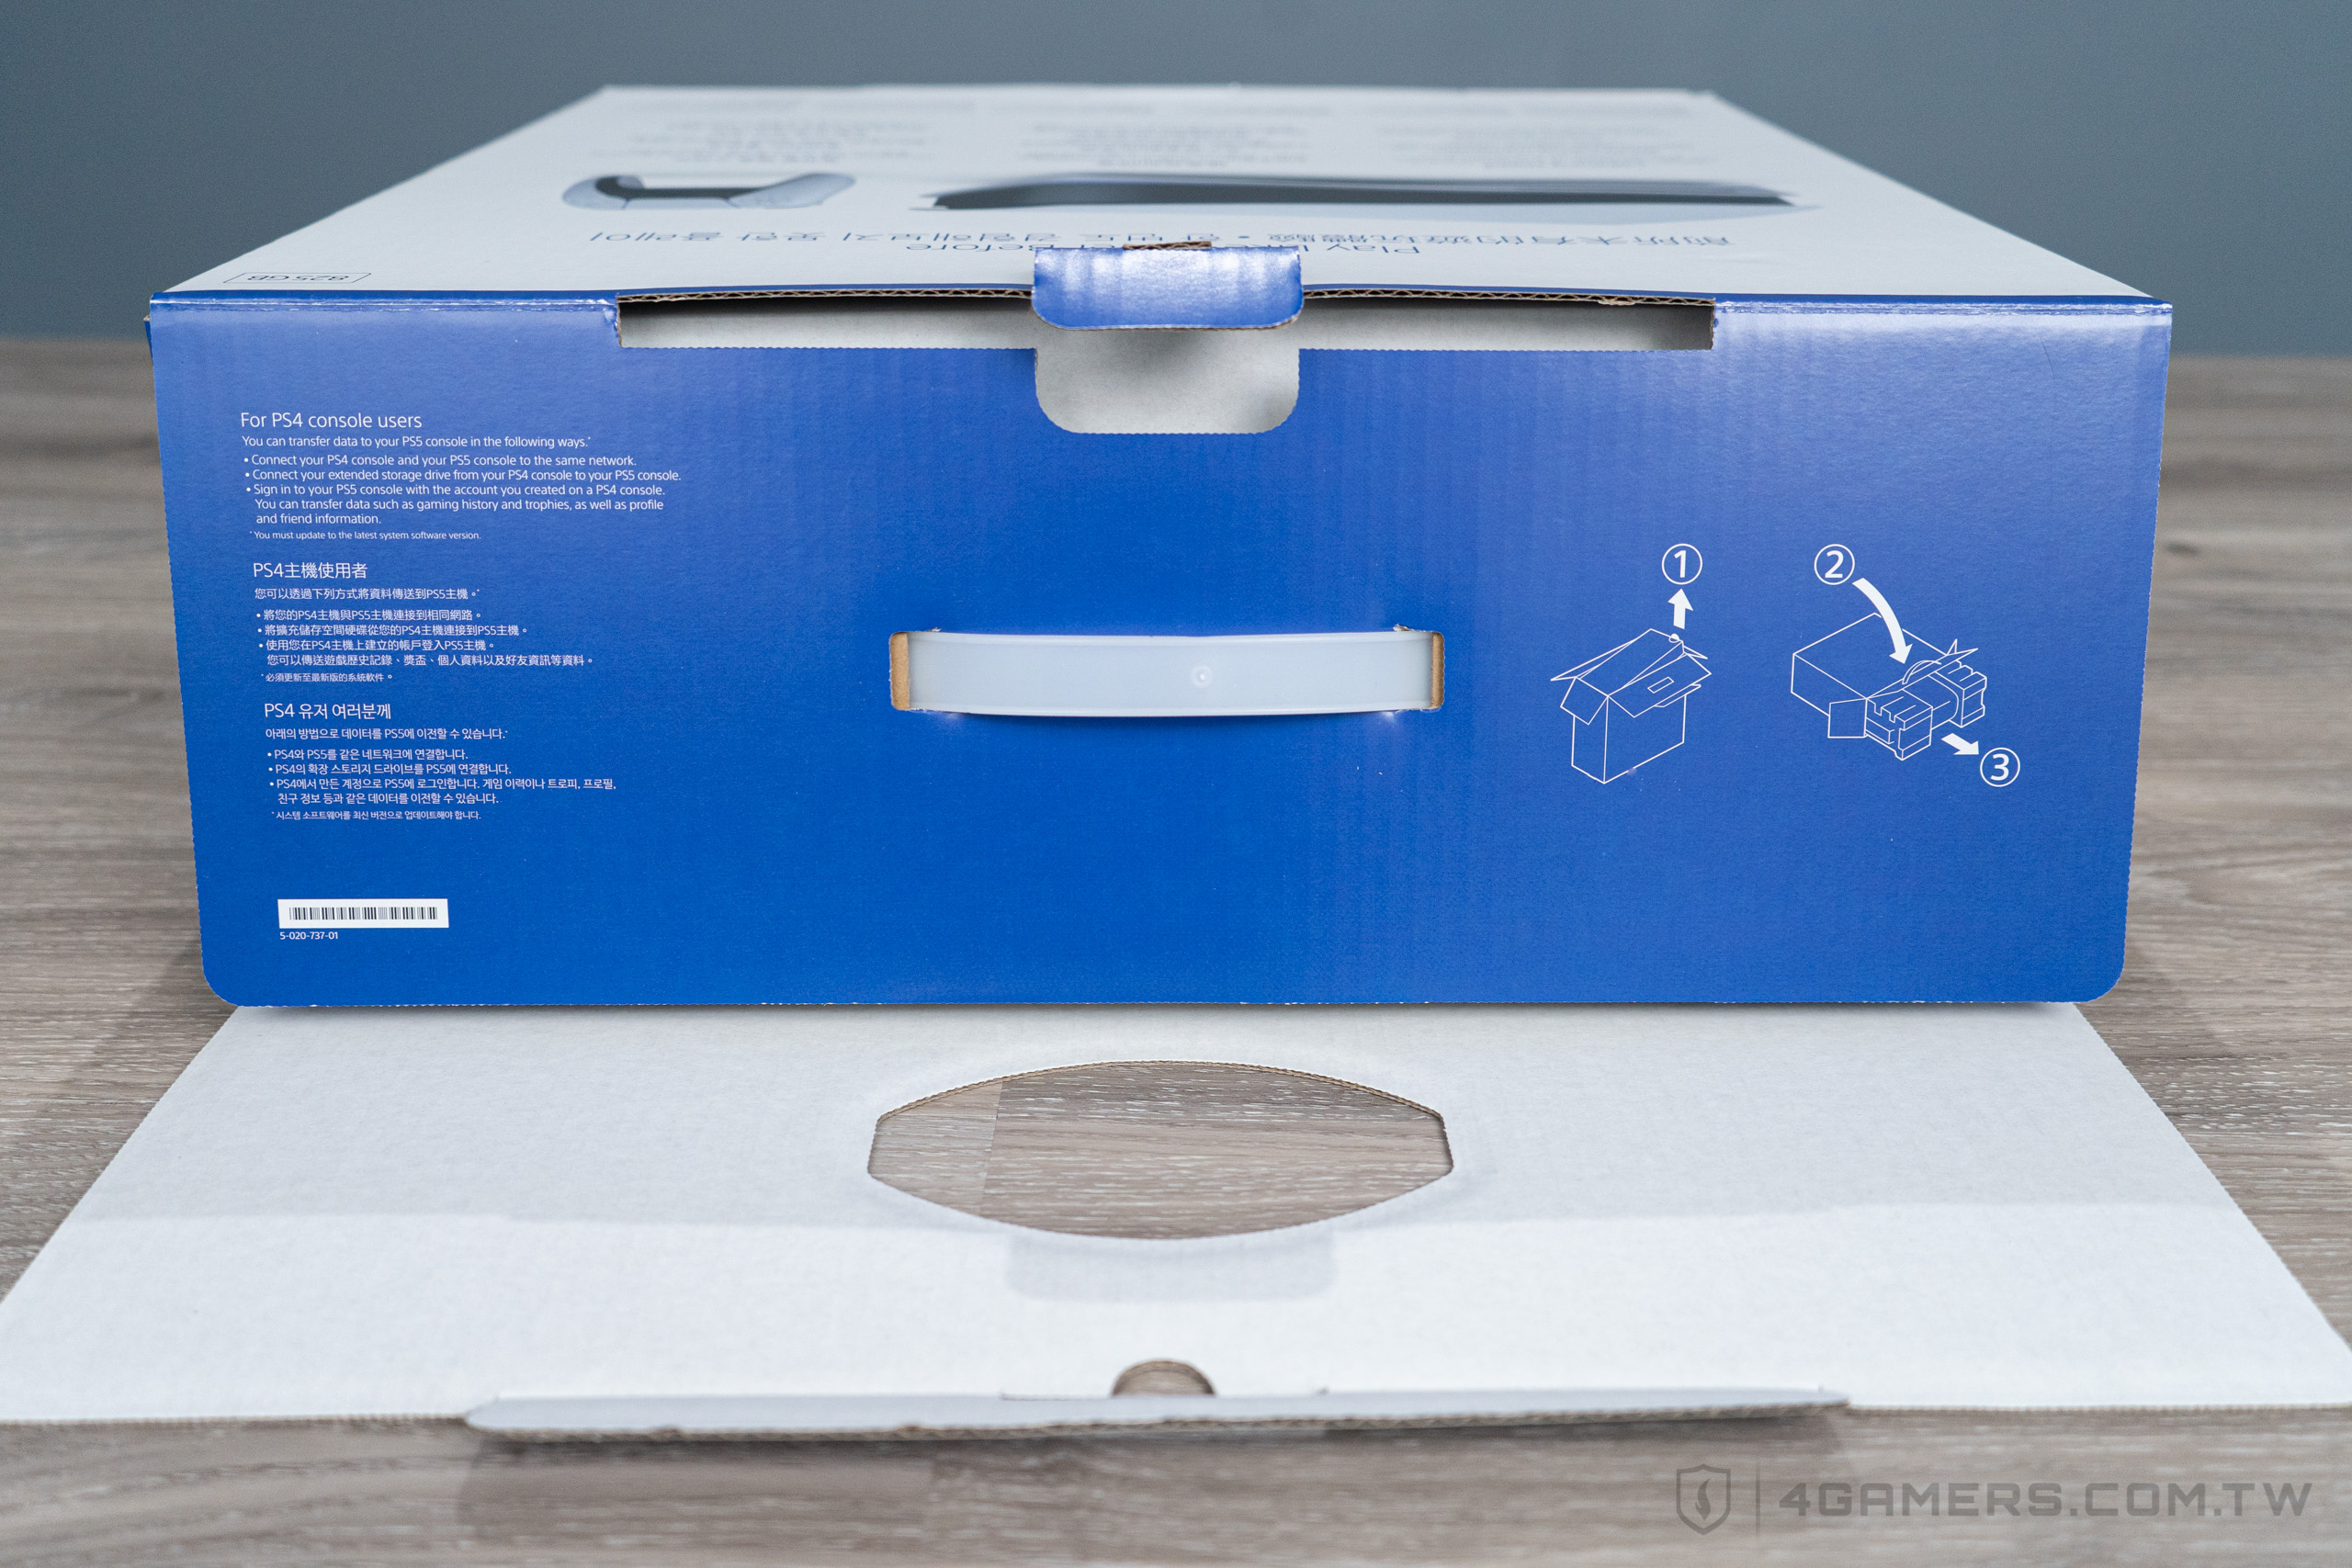
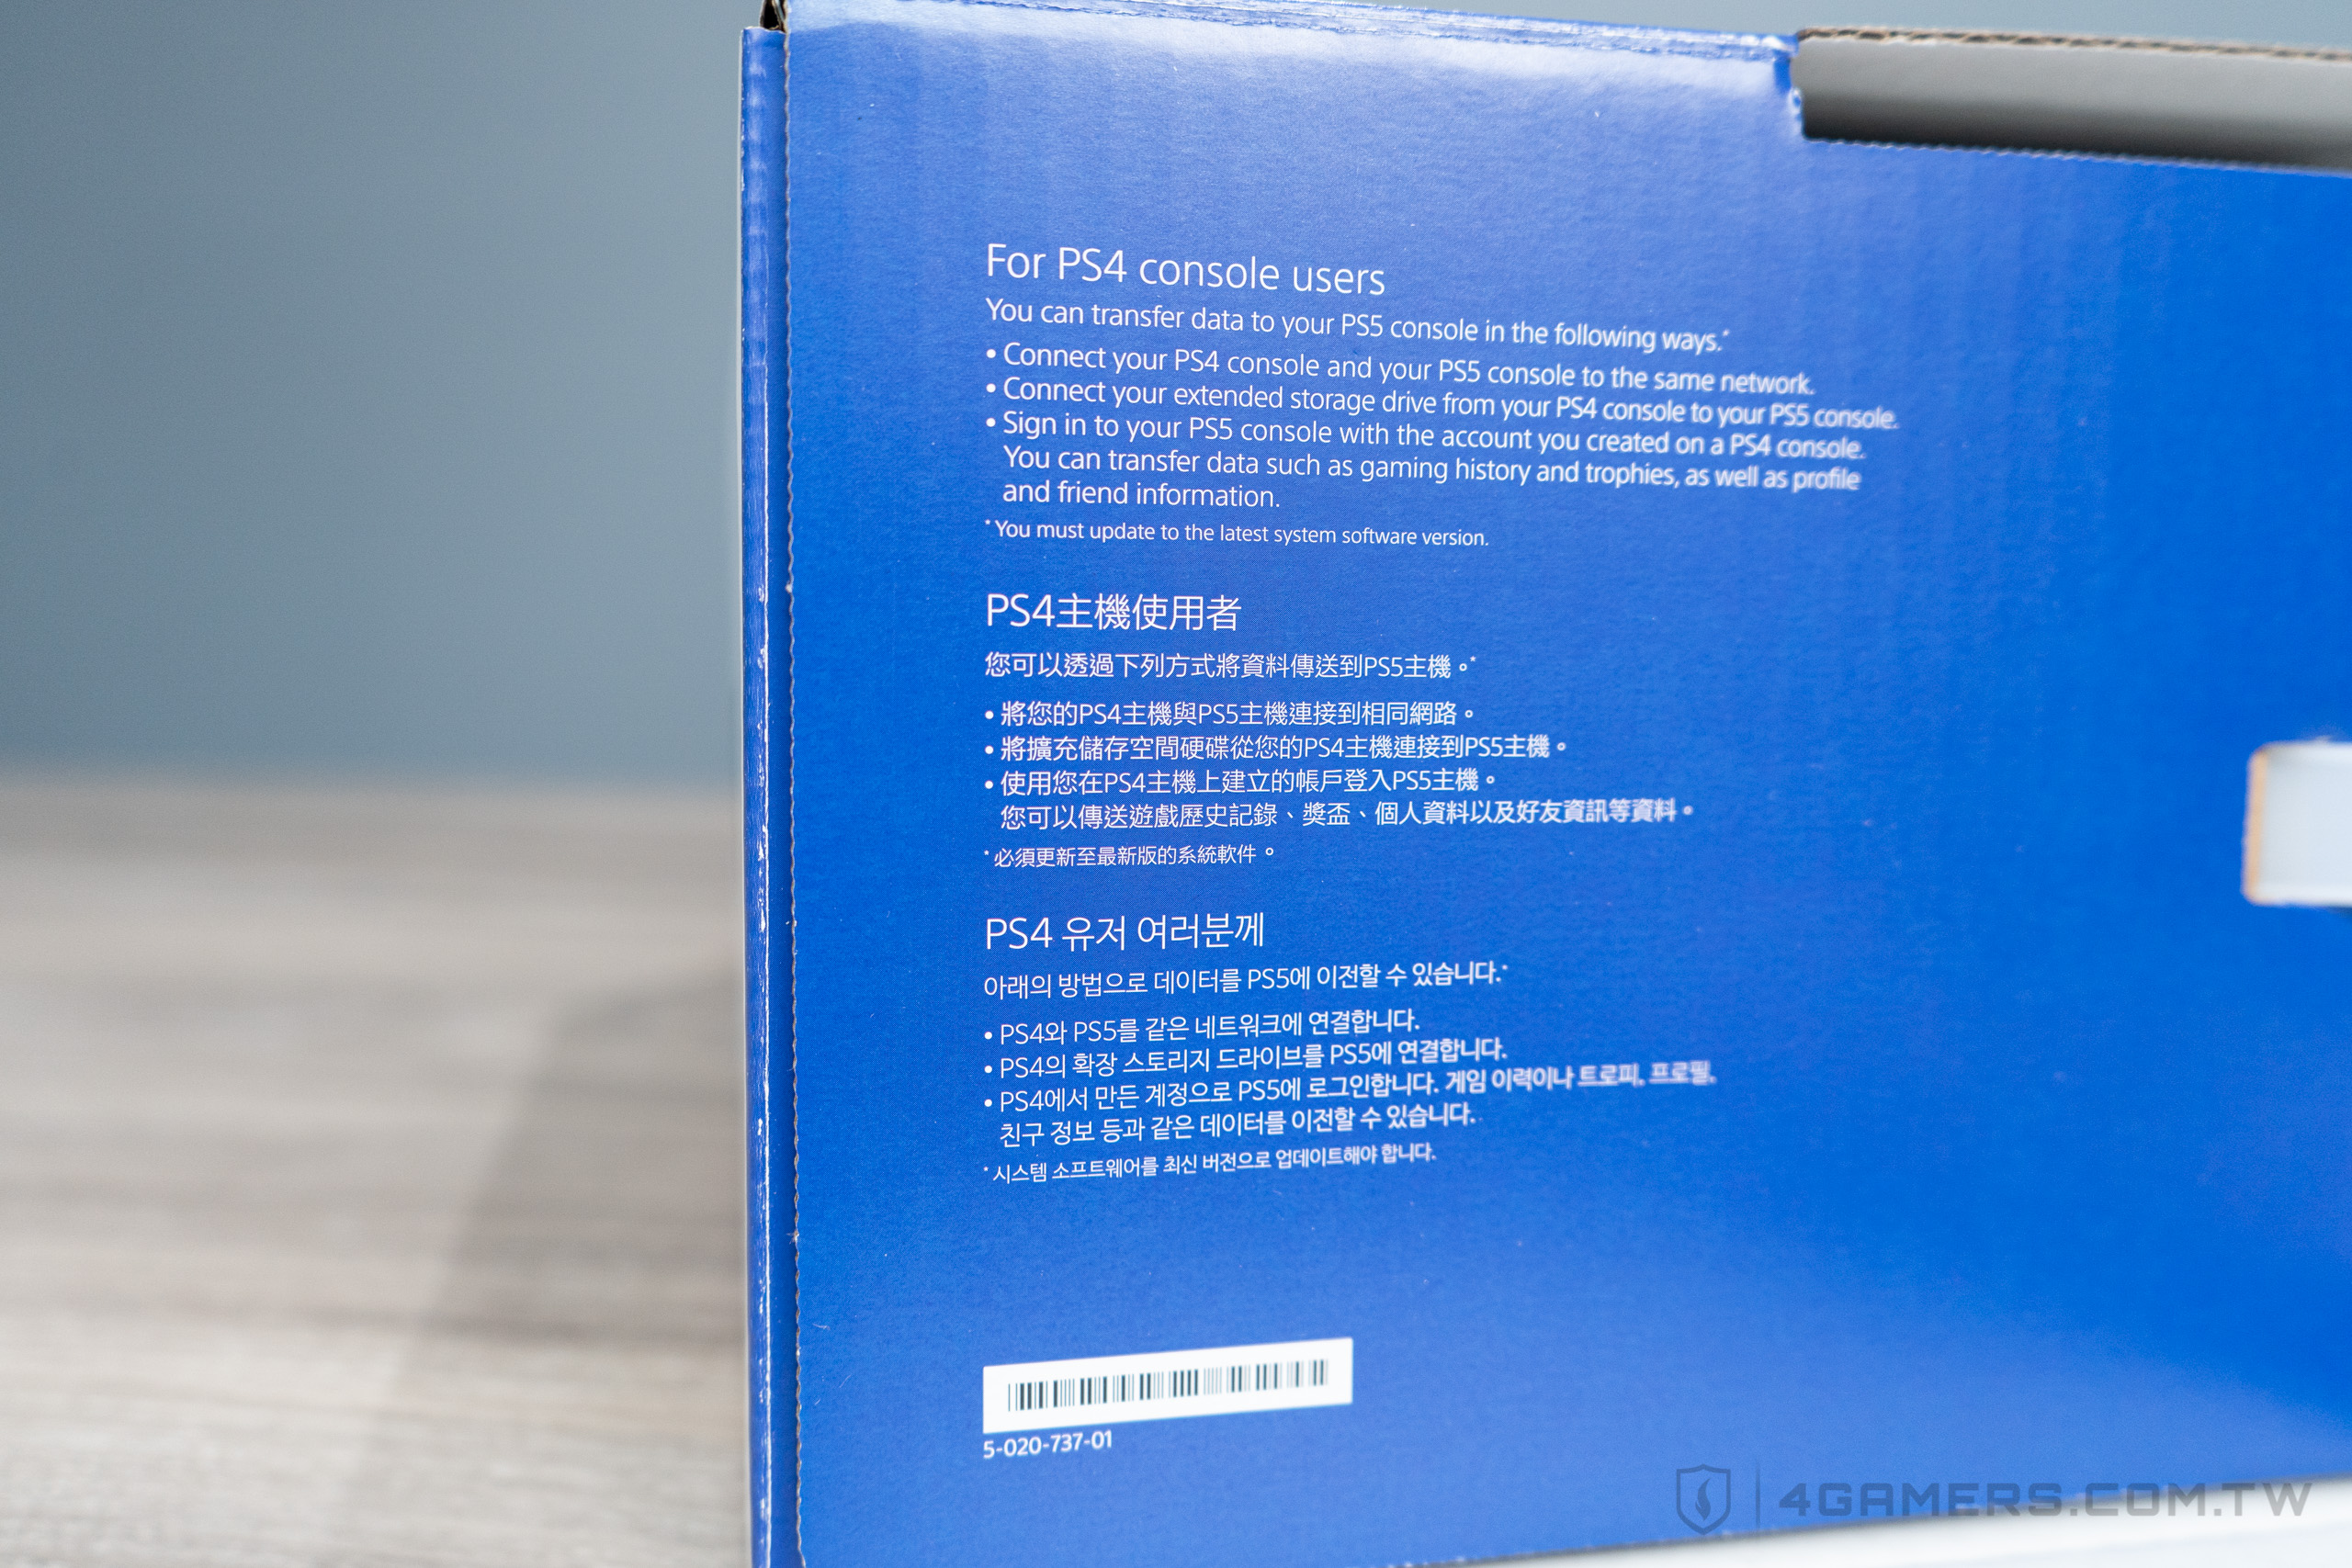
外盒有 PS4 搬家到 PS5 的基本辦法。
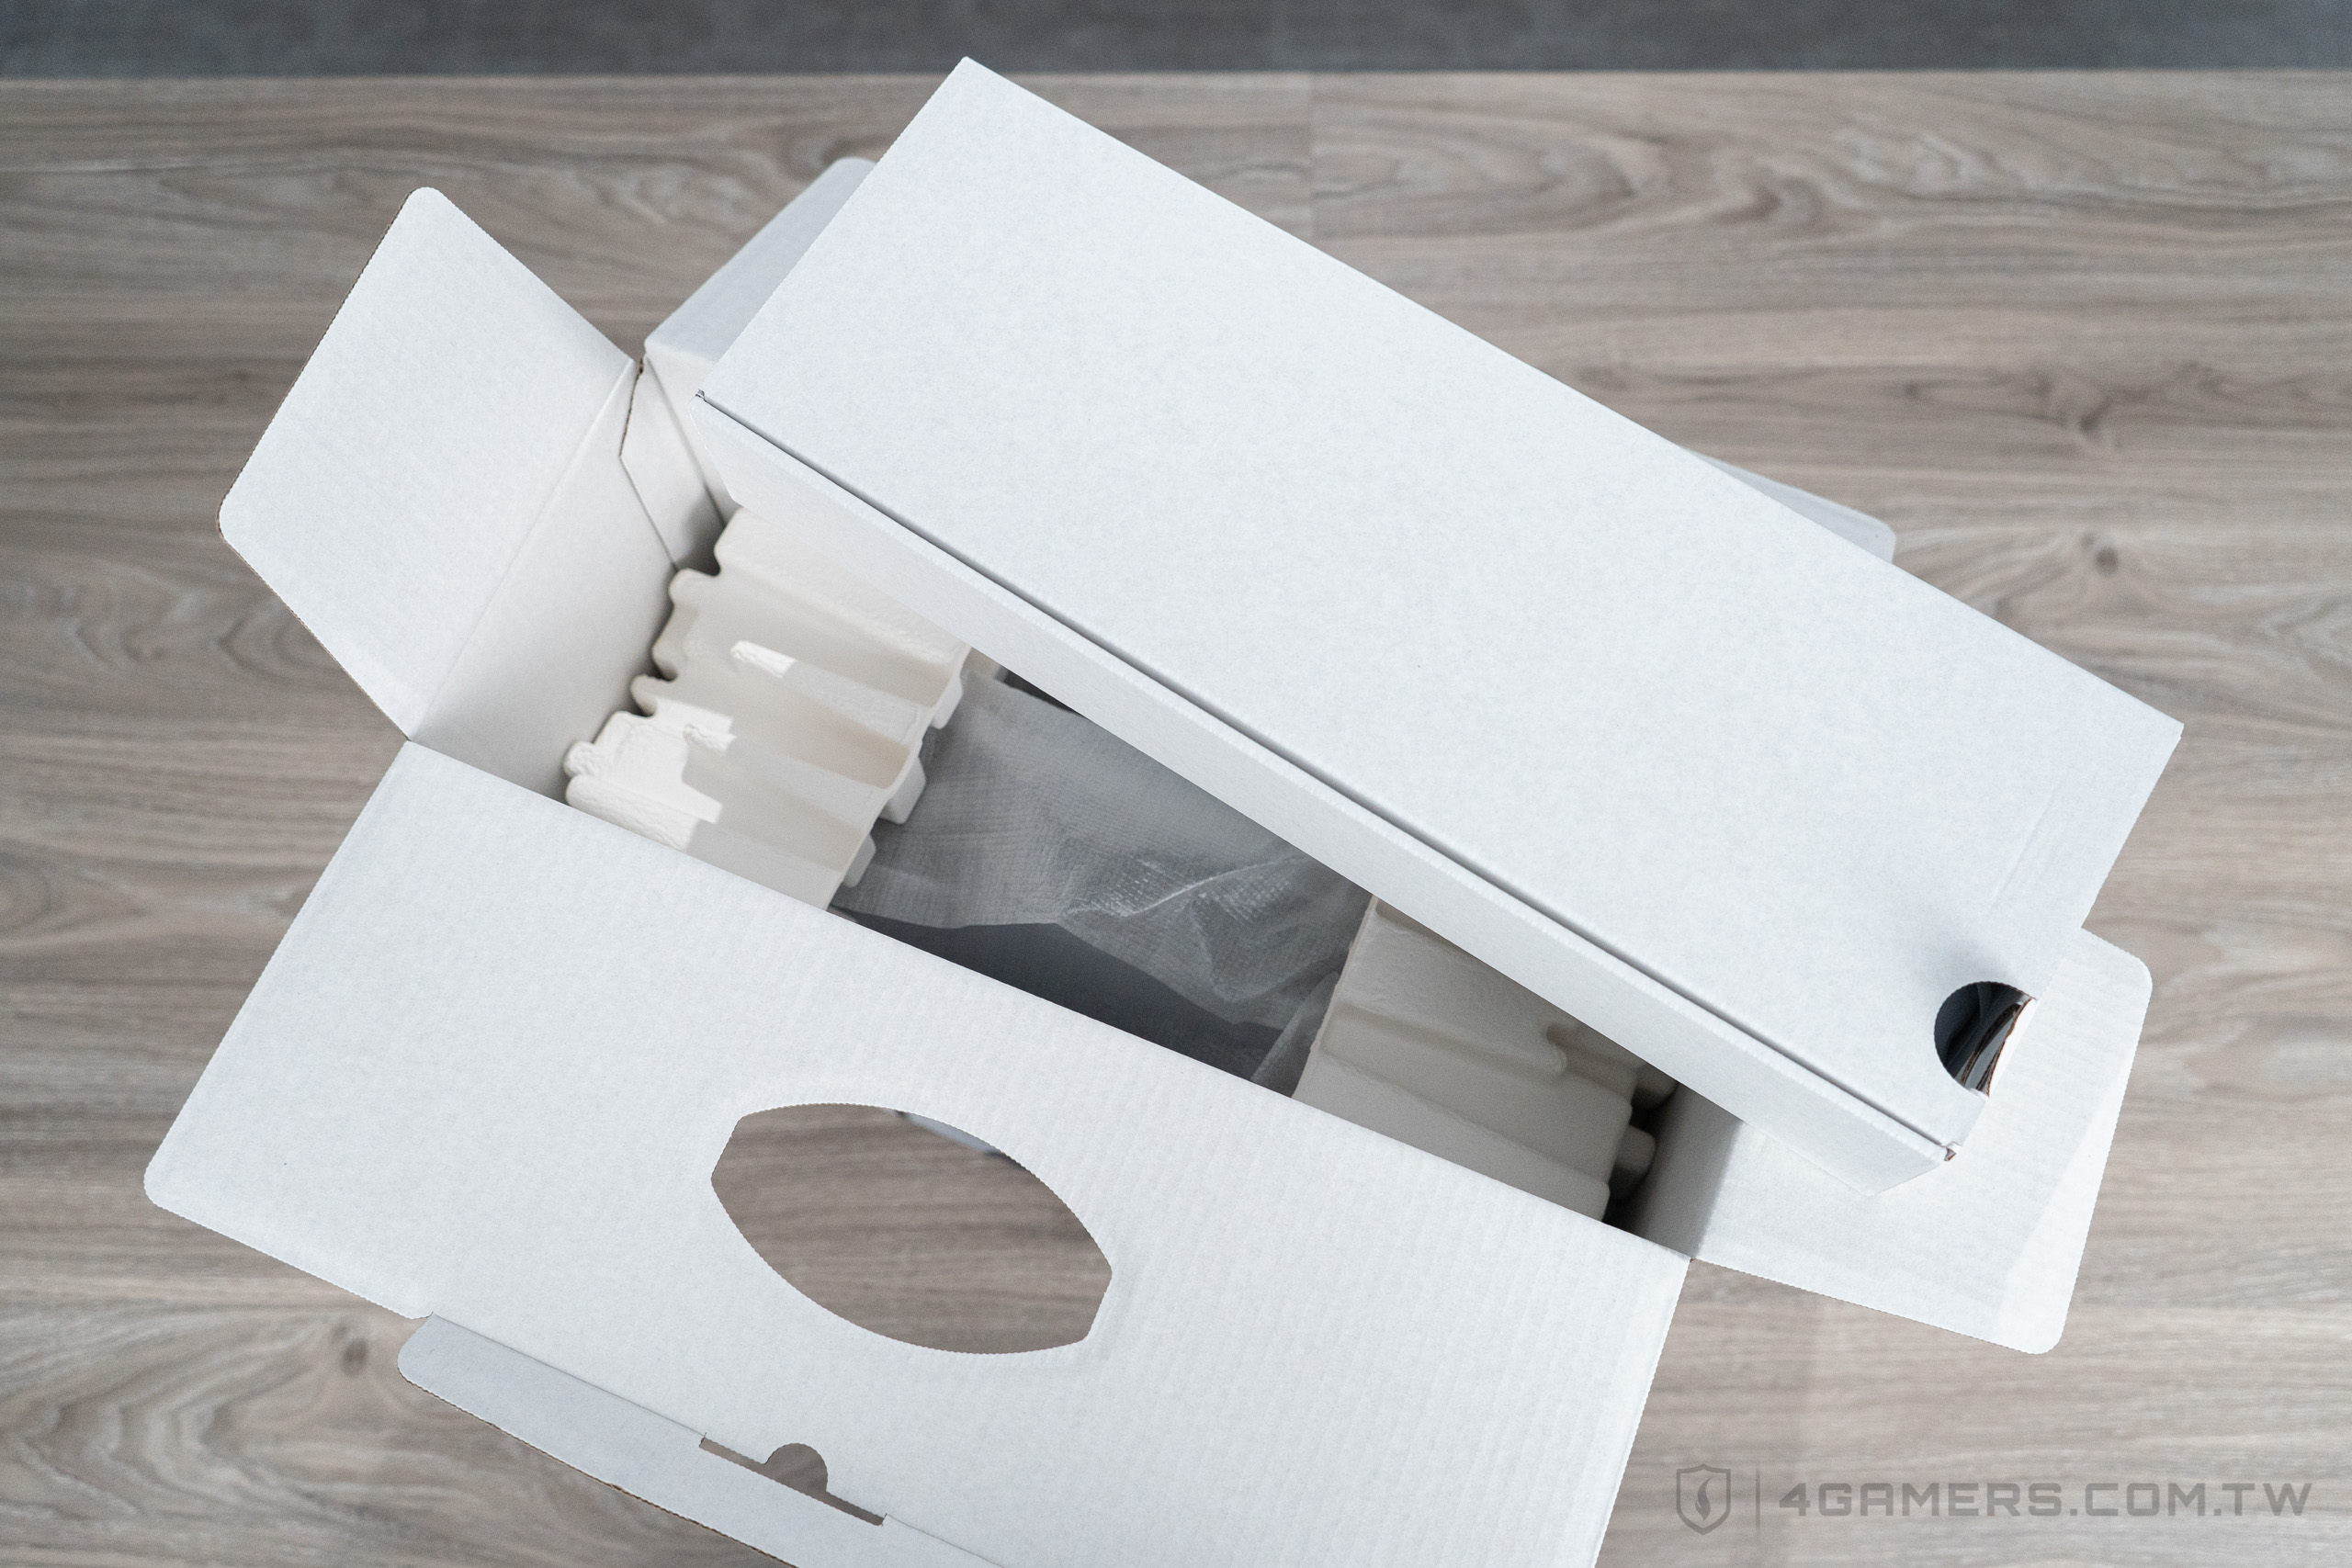
PS5 主機的外盒收納方式與 PS4 差不多,兩塊包覆主機的固定物有左右上下的分別。
順便幫大家拍起來做記錄,哪一天忘記的時候,可以回來瞧瞧。(右鍵點另開視窗可看大圖)
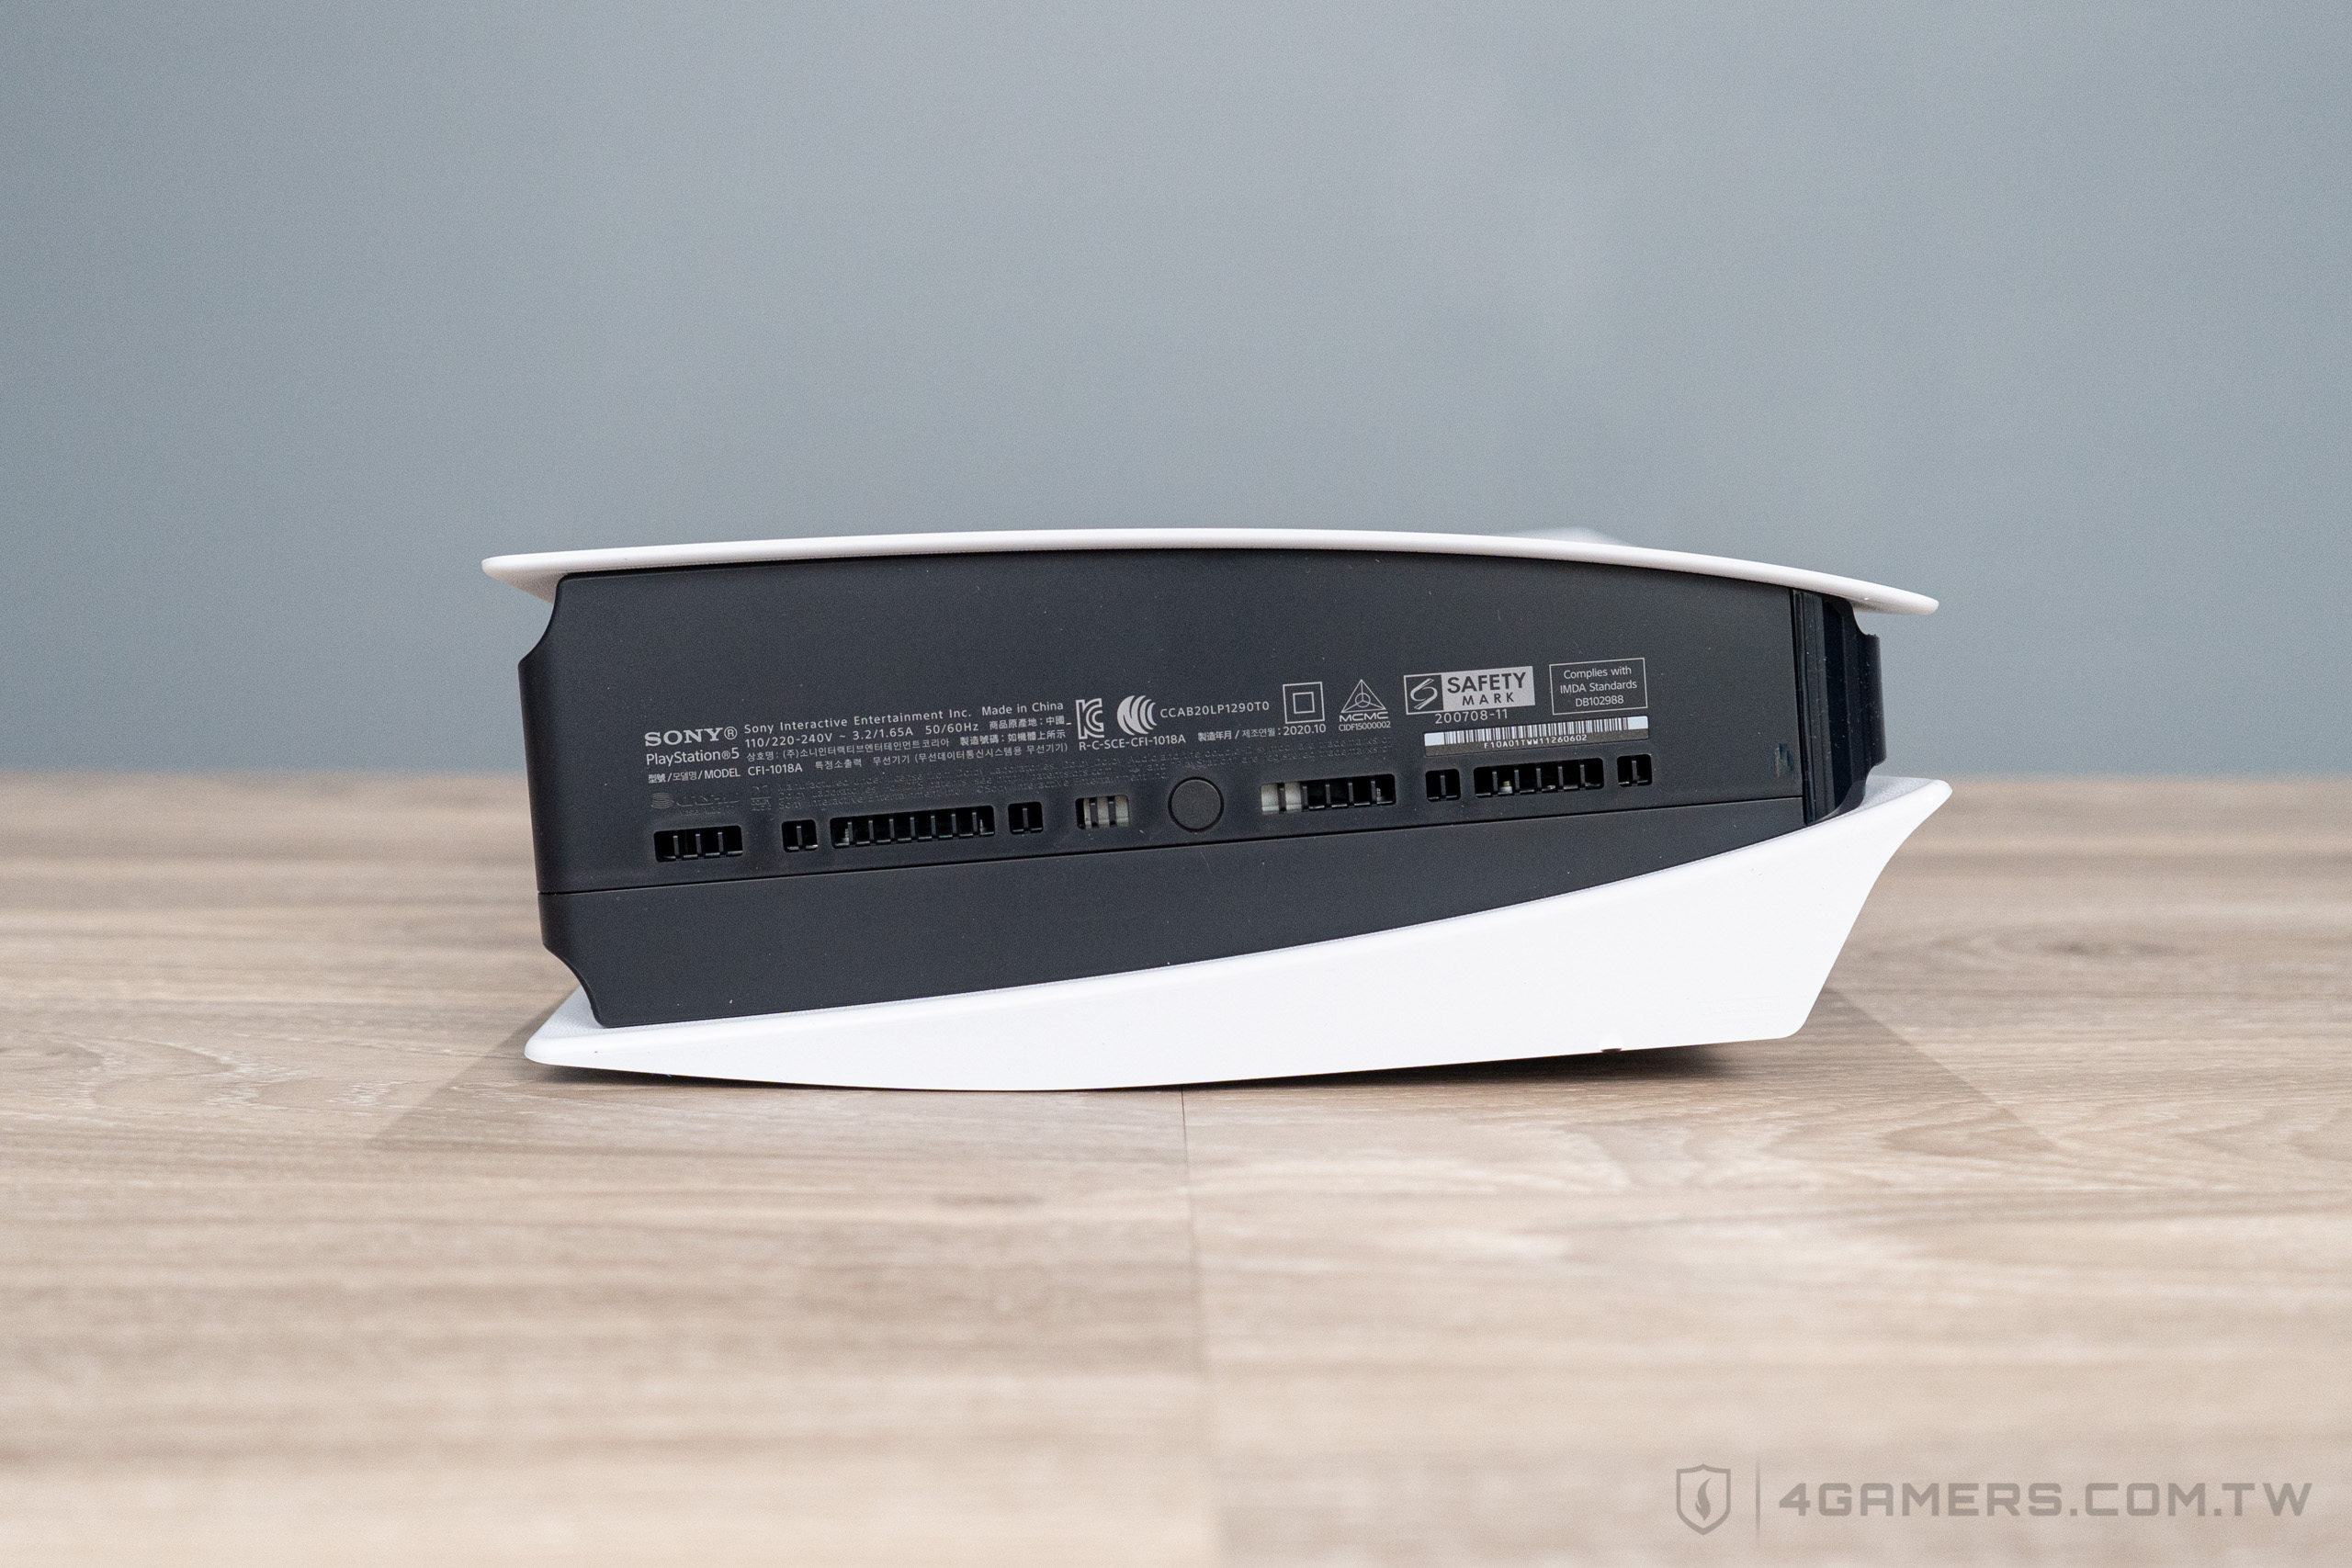
PS5 台灣公司貨的型號是「CFI-1018」系列,PS5 上市機種的光碟機版是 CFI-1018A。
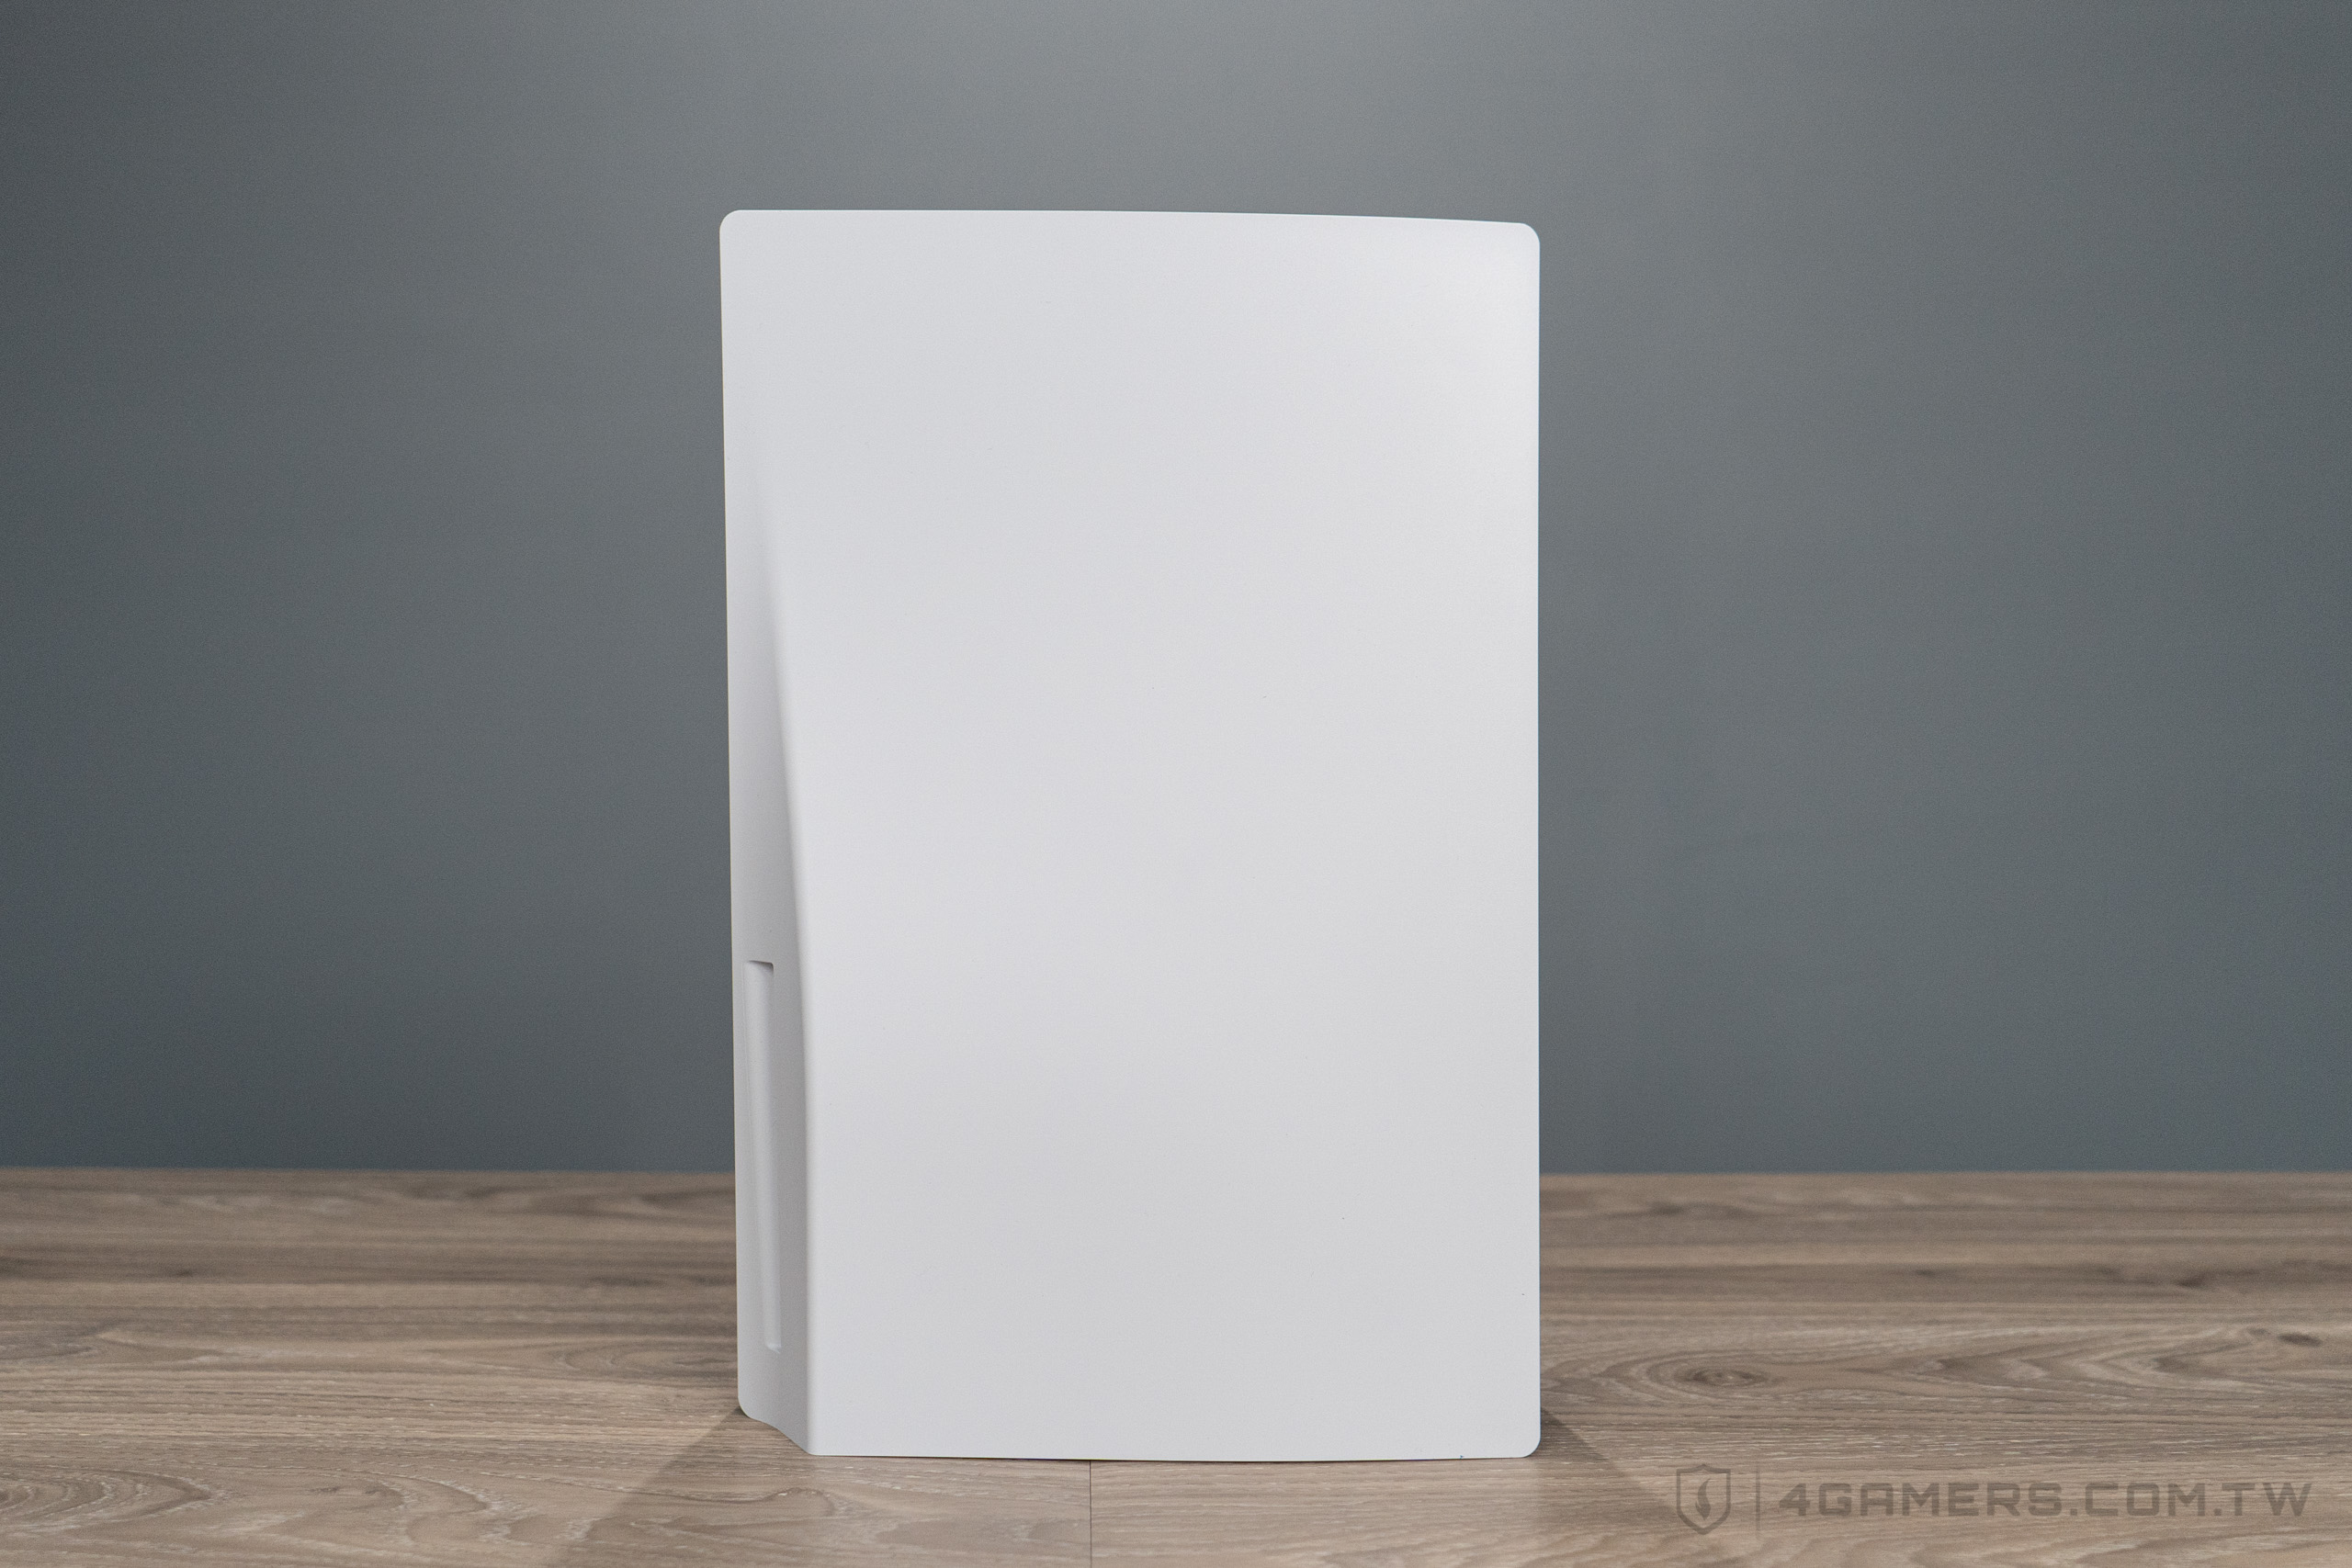
換個角度再看一下。

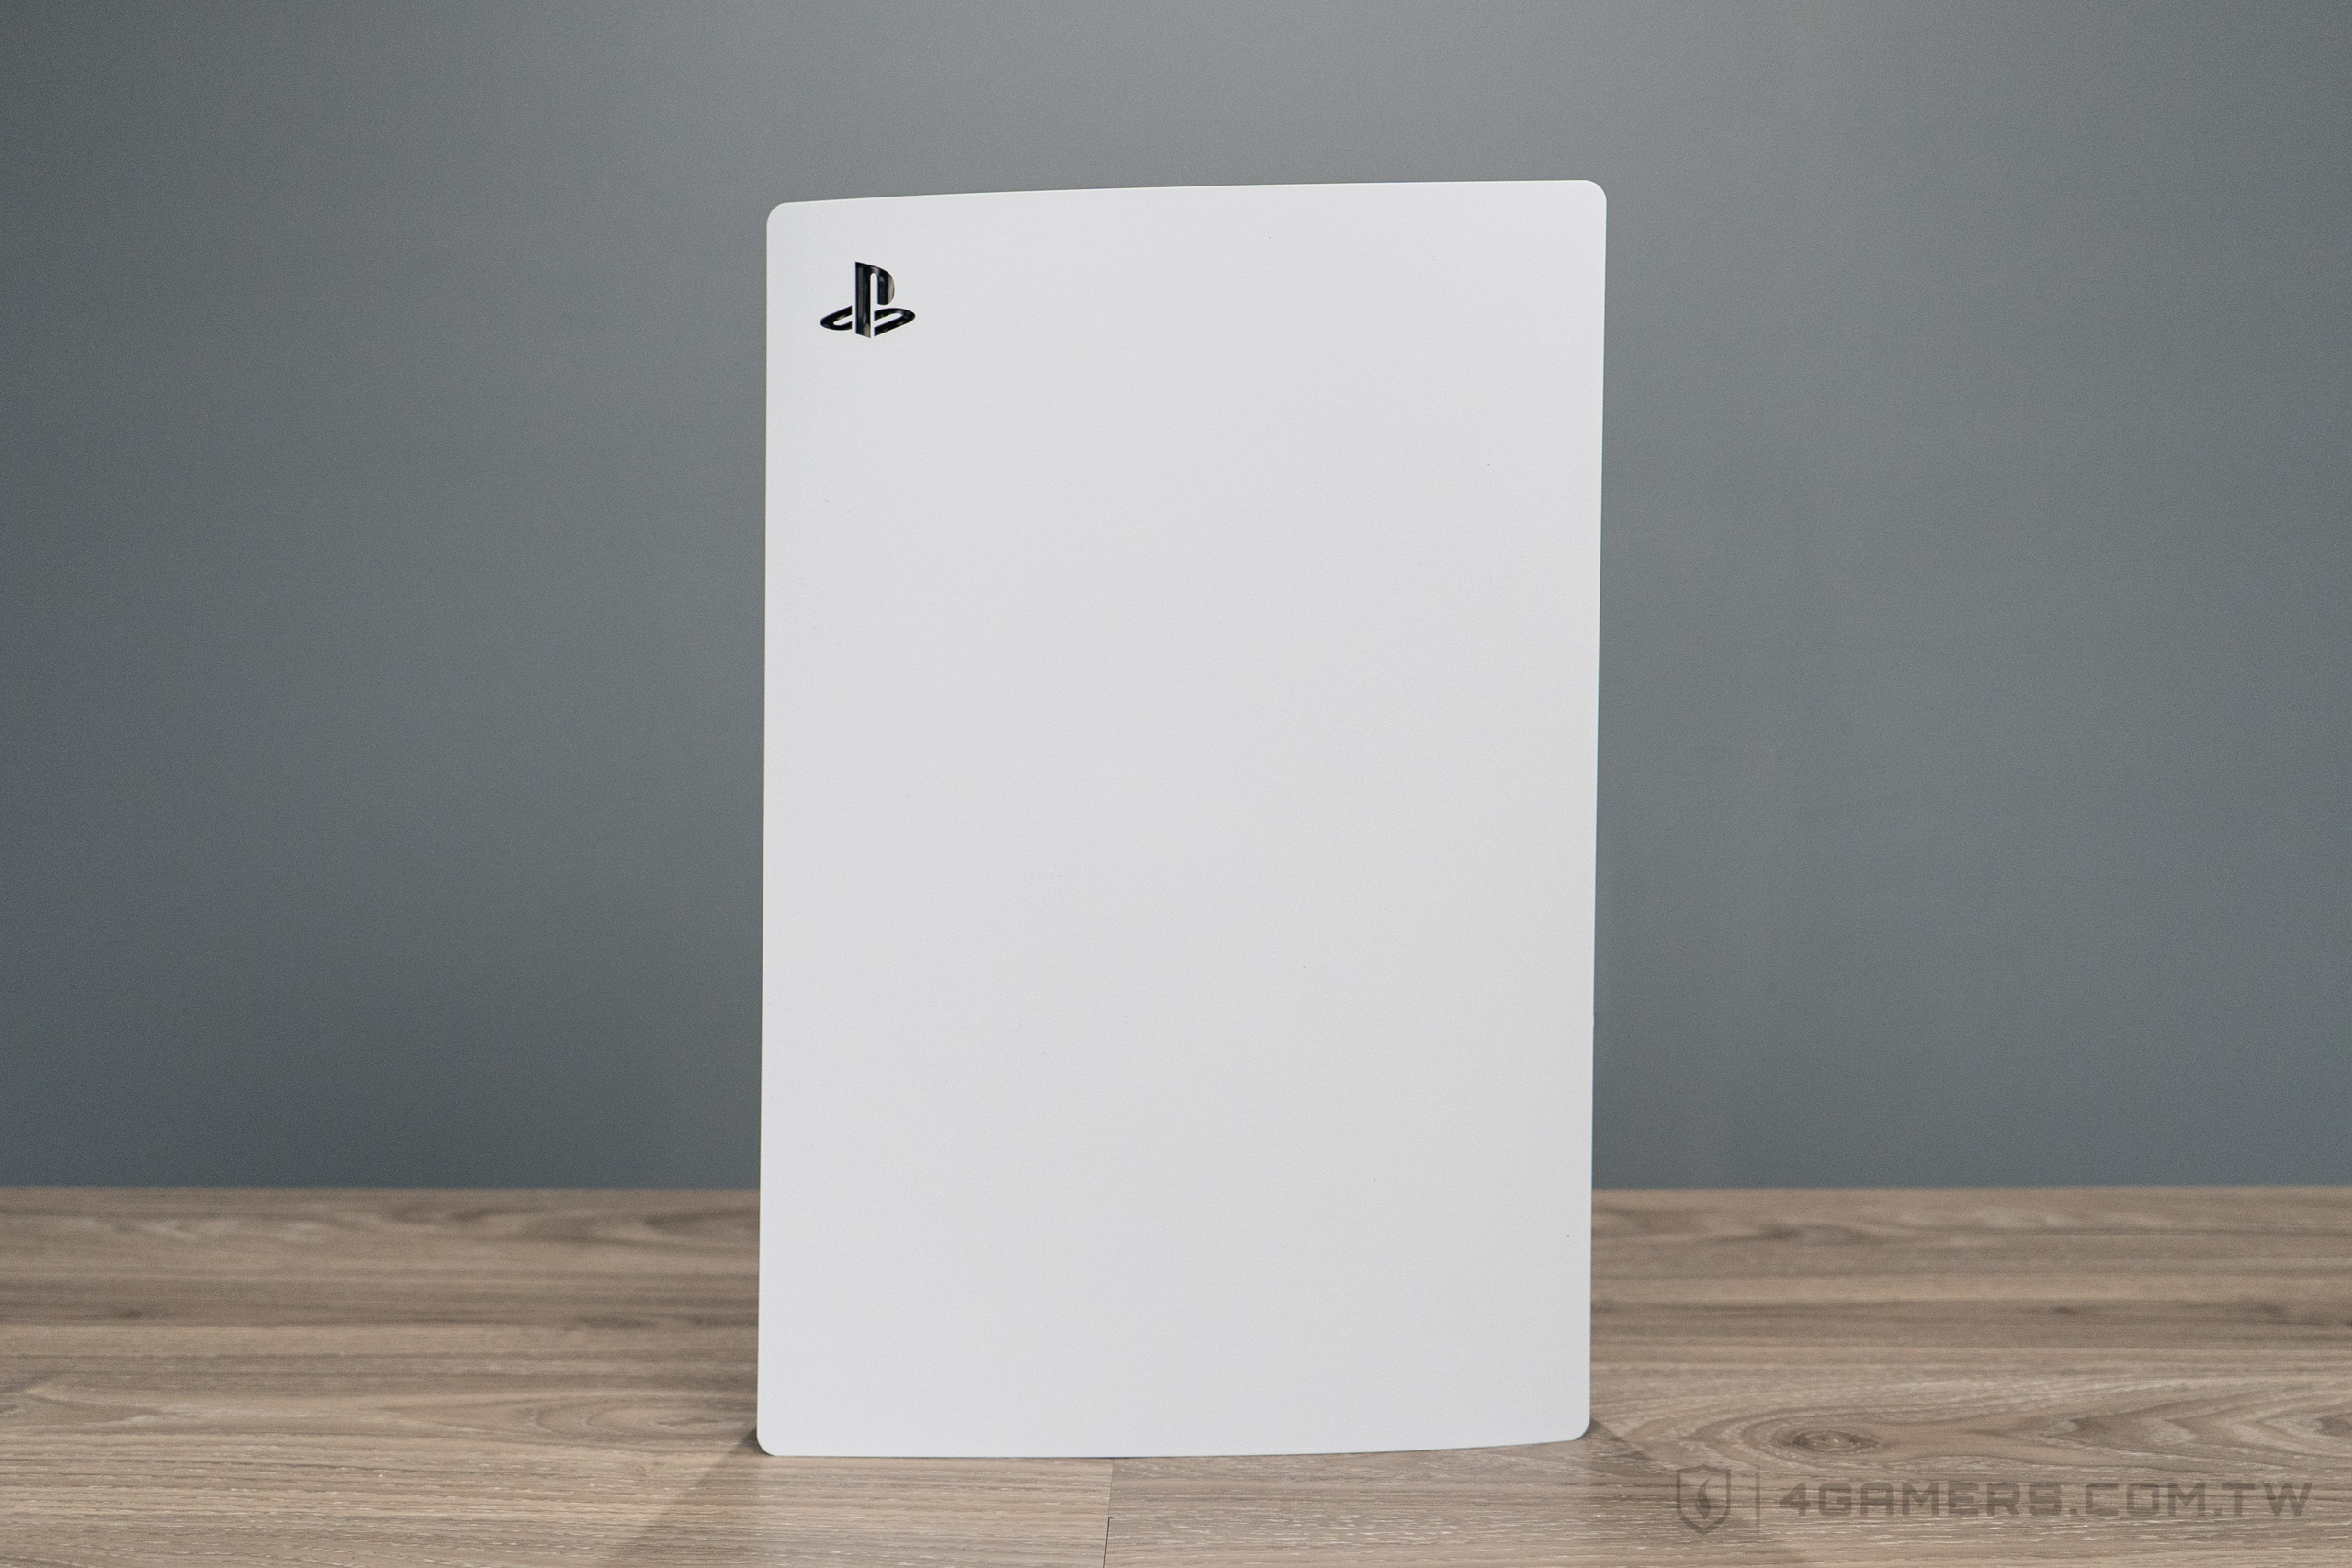
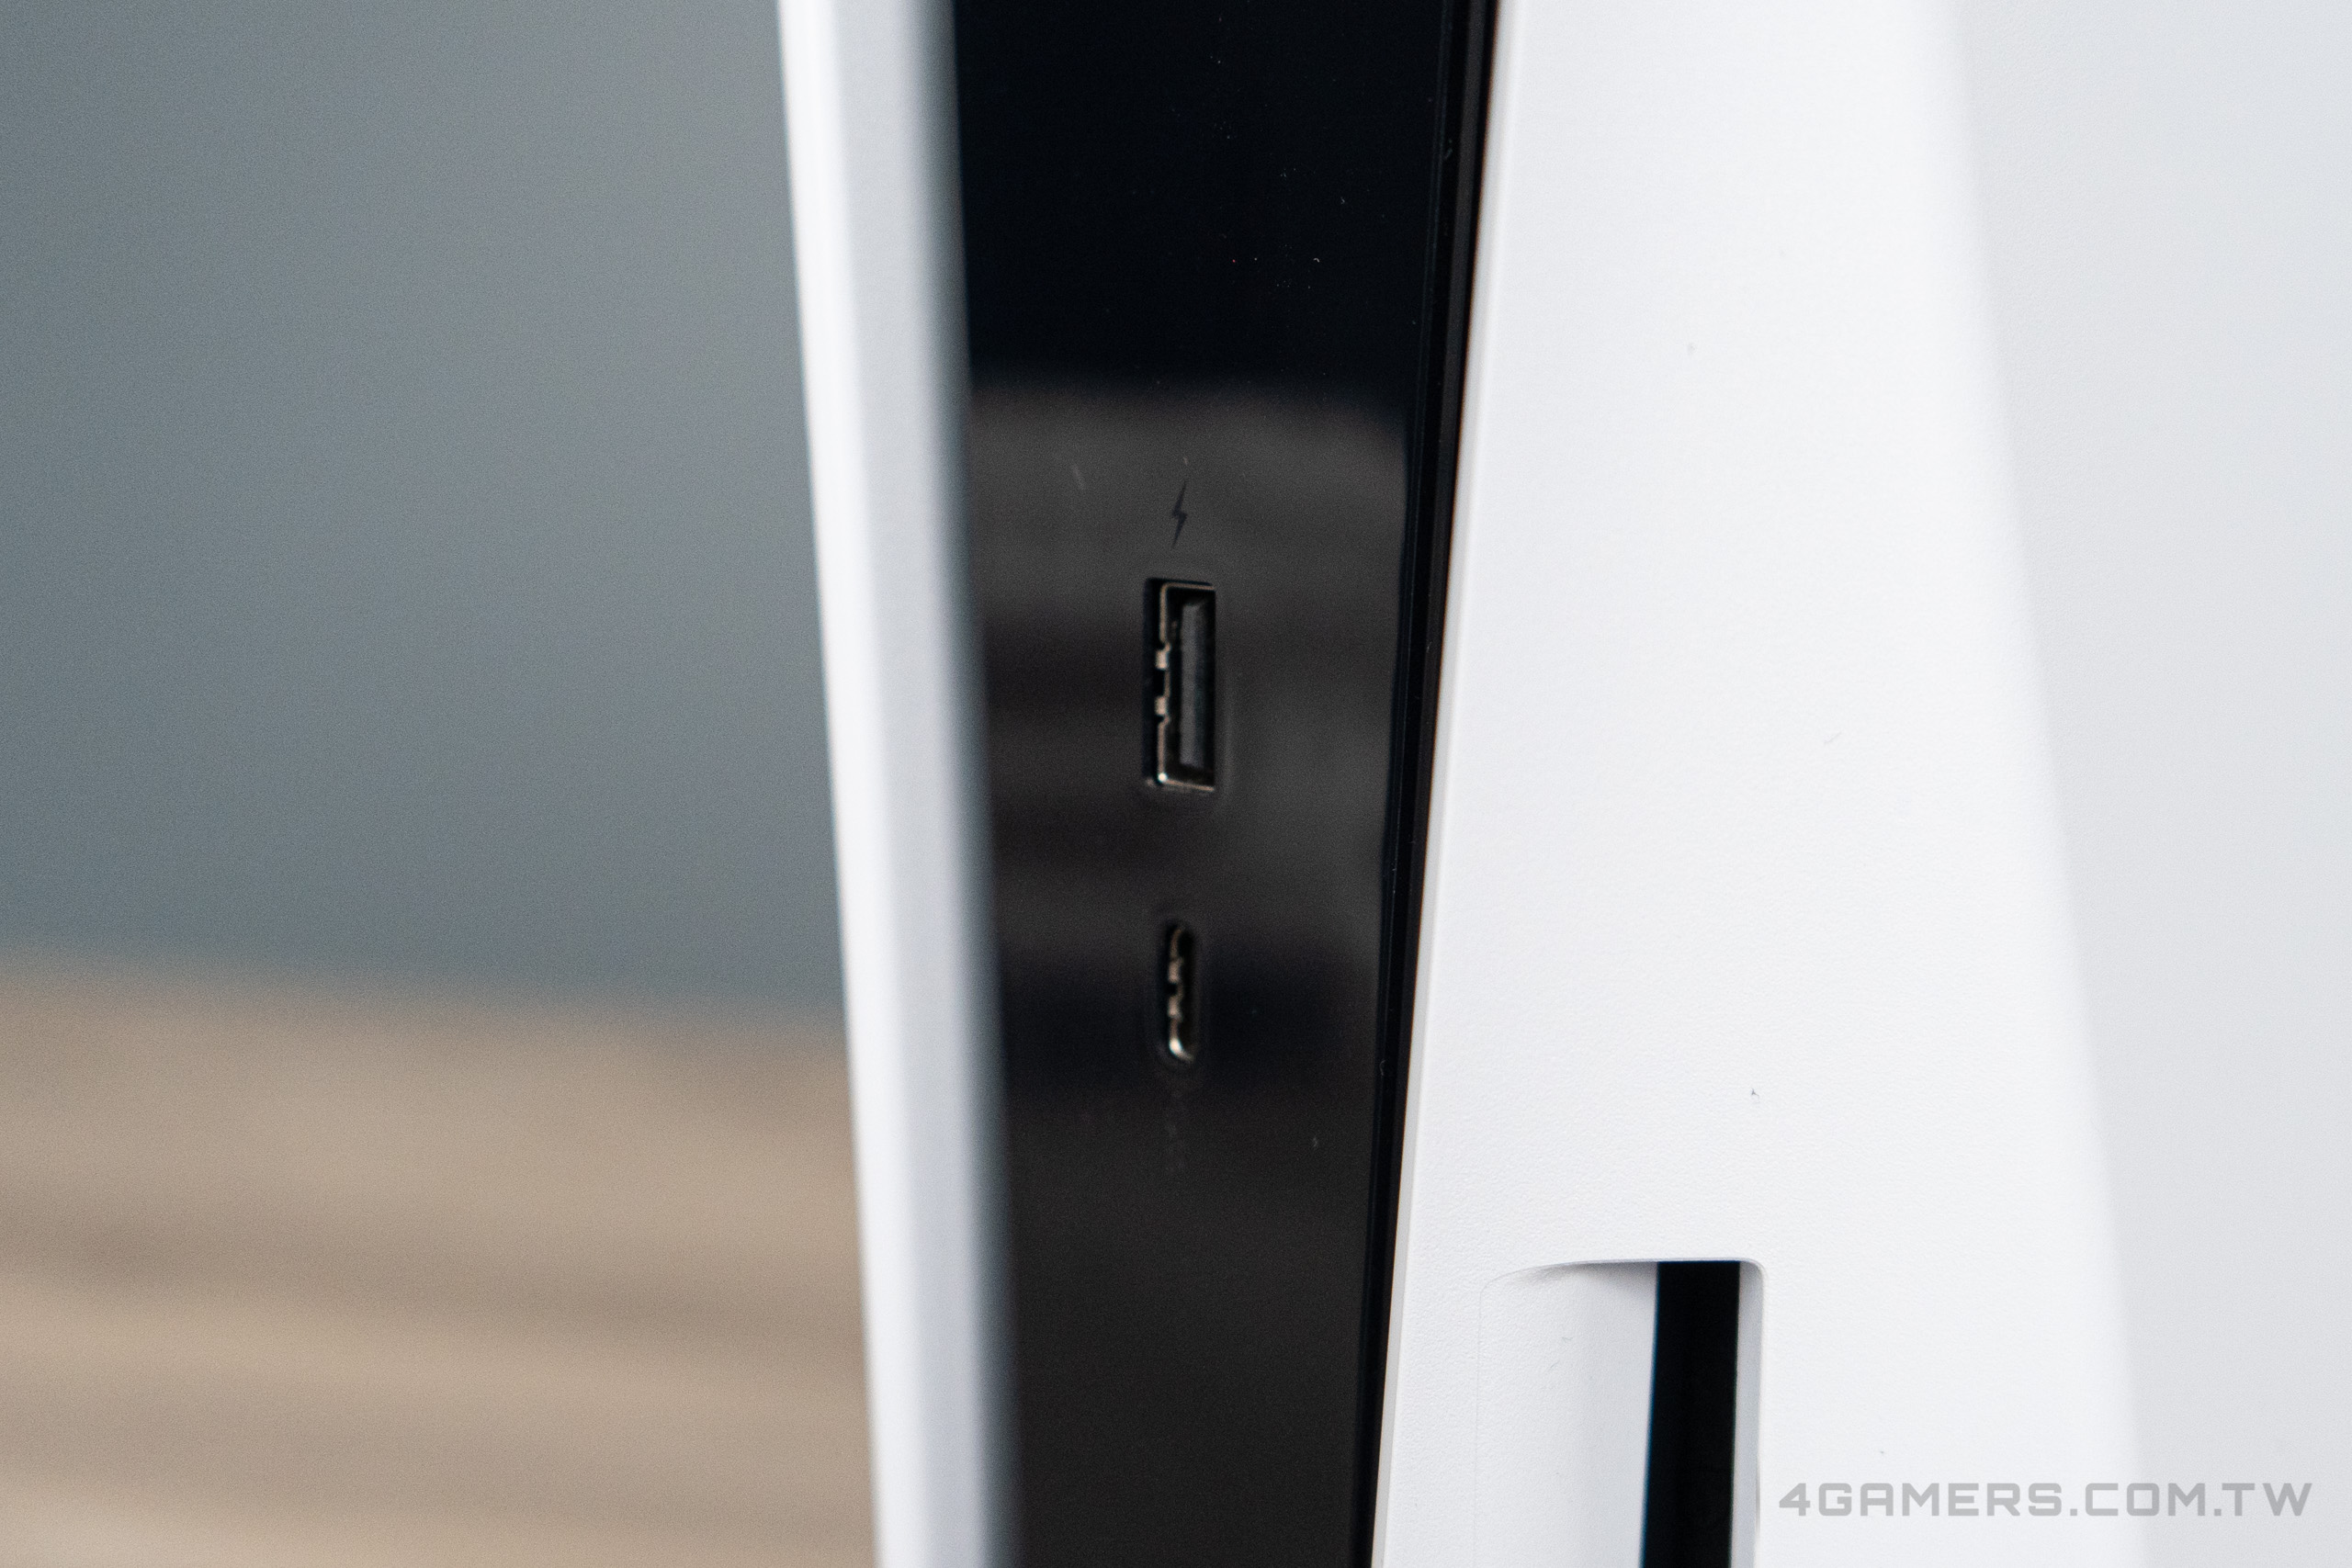
PS5 機身表面的的鏤空 PS Logo。
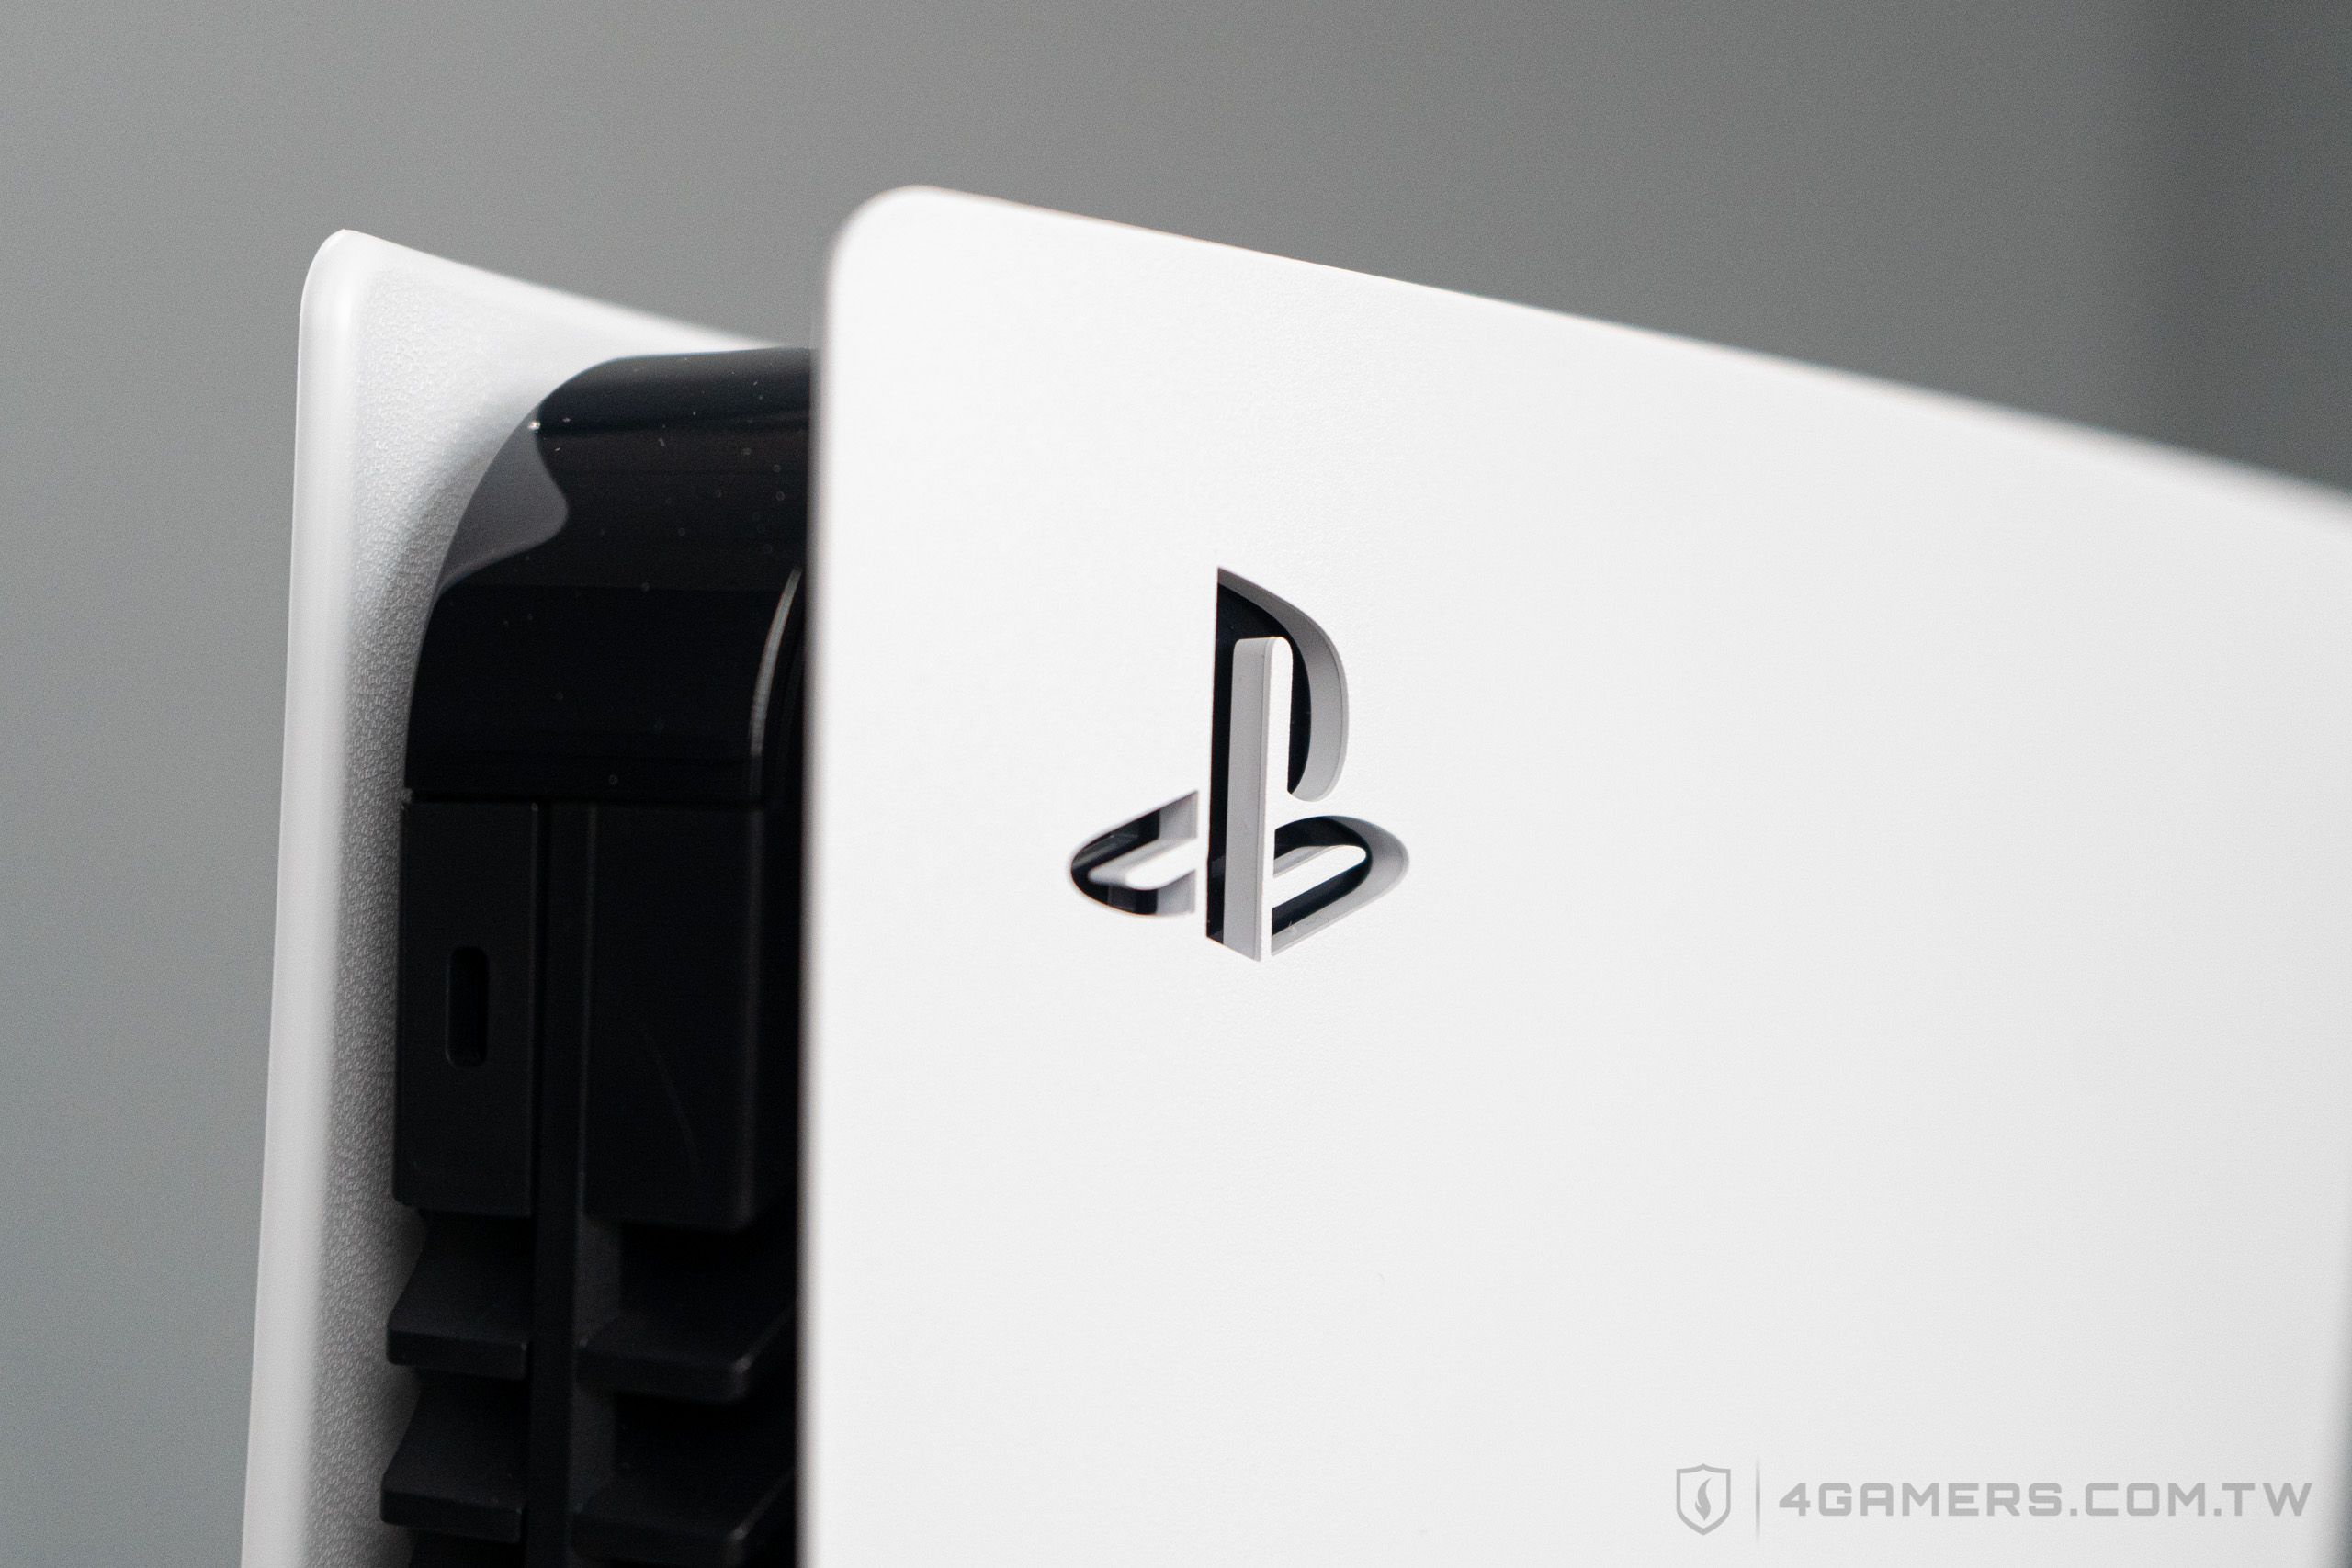
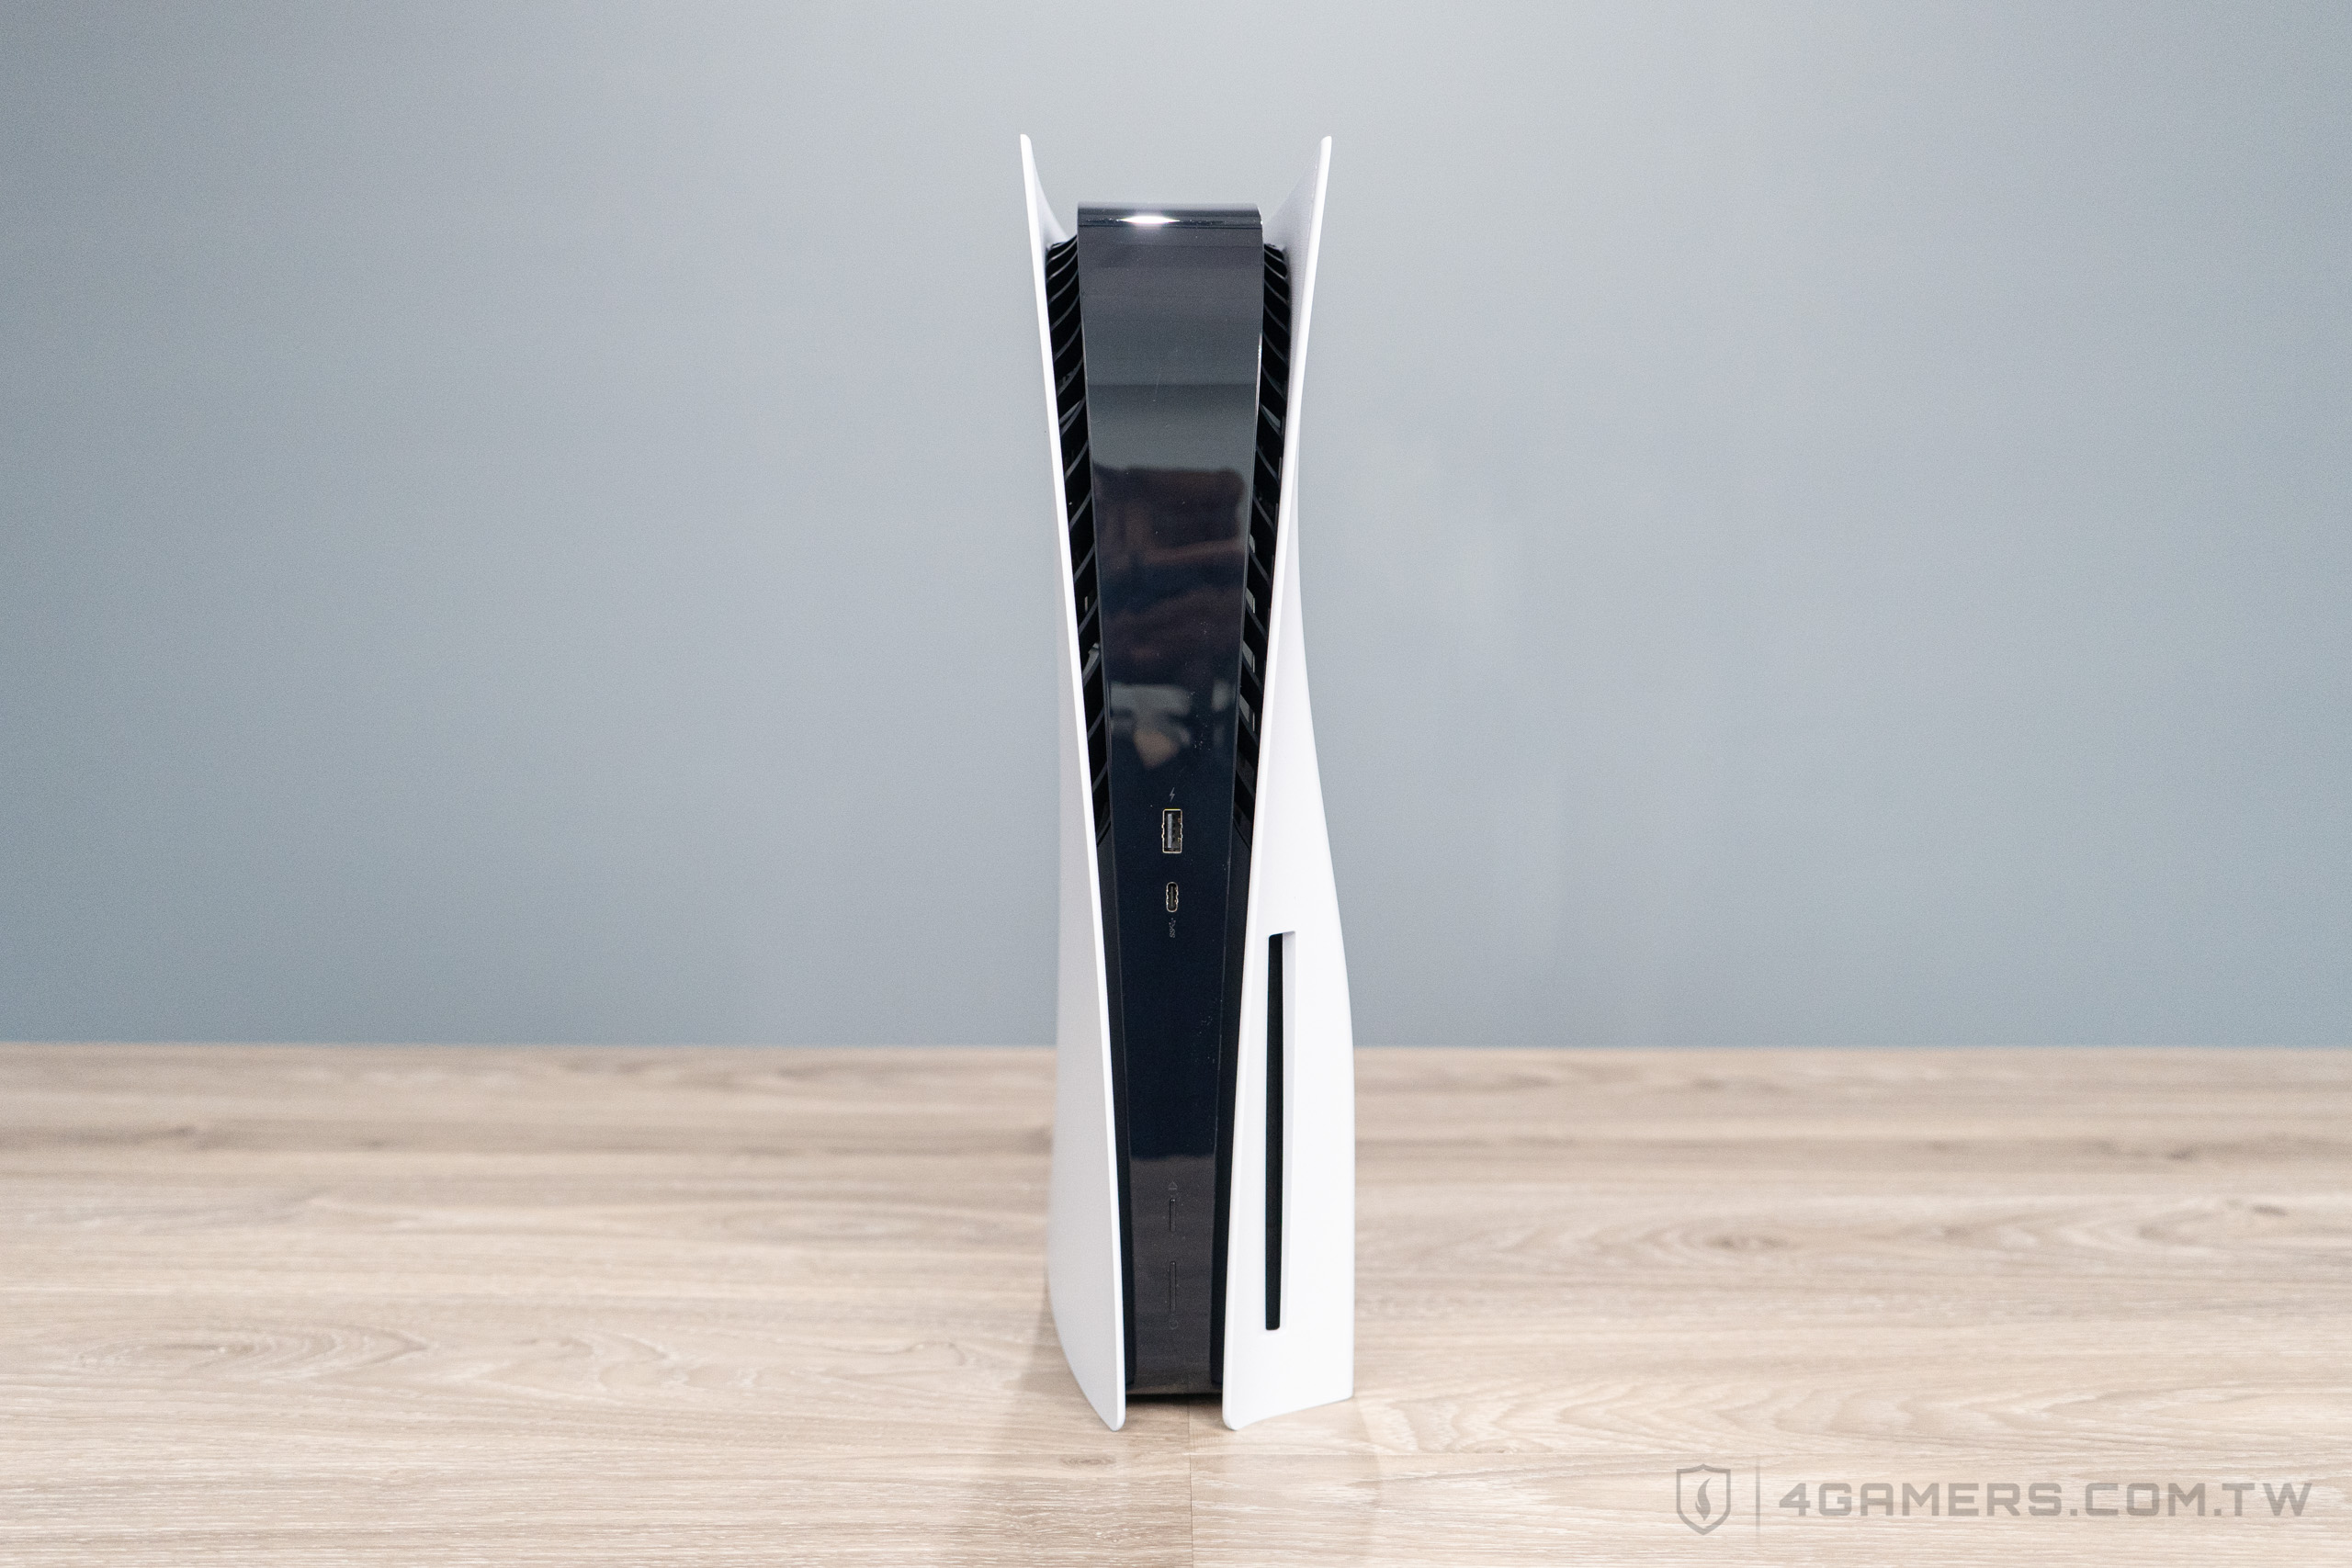
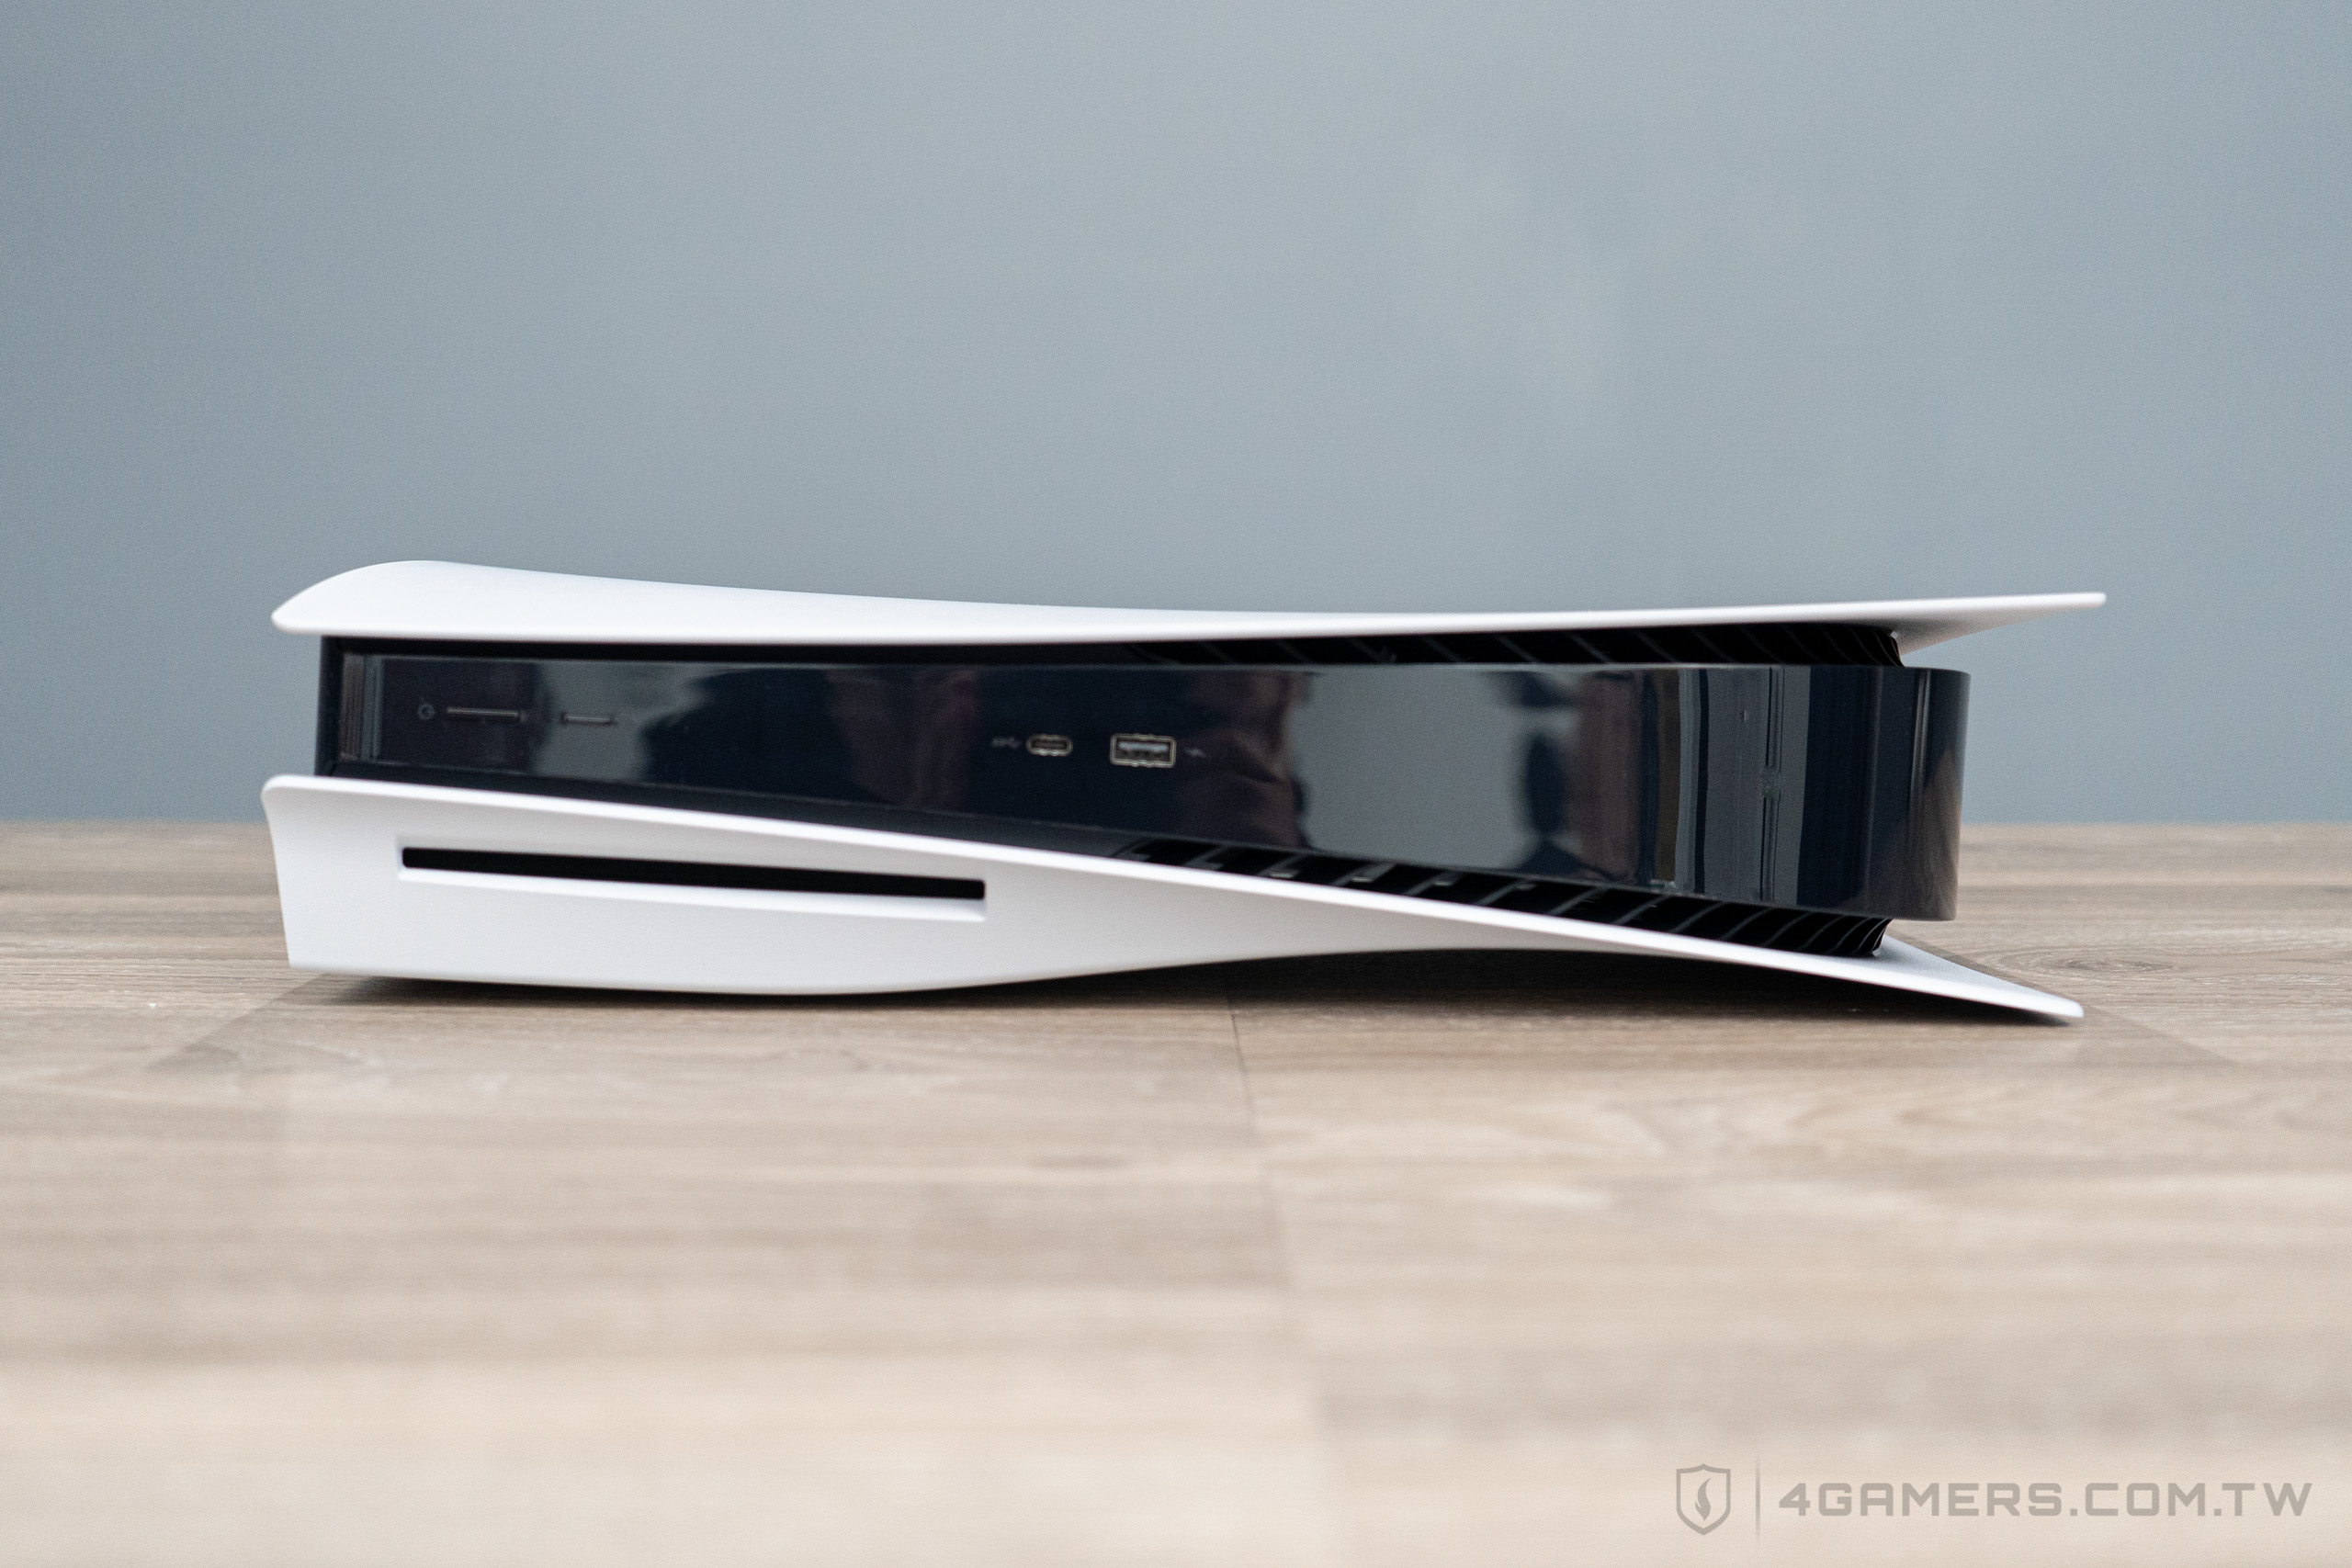
這一次包含開關跟 USB 埠的提示部分,都是用蝕刻的方式呈現,很細膩不會破壞整體視覺。
配件盒。按往例控制器、線材、使用說明書會分開來放,這次也不意外。
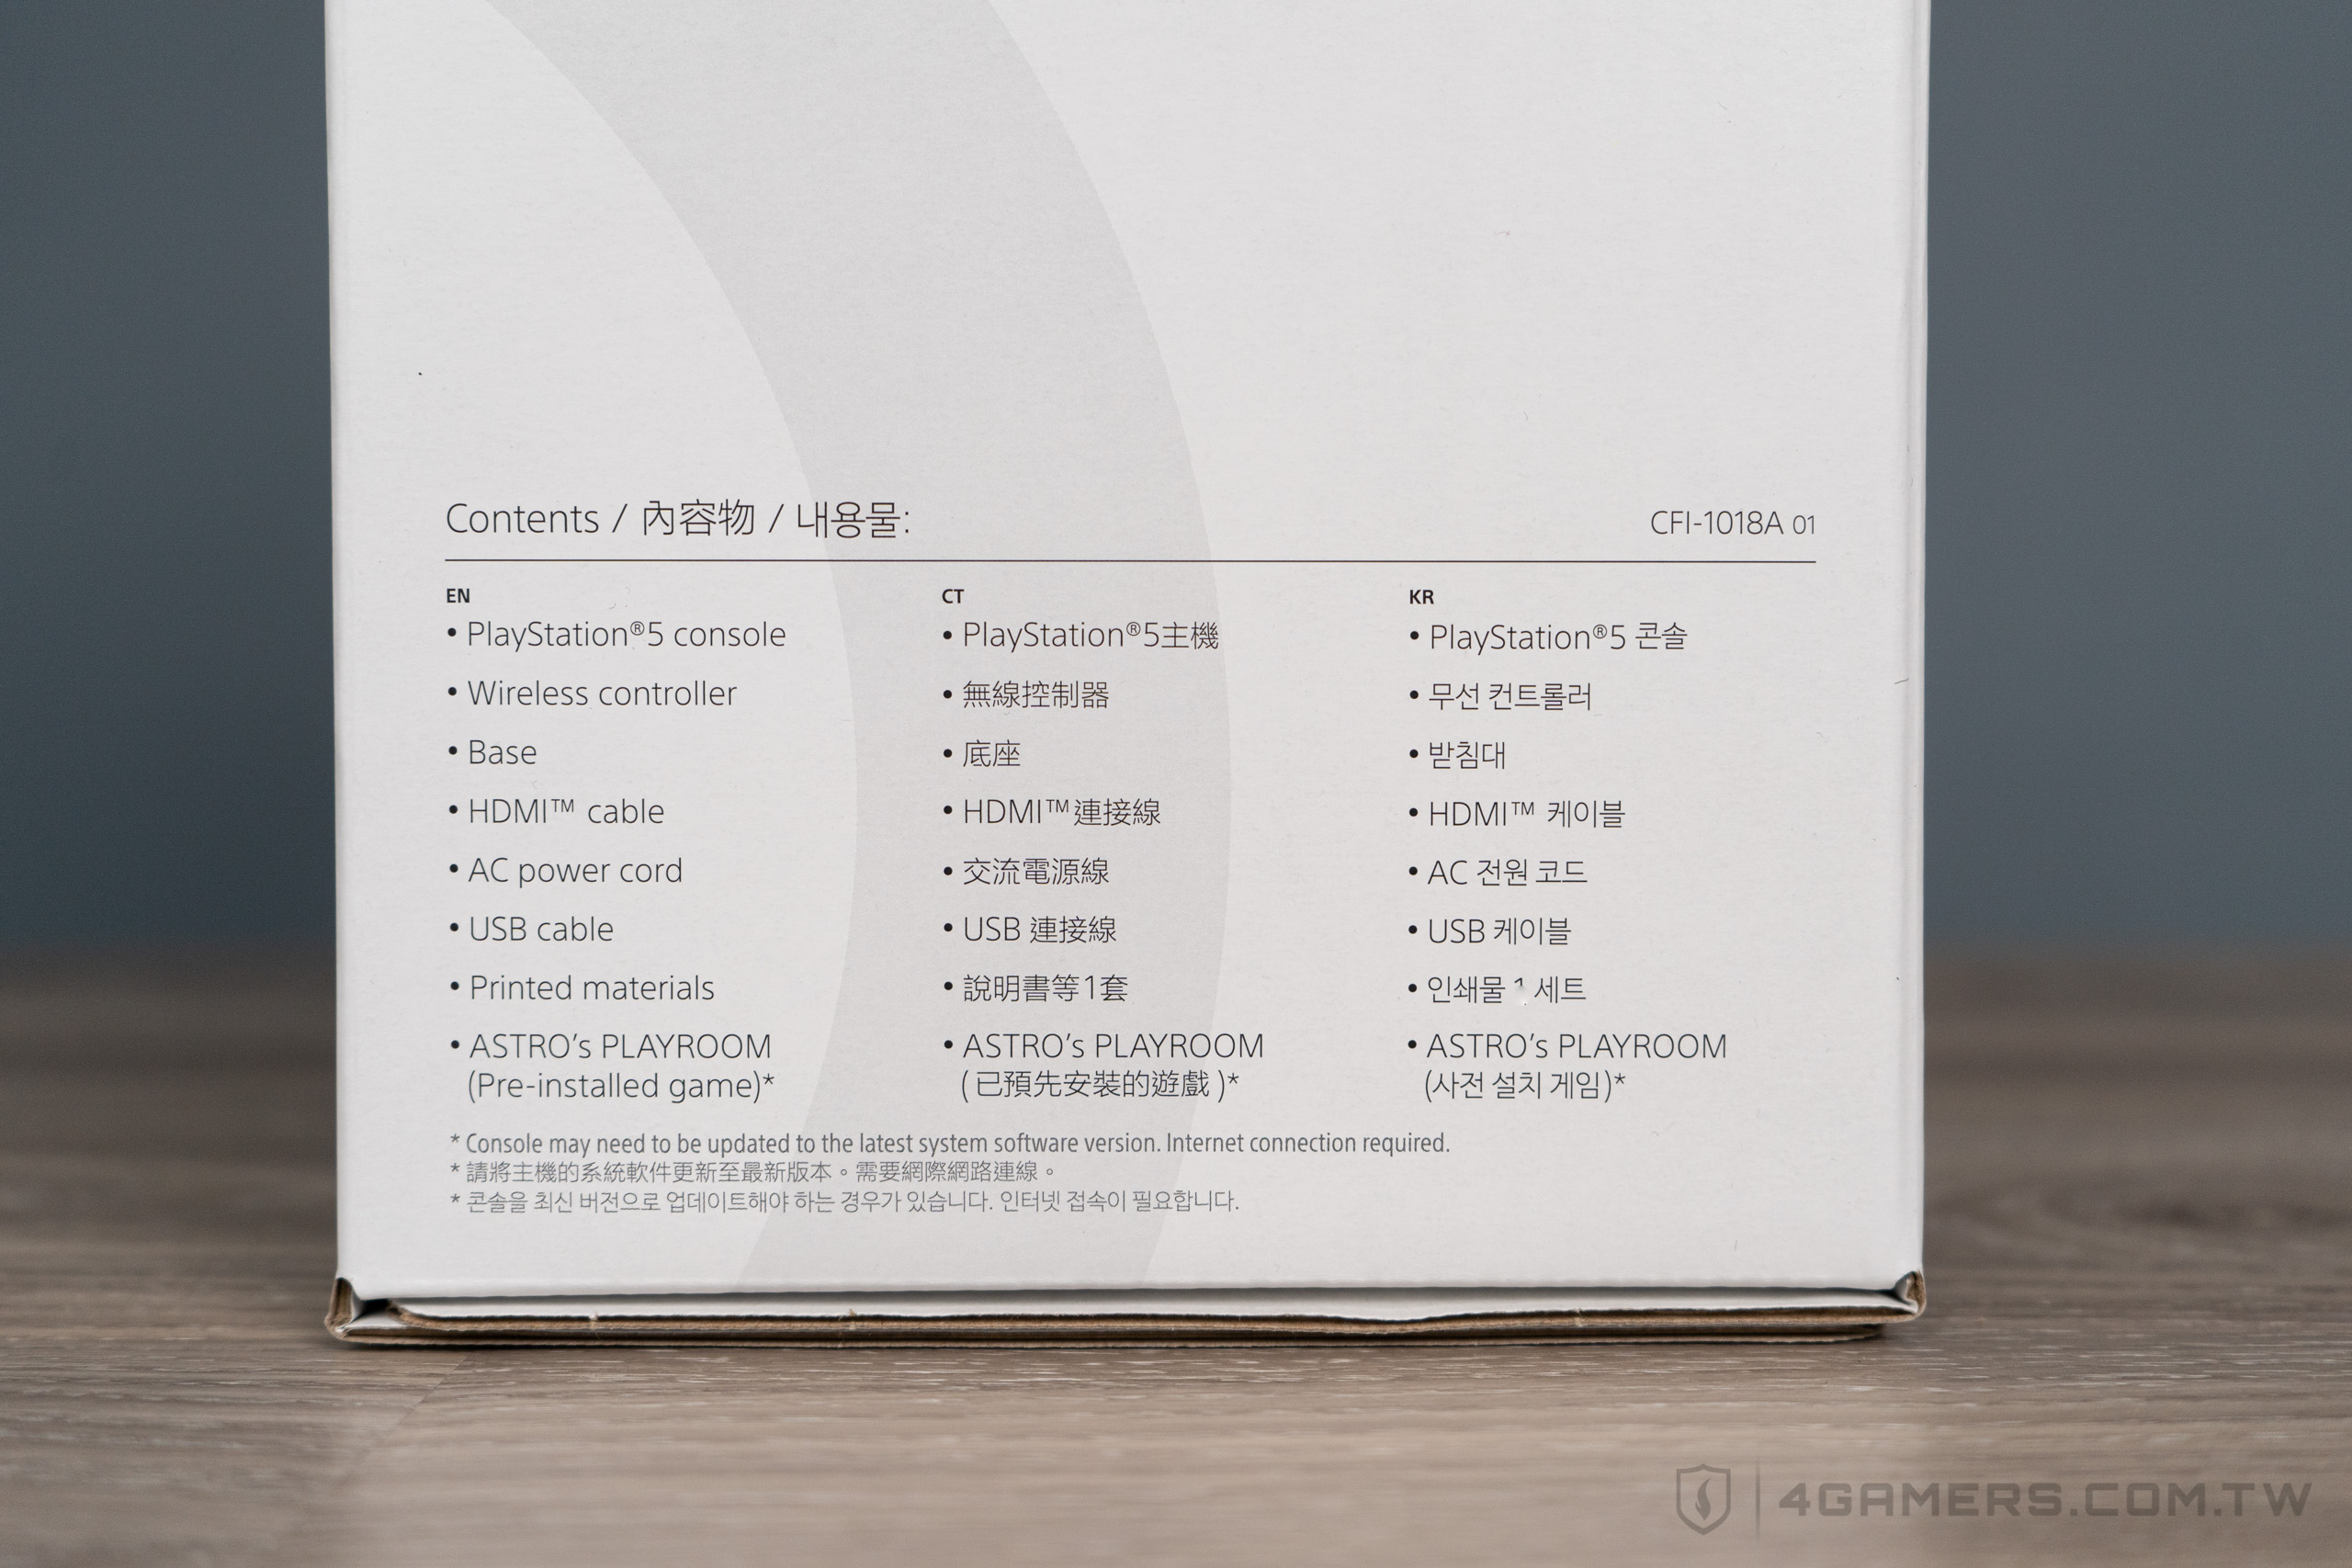
主要附了一條 Type-C USB、HDMI(High Speed Cable)、電源線,一組 DualSense 無線控制器,一個專用底座。
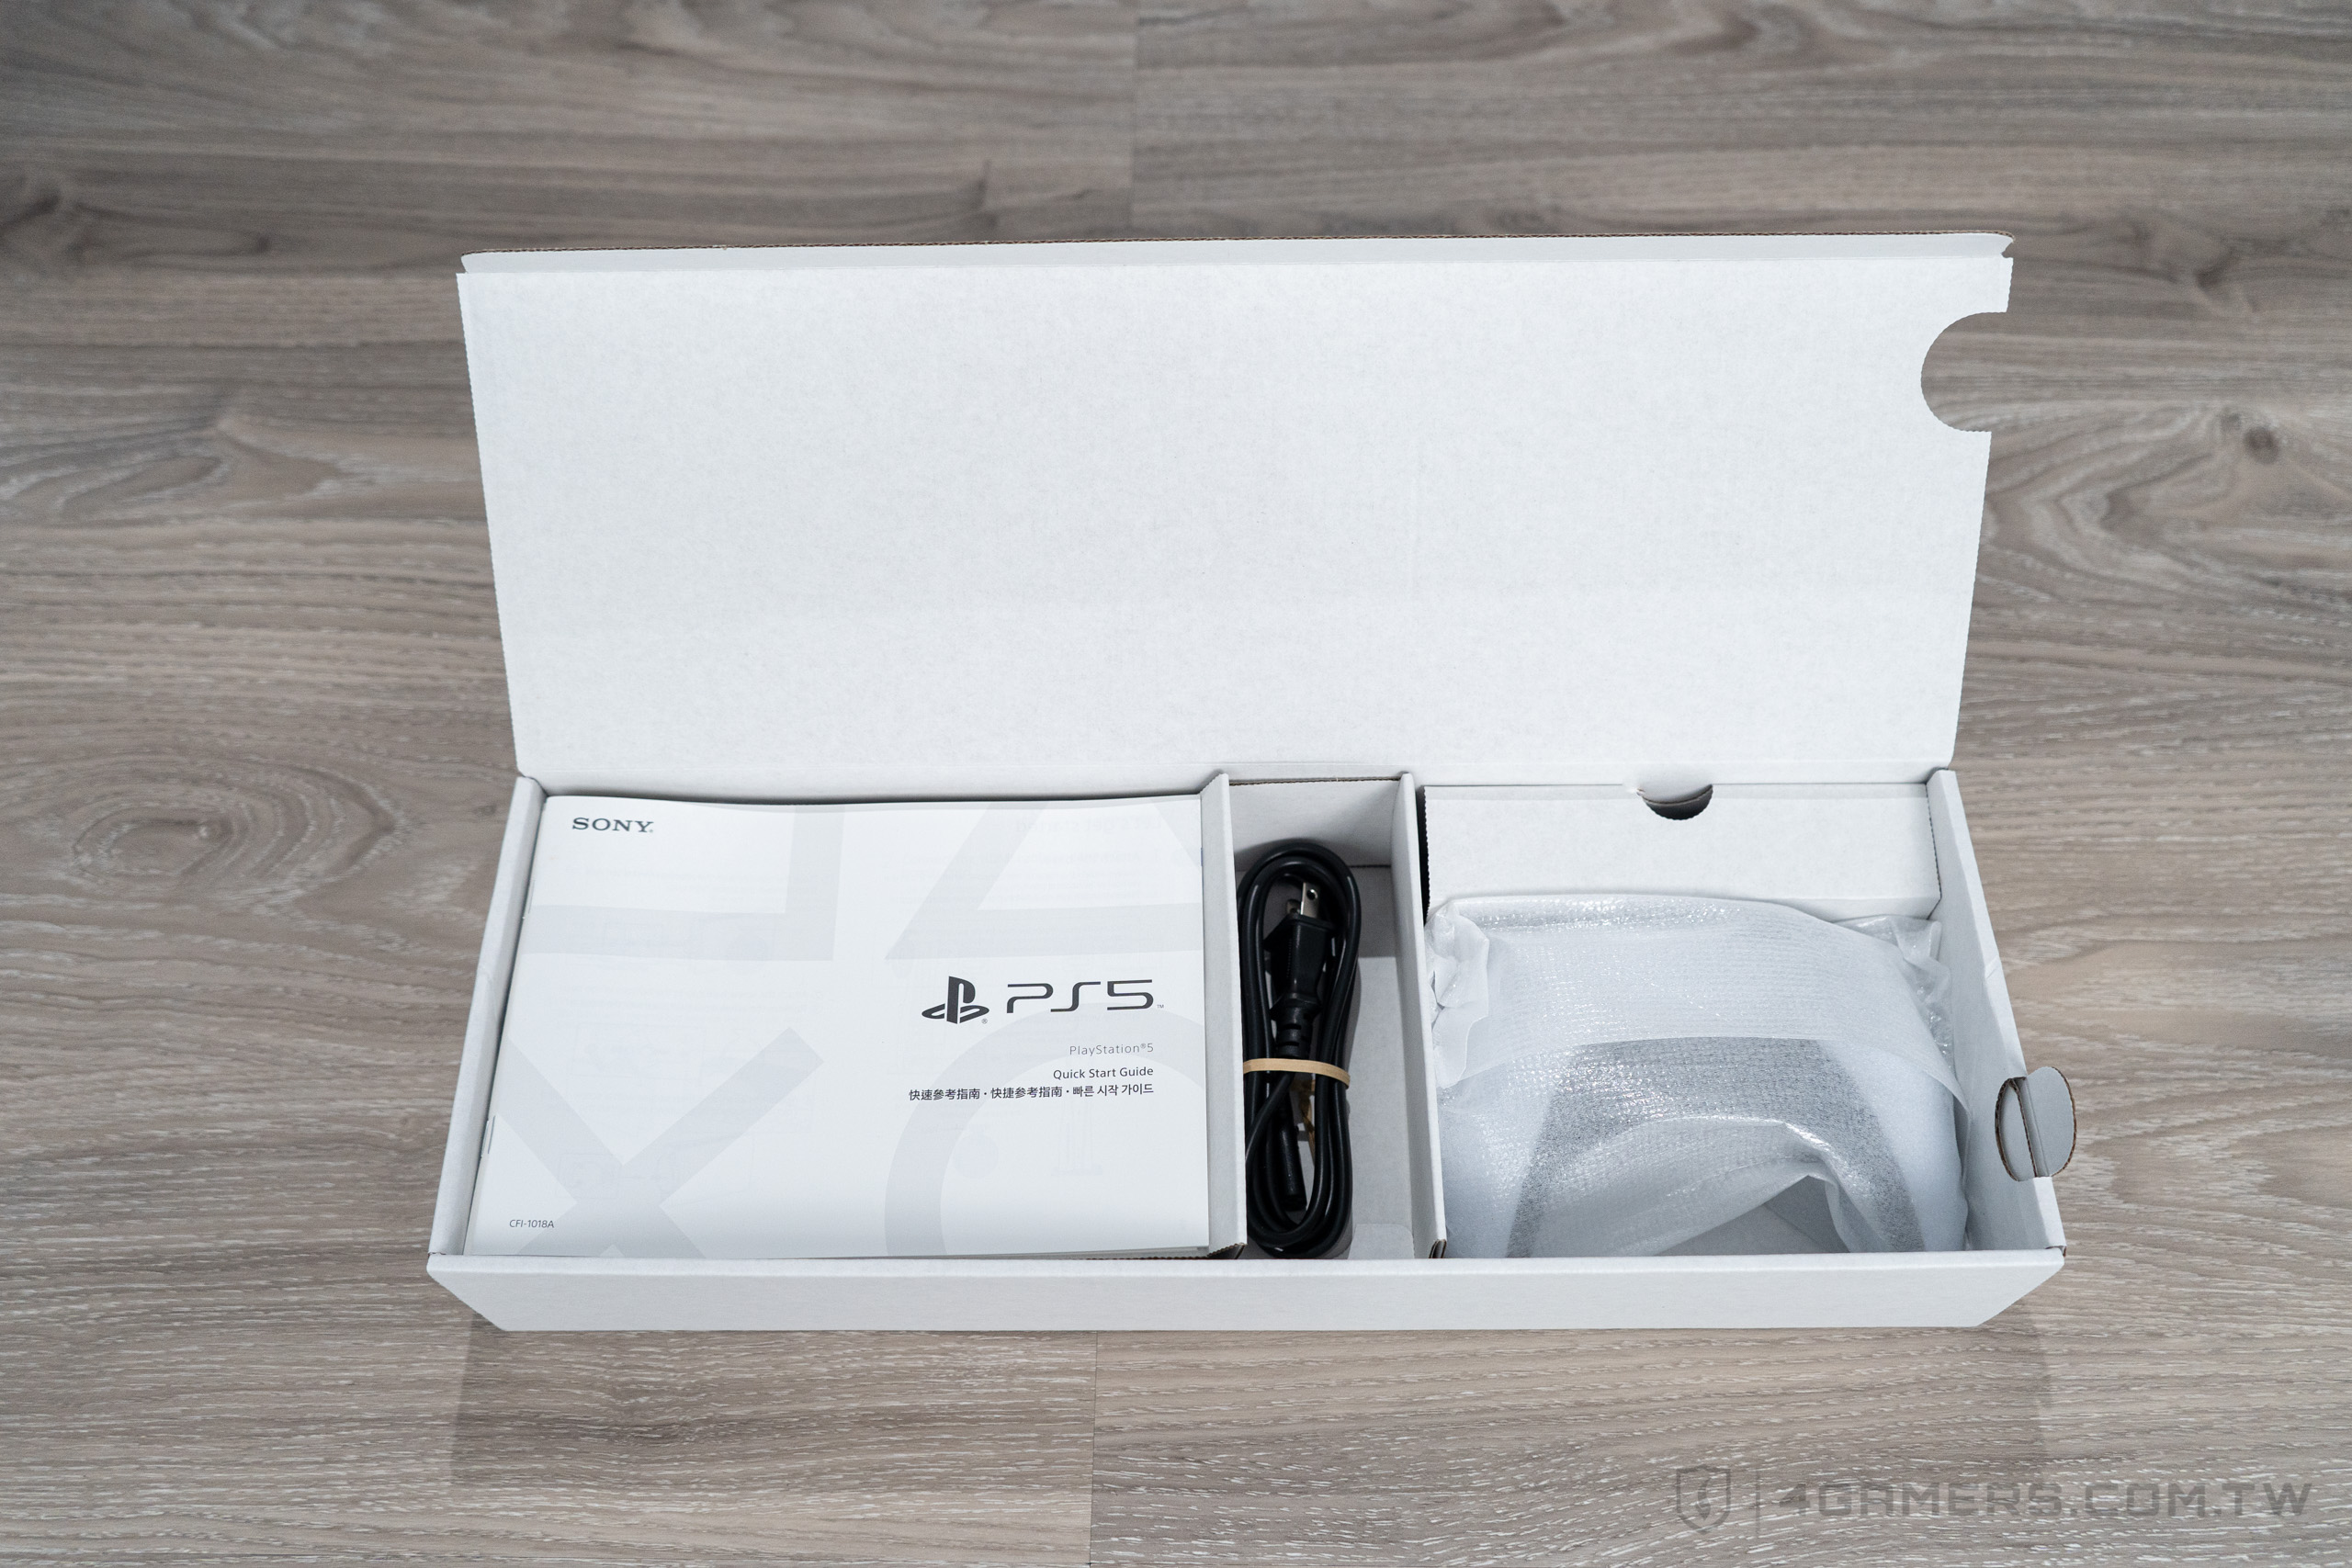
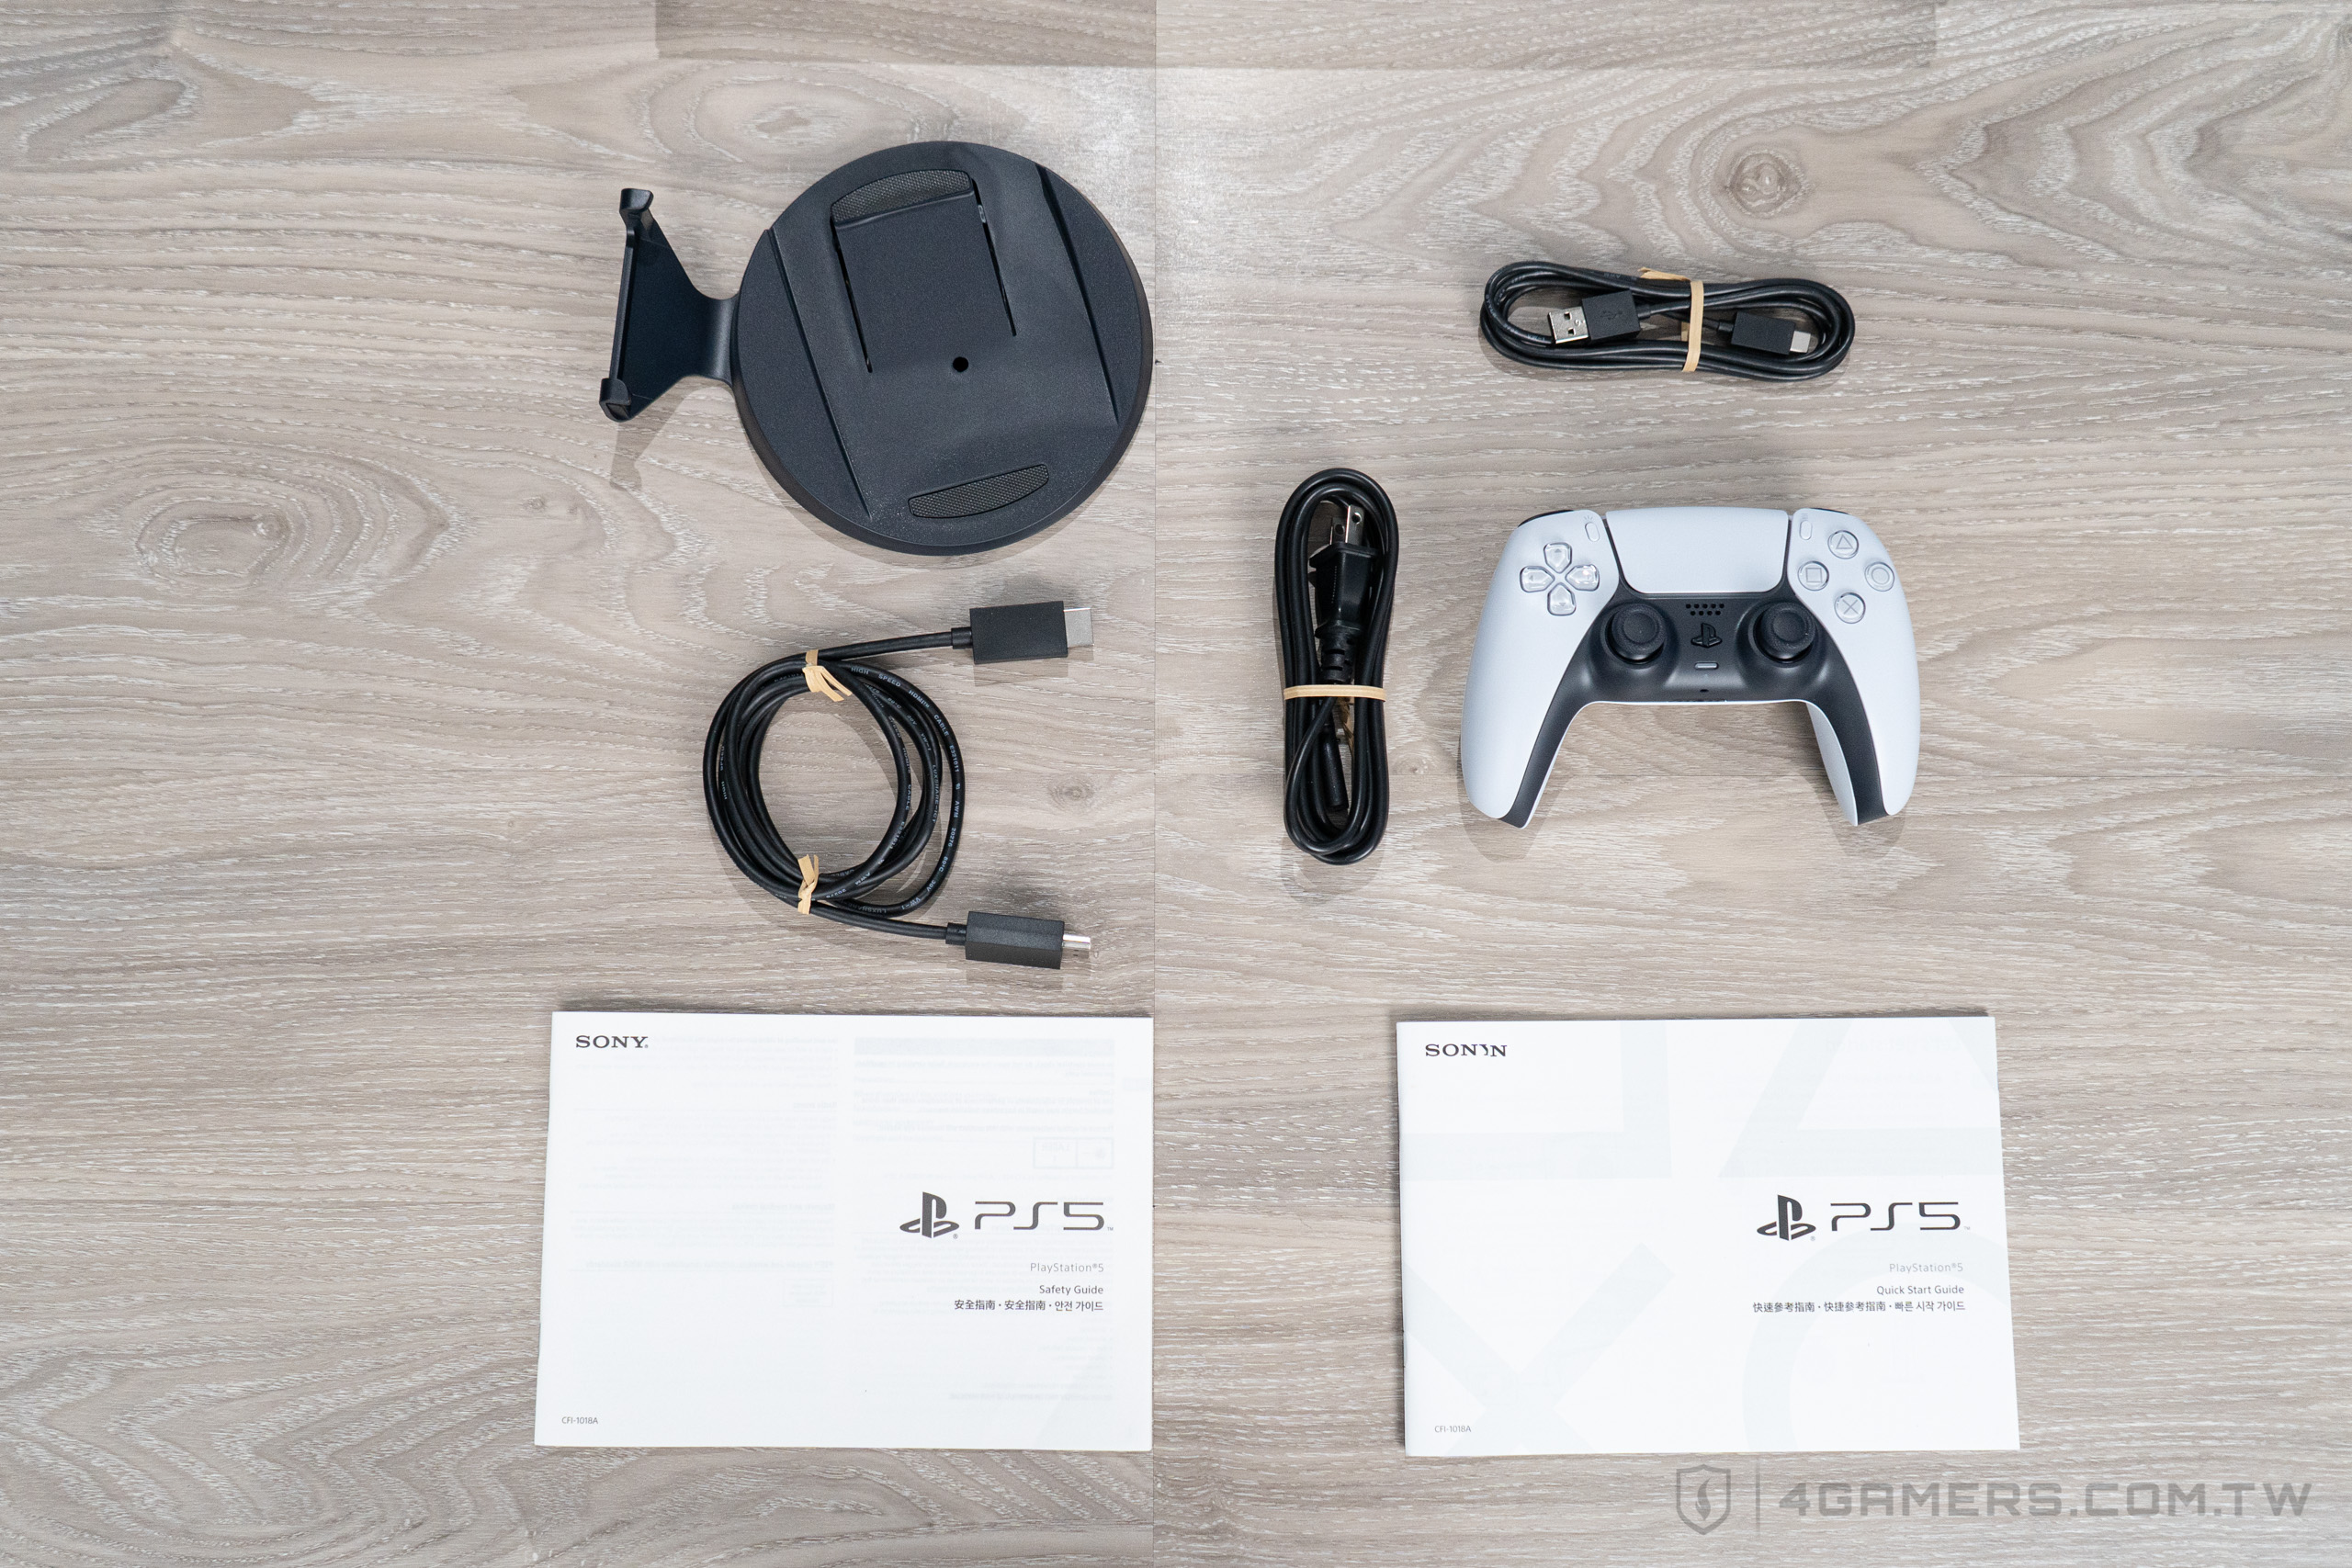

這次很講求包材環保,所以不僅額外的套子很少,電線固定的鐵絲也有花了一點心思。
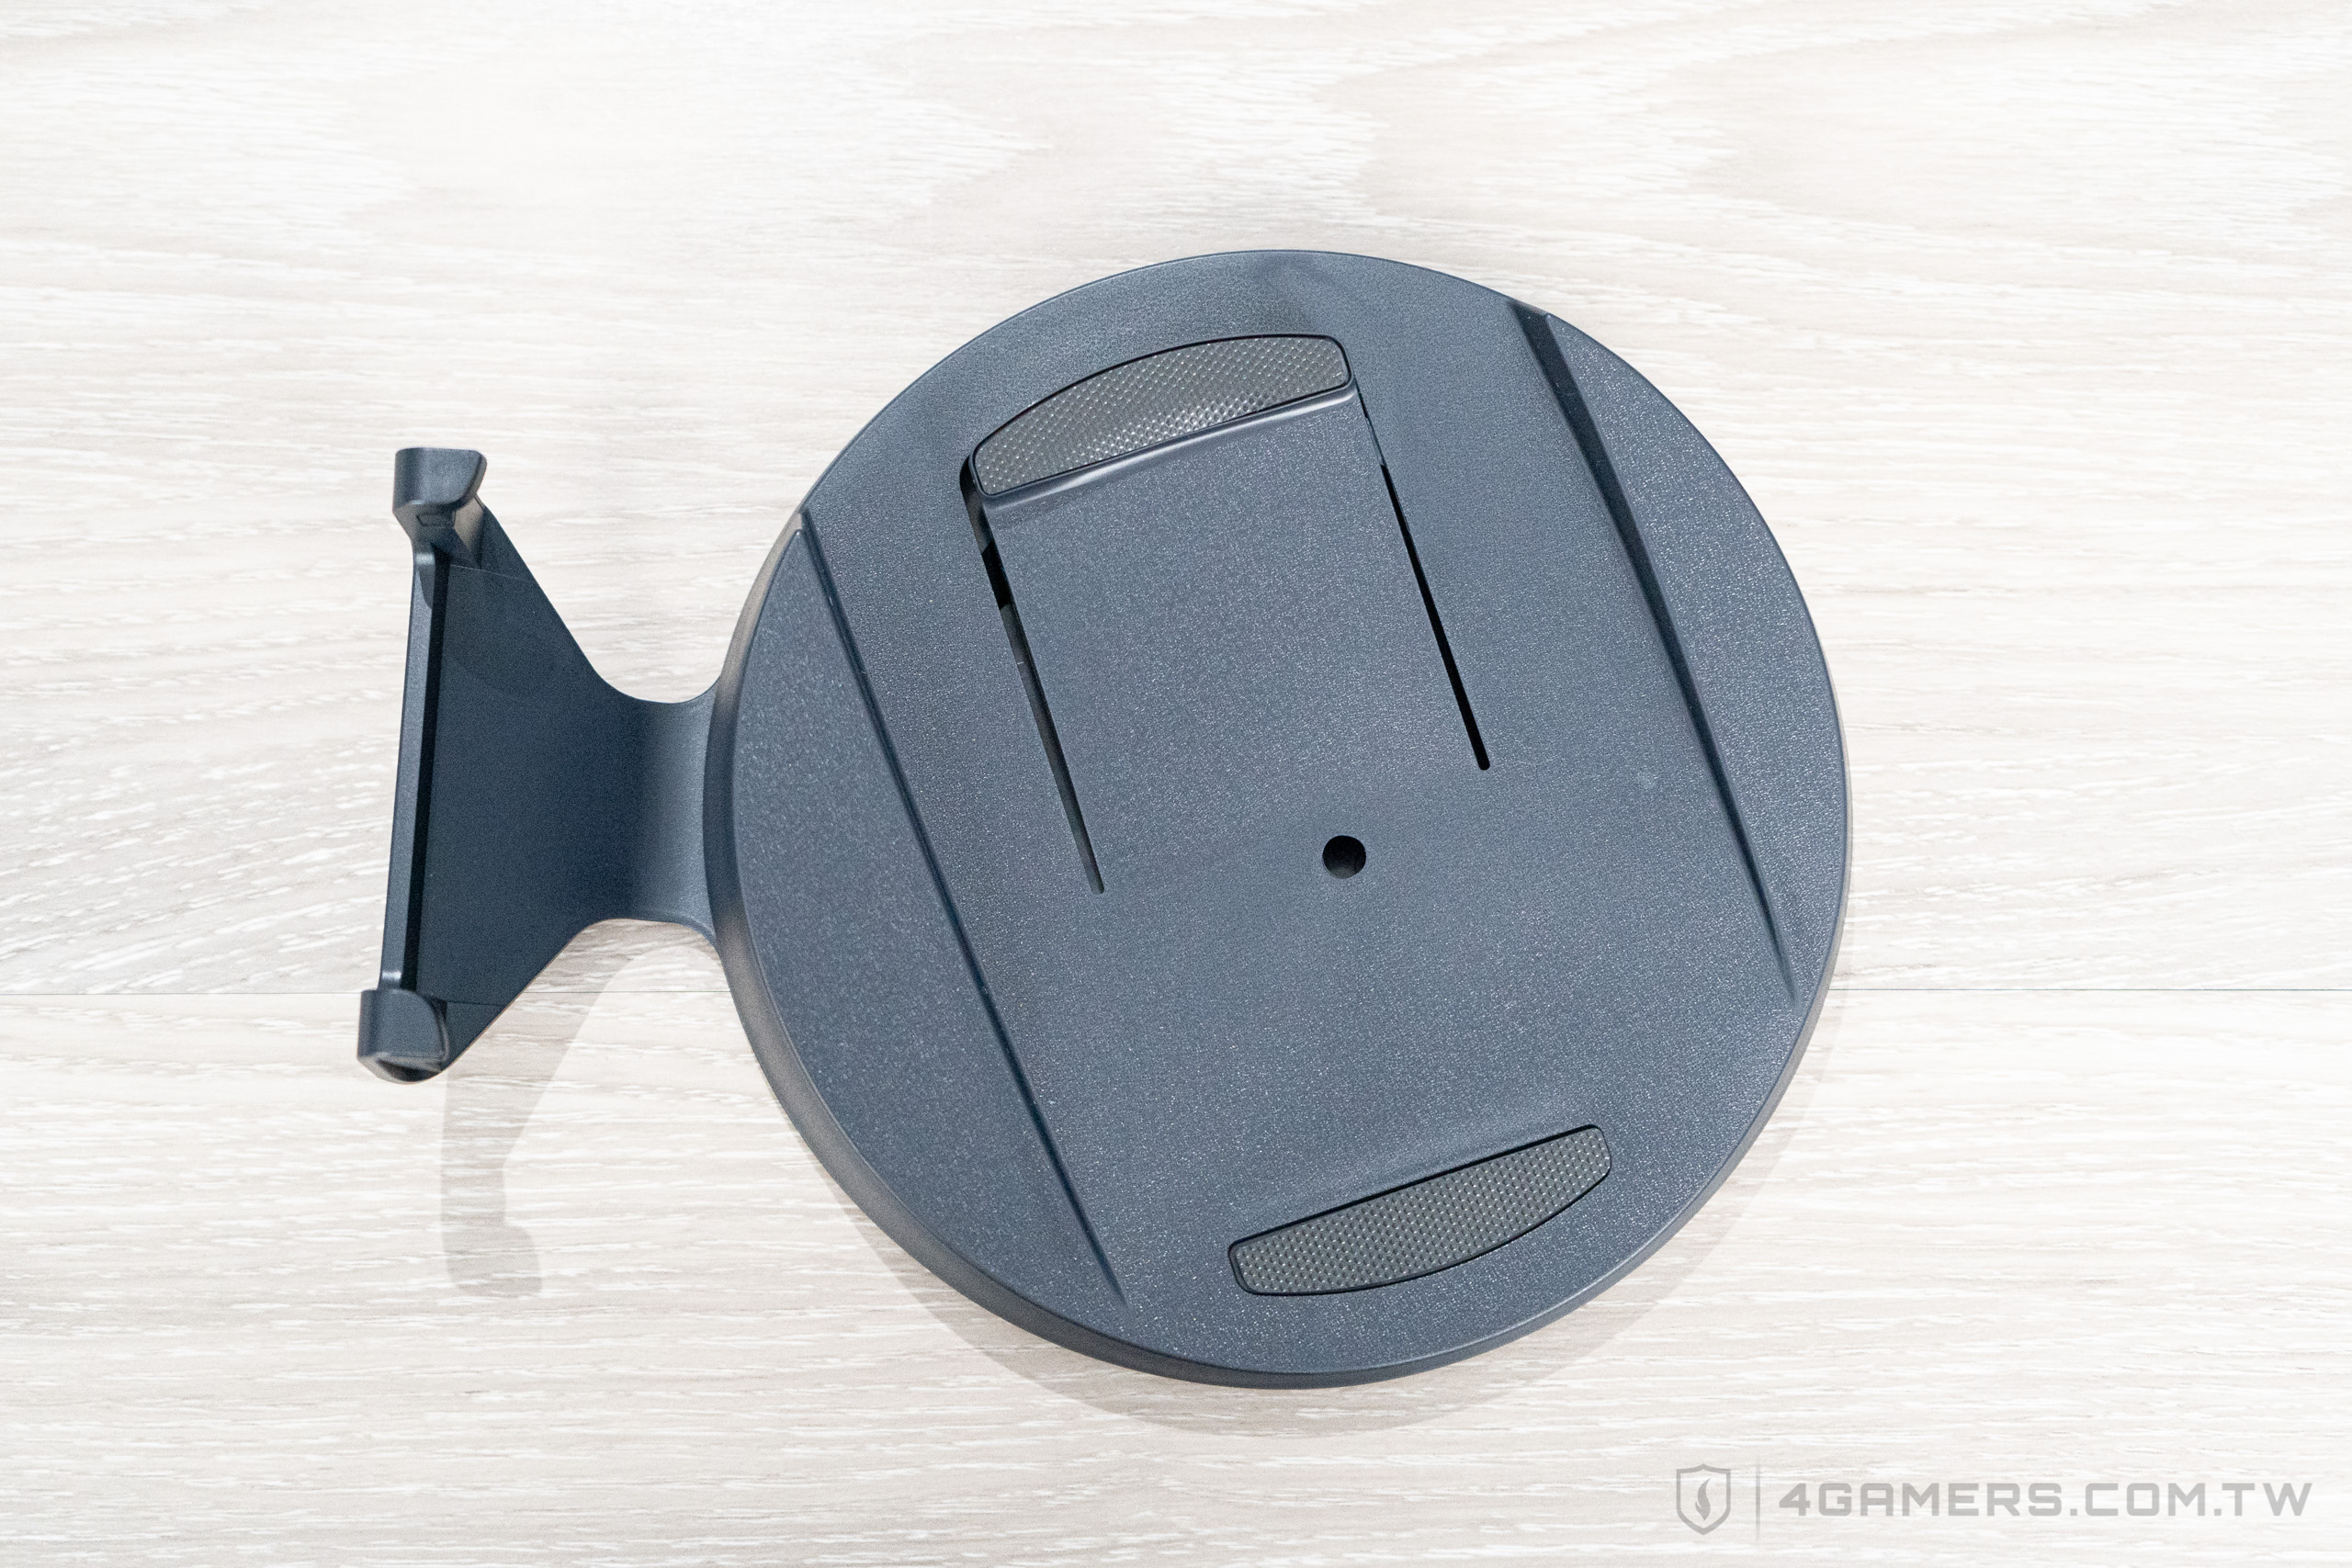
PS5 專用底座,主體會旋轉,請注意,不同角度是不同的放置需求,搞混有可能因為不穩,然後刮到機身。
 機身橫放時
機身橫放時
|
 機身直立時
機身直立時
|
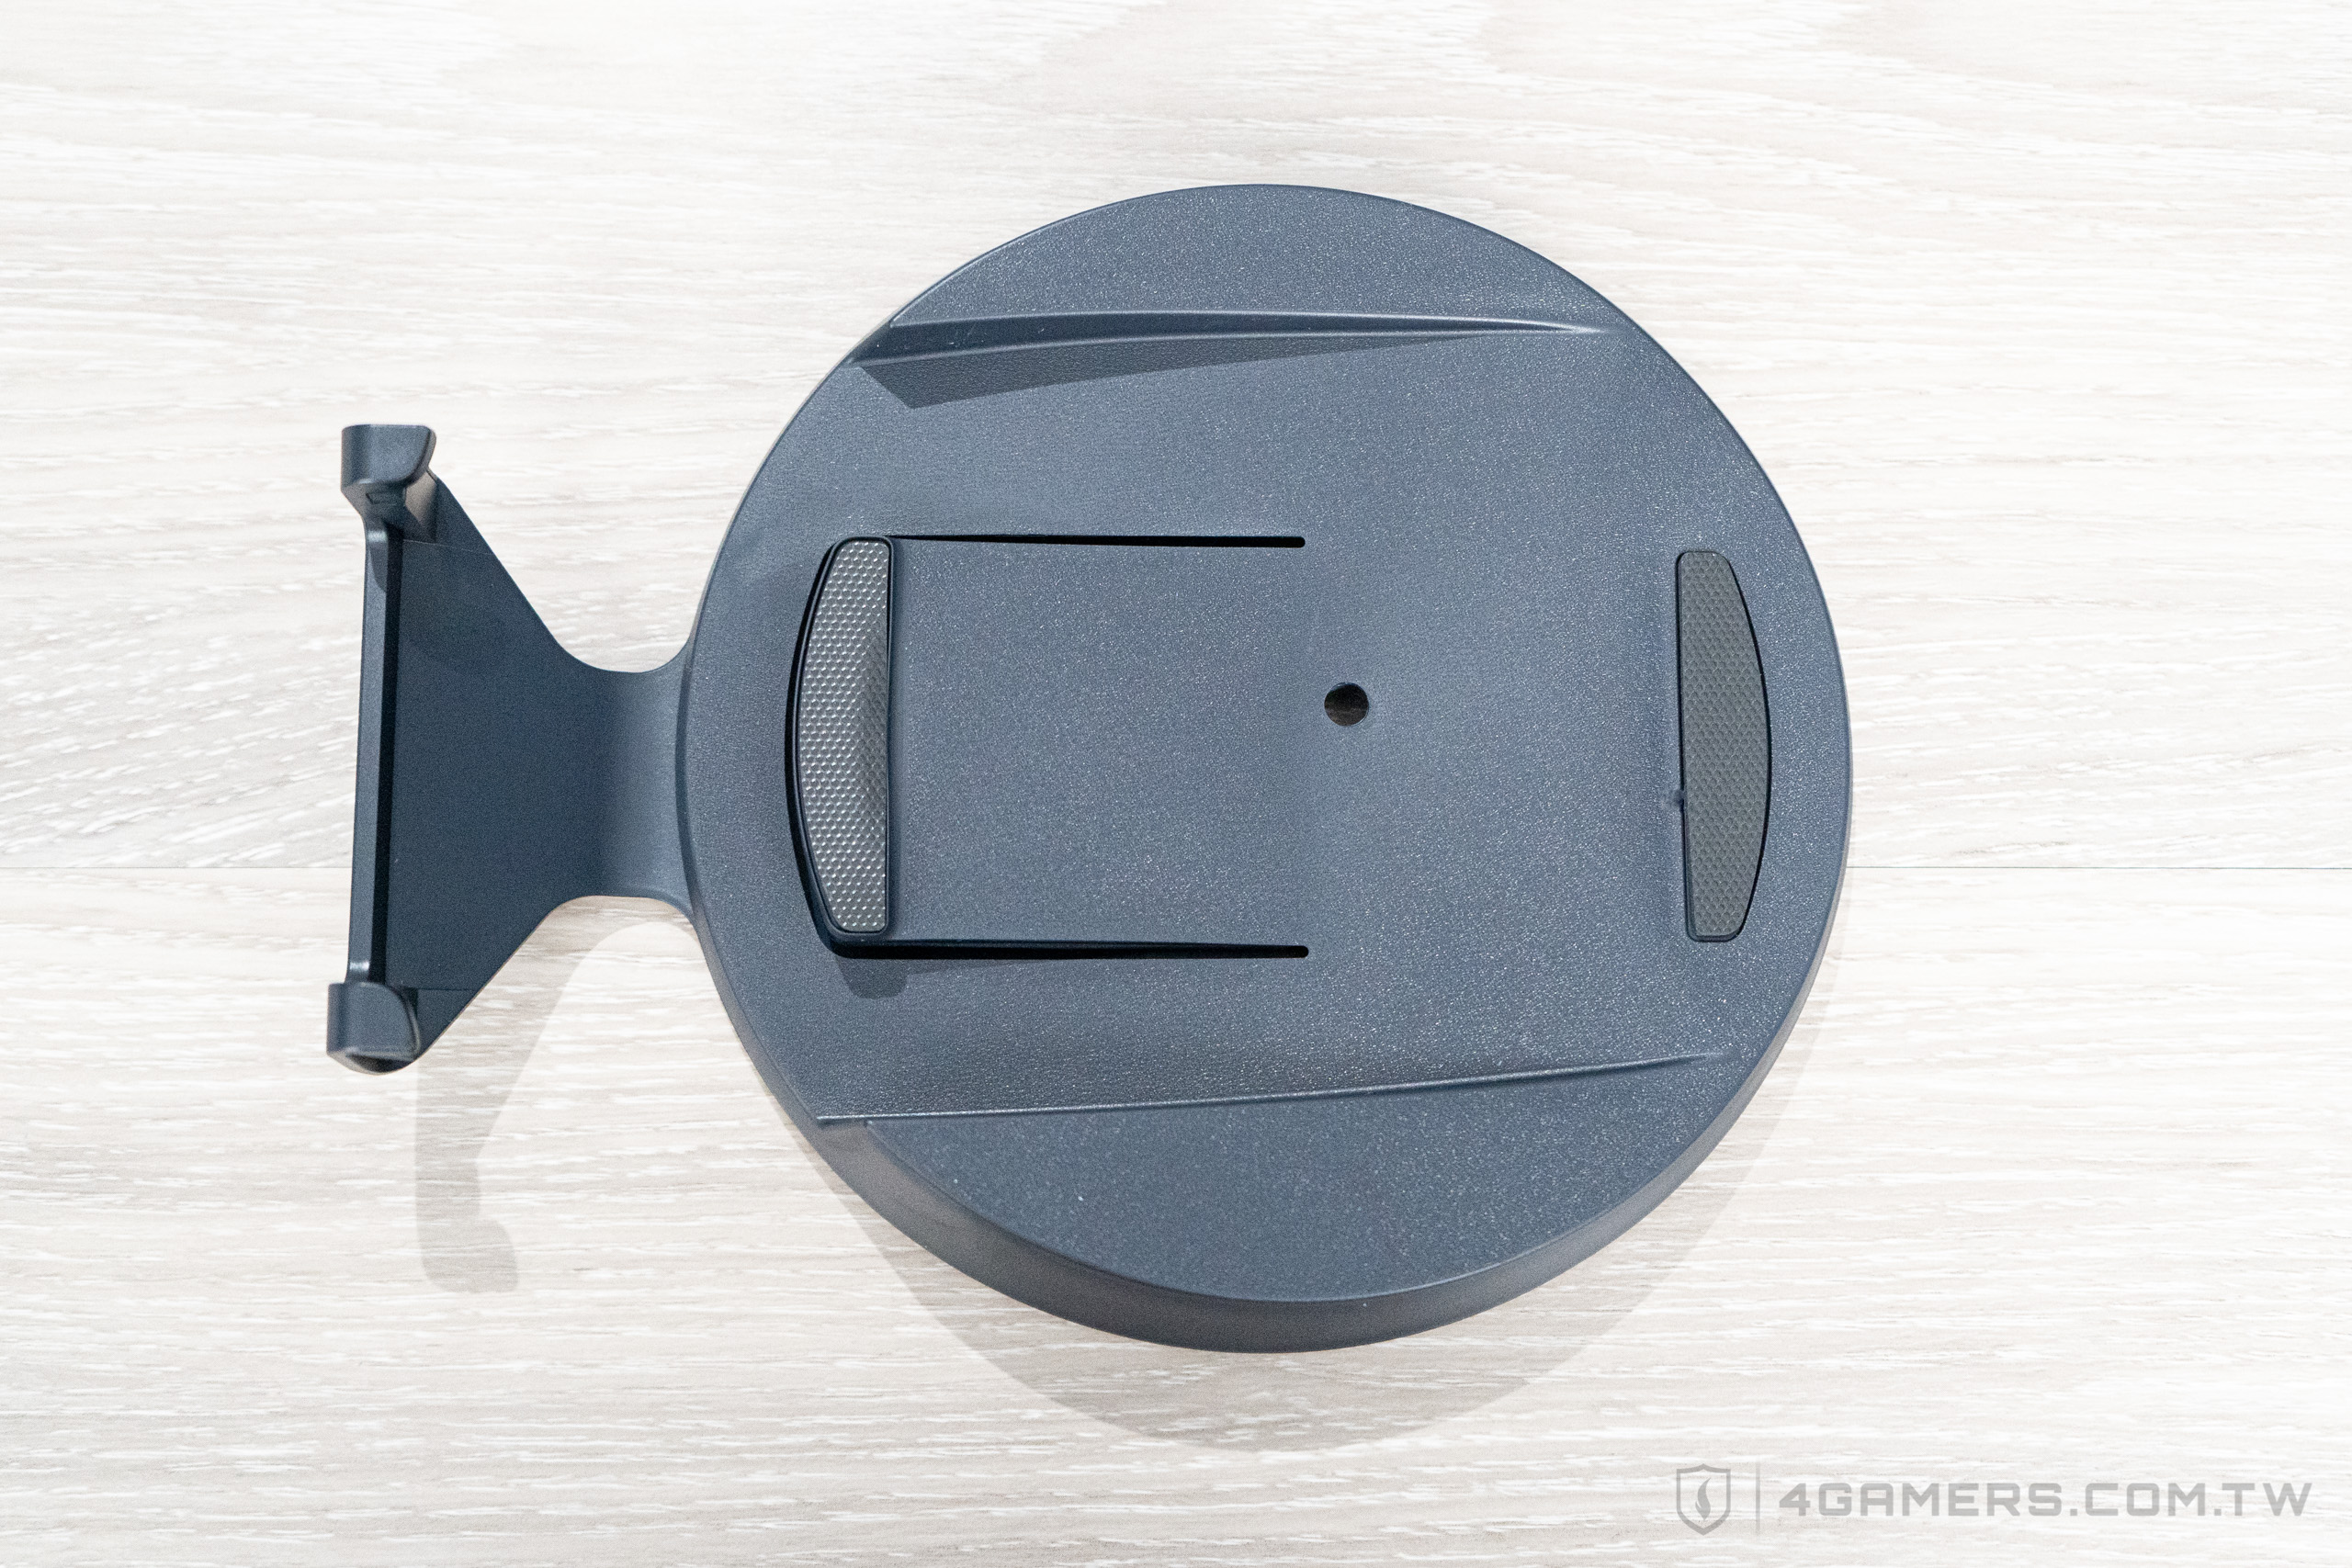
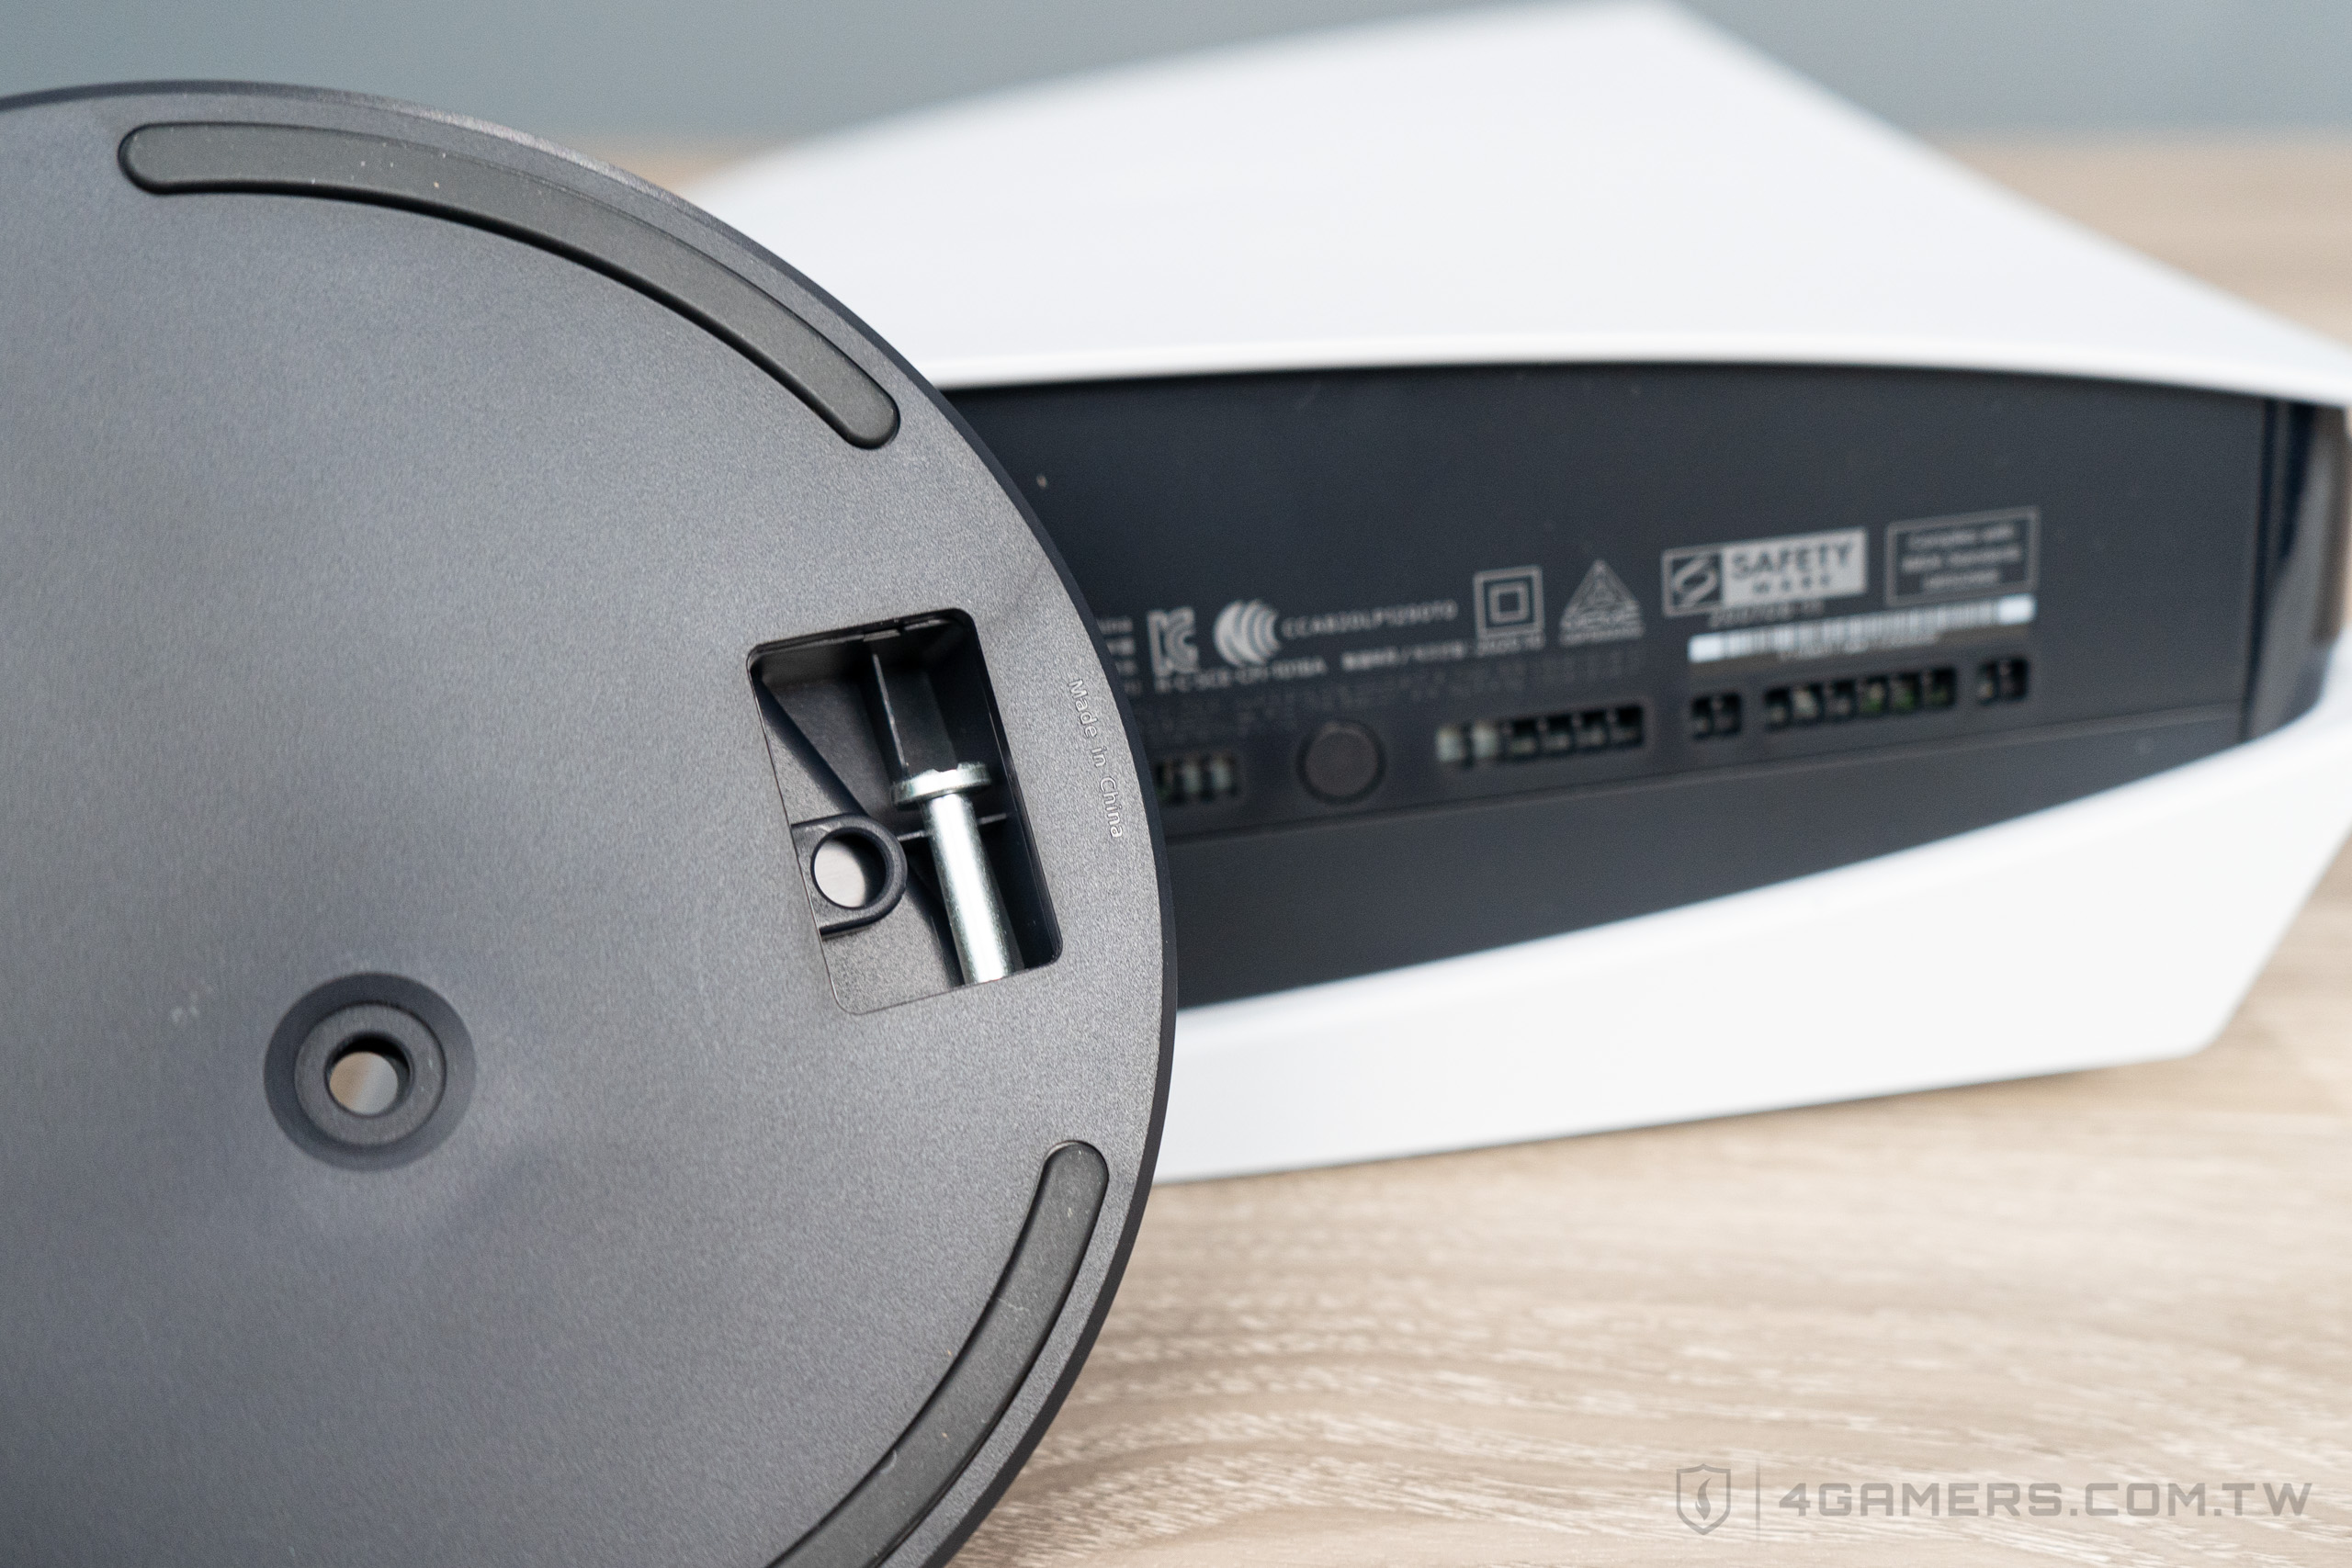
底座背面。轉到機身直立擺放狀態時,一旁凹槽會出現一個小的螺絲釘,可以拿出並拴緊主機與底座。
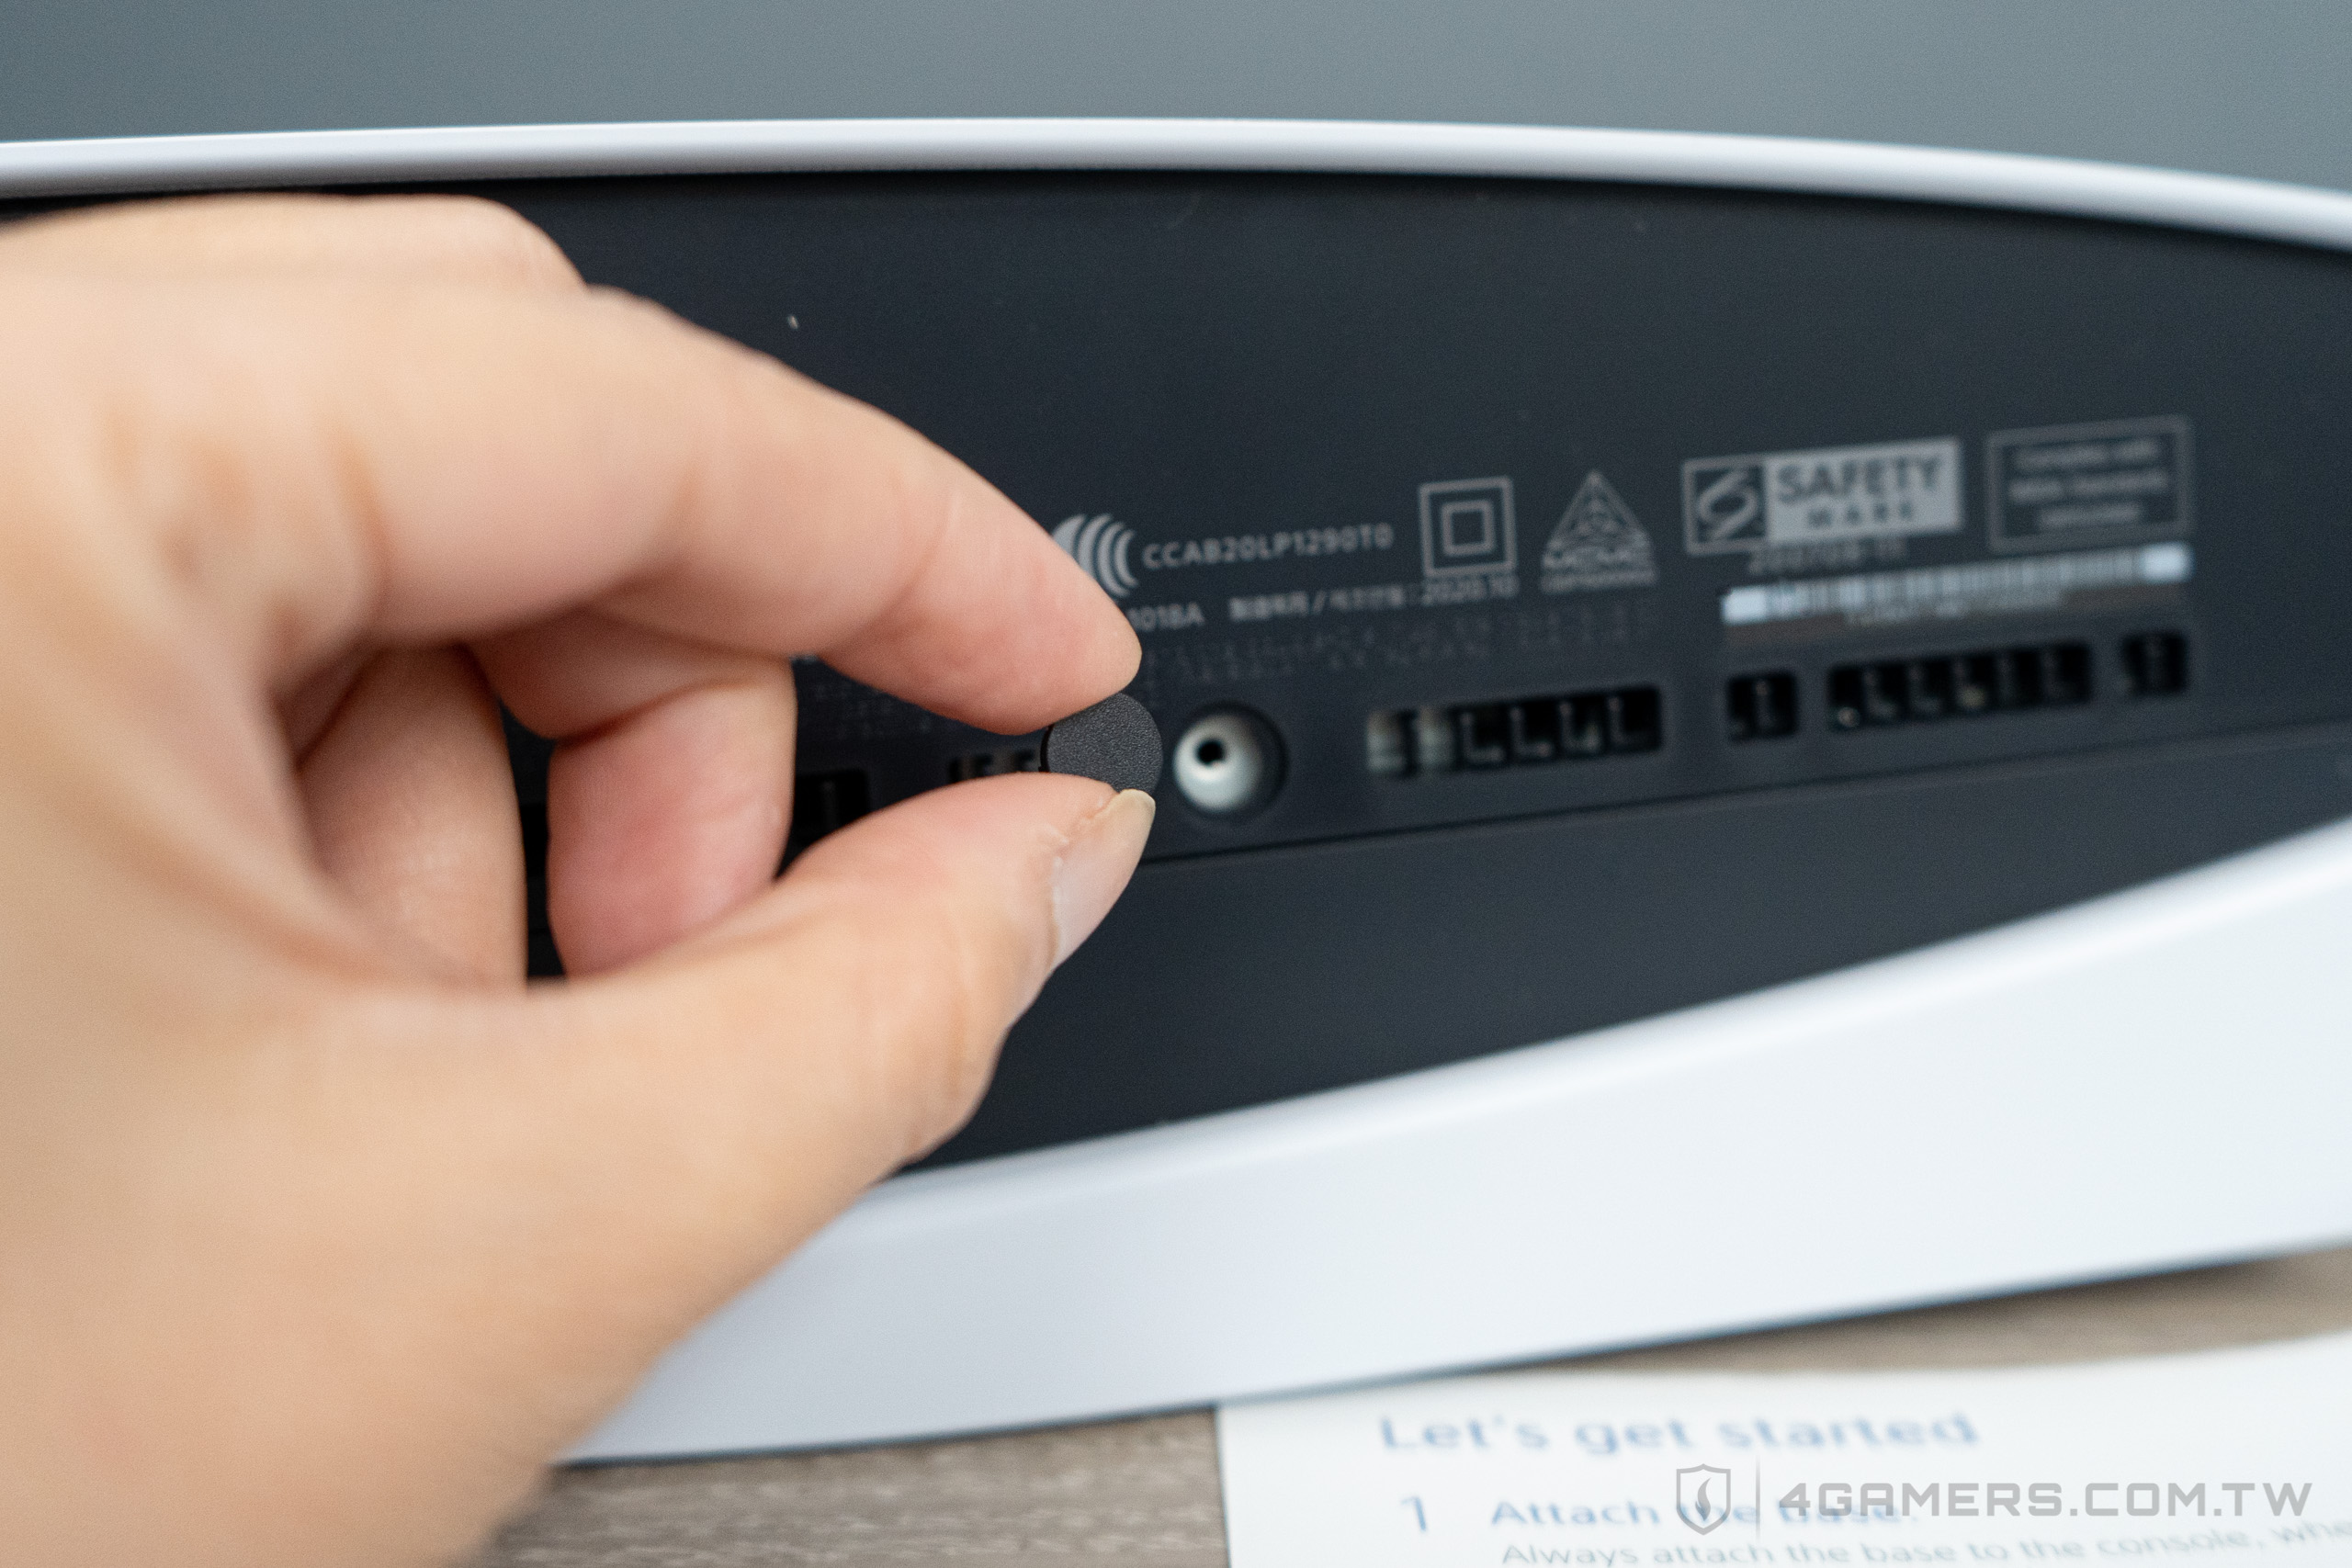
PS5 底部中央處會有一個小黑點,用手可以撬開,此處就是底座固定安裝處。小黑點可以放到底座的專用凹槽,避免遺失。
下面這張是 PS5 底座完成安裝的示意圖。螺絲釘倍拴在中央處,剛剛取下來的小黑點放在凹槽的專用空間。

這個是沒有安裝 PS5 底座的樣子,比一比就知道啦。
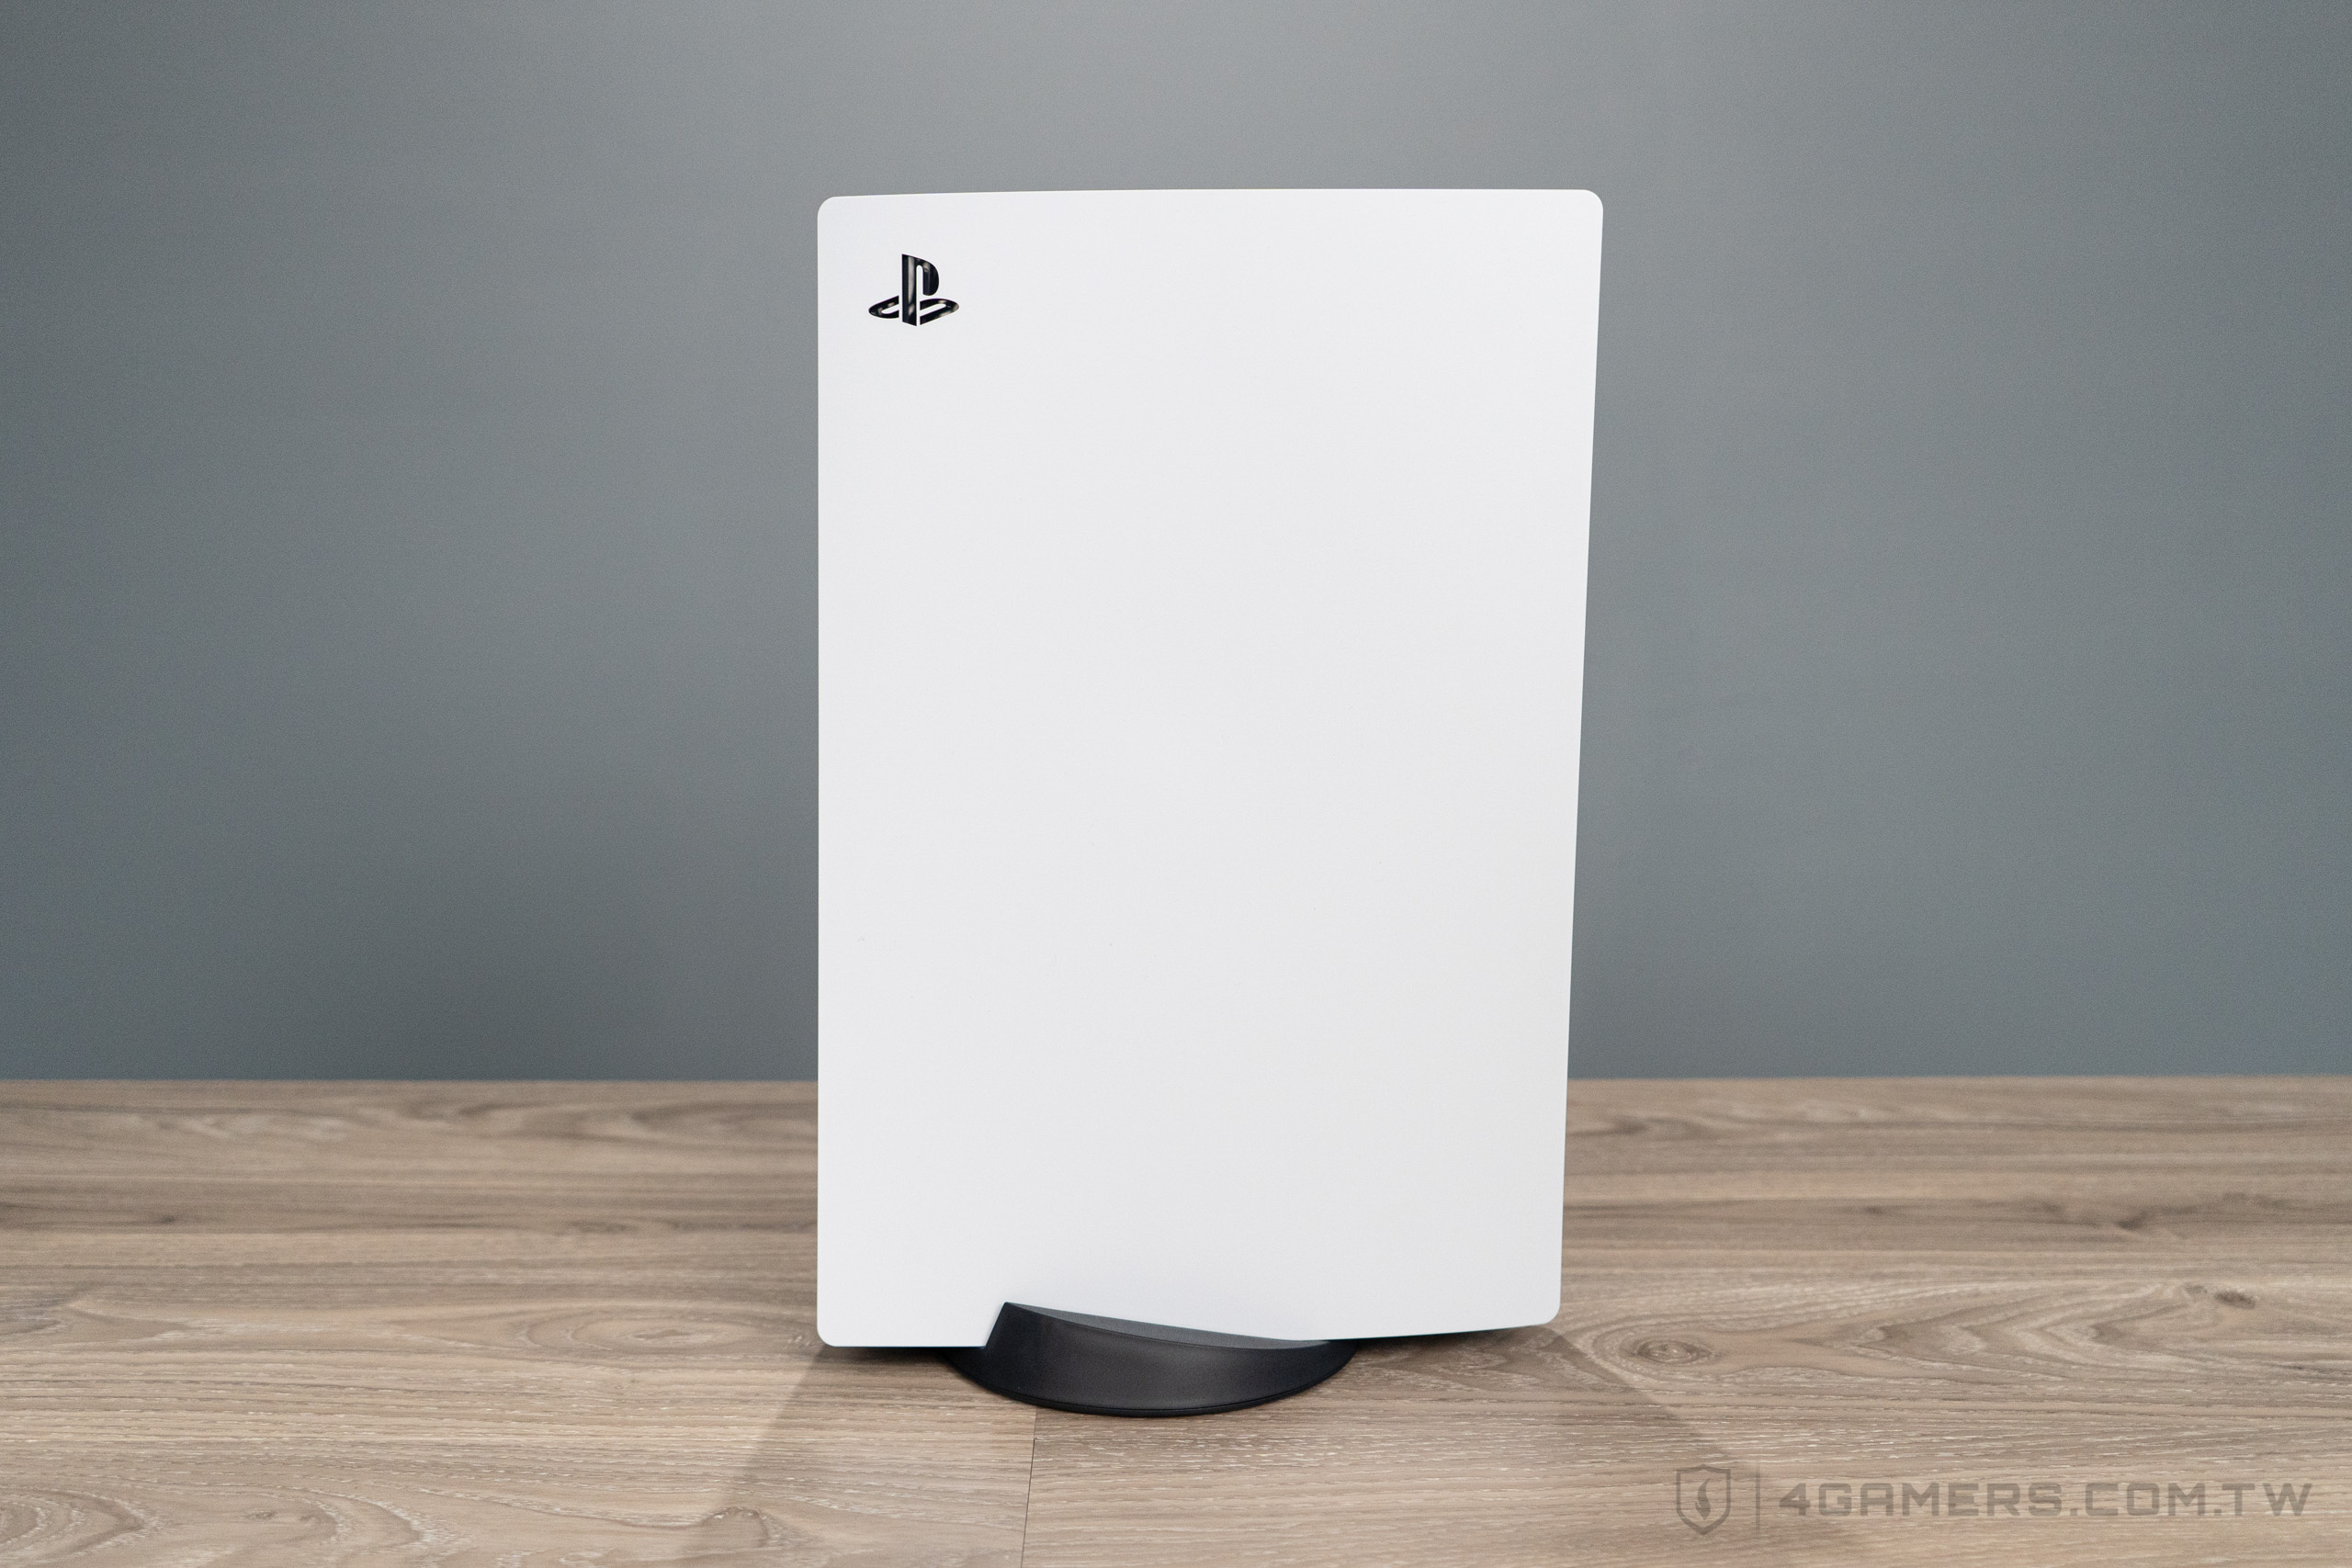
所以 PS5 底座完成安裝就會像這樣。附帶一提,這個底座比較像「扣」上去的,底座本身沒有額外重量,所以就算是放在底座上,也要找個安全的空間避免傾倒。
立架放好就會像這個樣子。
PS5 橫放的立架應用,先把支架旋轉到橫放的專用位置,再尋找機身白色外蓋內側的「△◯╳▢」,支架的左右兩側對準符號最外側的「▢」,輕扣住就可以了。
注意!橫放底座沒有額外卡榫,PS5 是靠立架的鉤子「勾」住主機,因此!如果有足夠的外力從立架側推動 PS5,不排除 PS5 會有滑動可能性,對於家中有孩童、毛孩子的消費者,請務必注意擺放位置。
下一步就是 PS5 細部遊玩與測試報告,敬請各種期待。
:quality(60):no_upscale()/https%3A%2F%2Fimg.4gamers.com.tw%2Fpuku-clone-version%2F1102-ps5-125-97ed75fad276597d704efb28e3eddbbeb12678e2.jpg)
:quality(60):no_upscale()/https%3A%2F%2Fimg.4gamers.com.tw%2Fpuku-clone-version%2F1231-3db968f2225535a29a60245af88e4218dcfd5321.jpg)
:quality(60):no_upscale()/https%3A%2F%2Fimg.4gamers.com.tw%2Fpuku-clone-version%2F1232-8b3a5bbd3118c2cb86feeefe253af5067f550a63.jpg)
:quality(60):no_upscale()/https%3A%2F%2Fimg.4gamers.com.tw%2Fpuku-clone-version%2F1102-ps5-126-f6c2d1fc7cafa7dd2151eaaa3d666d39121f7928.jpg)
:quality(60):no_upscale()/https%3A%2F%2Fimg.4gamers.com.tw%2Fpuku-clone-version%2F1102-ps5-14-74fc76fb36412e1209c77b7960051d18addee7fc.jpg)
:quality(60):no_upscale()/https%3A%2F%2Fimg.4gamers.com.tw%2Fpuku-clone-version%2F1102-ps5-15-808c09524bb57d752912e76f4039be766de41f82.jpg)
:quality(60):no_upscale()/https%3A%2F%2Fimg.4gamers.com.tw%2Fpuku-clone-version%2F1102-ps5-13-1a7e7f65f3d3f0f1afd5a8b2199233a2f9d03d61.jpg)
:quality(60):no_upscale()/https%3A%2F%2Fimg.4gamers.com.tw%2Fpuku-clone-version%2F1102-ps5-18-6d3f02f1a96df77b9f94237028a179e122887eef.jpg)
:quality(60):no_upscale()/https%3A%2F%2Fimg.4gamers.com.tw%2Fpuku-clone-version%2F1102-ps5-17-89ec60dd8b71a8bef84917b5135f41e67f967584.jpg)
:quality(60):no_upscale()/https%3A%2F%2Fimg.4gamers.com.tw%2Fpuku-clone-version%2F1102-ps5-16-5c13205fb220dcaac5619b3374a041a21f92ea74.jpg)
:quality(60):no_upscale()/https%3A%2F%2Fimg.4gamers.com.tw%2Fpuku-clone-version%2F1102-ps5-52-44f011ee43fcf0bc2afe96f3019d7a8db635531d.jpg)
:quality(60):no_upscale()/https%3A%2F%2Fimg.4gamers.com.tw%2Fpuku-clone-version%2F1102-ps5-51-91701f8fa047471d566d142771c19c2c6e3809c5.jpg)
:quality(60):no_upscale()/https%3A%2F%2Fimg.4gamers.com.tw%2Fpuku-clone-version%2F1102-ps5-49-643de38ccd9bb70cdbbc6db9b563f2760088c3a4.jpg)
:quality(60):no_upscale()/https%3A%2F%2Fimg.4gamers.com.tw%2Fpuku-clone-version%2F1102-ps5-45-ebc1808b9a30da2418d2a2e47205a19104c30888.jpg)
:quality(60):no_upscale()/https%3A%2F%2Fimg.4gamers.com.tw%2Fpuku-clone-version%2F1102-ps5-44-037c301a4ba396d42ce75dd6c3beee222fbff1b5.jpg)
:quality(60):no_upscale()/https%3A%2F%2Fimg.4gamers.com.tw%2Fpuku-clone-version%2F1102-ps5-48-19ca82e2a35b21dd67ae4ddcab6f40813264b25b.jpg)
:quality(60):no_upscale()/https%3A%2F%2Fimg.4gamers.com.tw%2Fpuku-clone-version%2F1102-ps5-50-ec7865ee6ece4024744205cfe3168a5a1f0c70f1.jpg)
:quality(60):no_upscale()/https%3A%2F%2Fimg.4gamers.com.tw%2Fpuku-clone-version%2F1102-ps5-46-438385f4336e2477aa8027bdc90c3ee8e76de884.jpg)
:quality(60):no_upscale()/https%3A%2F%2Fimg.4gamers.com.tw%2Fpuku-clone-version%2F1102-ps5-32-1eb0b20e2d97a00d19fc4ef5629e72d8818e3842.jpg)
:quality(60):no_upscale()/https%3A%2F%2Fimg.4gamers.com.tw%2Fpuku-clone-version%2F1102-ps5-31-545ab07466b1e52ab69ab8b25ce660fa01337f5d.jpg)
:quality(60):no_upscale()/https%3A%2F%2Fimg.4gamers.com.tw%2Fpuku-clone-version%2F1102-ps5-30-df04d94b91f5ad31f0e6417b69e24128517636a7.jpg)
:quality(60):no_upscale()/https%3A%2F%2Fimg.4gamers.com.tw%2Fpuku-clone-version%2F1102-ps5-28-d80ad26679684bda477ab52b0cfe27b39f58795f.jpg)
:quality(60):no_upscale()/https%3A%2F%2Fimg.4gamers.com.tw%2Fpuku-clone-version%2F1102-ps5-26-97633747e20c786b1f7759e58ae0c74d18521c8f.jpg)
:quality(60):no_upscale()/https%3A%2F%2Fimg.4gamers.com.tw%2Fpuku-clone-version%2F1102-ps5-25-e306f504a327322f8b4f3587239bff22b7b93148.jpg)
:quality(60):no_upscale()/https%3A%2F%2Fimg.4gamers.com.tw%2Fpuku-clone-version%2F1102-ps5-20-1b5bfd5352101f3153d66b3059a09eb9f6f69aee.jpg)
:quality(60):no_upscale()/https%3A%2F%2Fimg.4gamers.com.tw%2Fpuku-clone-version%2F1102-ps5-22-4cbb22a276d3dcbe4a31ac520ddb64983d48c267.jpg)
:quality(60):no_upscale()/https%3A%2F%2Fimg.4gamers.com.tw%2Fpuku-clone-version%2F1102-ps5-23-4d40697dc054d8e6f40fe665883dd7d33c356a46.jpg)
:quality(60):no_upscale()/https%3A%2F%2Fimg.4gamers.com.tw%2Fpuku-clone-version%2F1102-ps5-19-5a3e2bc9b28d0319c3bdd7e80f12469d2d87a483.jpg)
:quality(60):no_upscale()/https%3A%2F%2Fimg.4gamers.com.tw%2Fpuku-clone-version%2F1102-ps5-24-f1f588deafa20f880cb42cbfef0b2ee9f60ce05f.jpg)
:quality(60):no_upscale()/https%3A%2F%2Fimg.4gamers.com.tw%2Fpuku-clone-version%2F1102-ps5-29-7f035ab7724c14a7e05d6c827bd2493a33e7945c.jpg)
:quality(60):no_upscale()/https%3A%2F%2Fimg.4gamers.com.tw%2Fpuku-clone-version%2F1102-ps5-27-f4406261c1414f3c242776a62ec2e2962978e72b.jpg)
:quality(60):no_upscale()/https%3A%2F%2Fimg.4gamers.com.tw%2Fpuku-clone-version%2F1102-ps5-43-c95c30d4174686ffa3b42ec5b207c2a89caf01f0.jpg)
:quality(60):no_upscale()/https%3A%2F%2Fimg.4gamers.com.tw%2Fpuku-clone-version%2F1102-ps5-42-bb7439c12ff3110f28e1ca62699032148ea0a0cc.jpg)
:quality(60):no_upscale()/https%3A%2F%2Fimg.4gamers.com.tw%2Fpuku-clone-version%2F1102-ps5-36-17face8880200088a1a41e3c0e288452aba73e28.jpg)
:quality(60):no_upscale()/https%3A%2F%2Fimg.4gamers.com.tw%2Fpuku-clone-version%2F1102-ps5-37-65f5f4f37352a73a1fe5355dfc1a4c871ecdb748.jpg)
:quality(60):no_upscale()/https%3A%2F%2Fimg.4gamers.com.tw%2Fpuku-clone-version%2F1102-ps5-39-6ac7f238379f0446b306f048d170accffdf36670.jpg)
:quality(60):no_upscale()/https%3A%2F%2Fimg.4gamers.com.tw%2Fpuku-clone-version%2F1102-ps5-38-10c42f93eeec8acc7fd38d1b0c8b8f871ab2ff89.jpg)
:quality(60):no_upscale()/https%3A%2F%2Fimg.4gamers.com.tw%2Fpuku-clone-version%2F1102-ps5-41-e587376e7c0ec9b28b2d1dd0d119aa341a73bf76.jpg)
:quality(60):no_upscale()/https%3A%2F%2Fimg.4gamers.com.tw%2Fpuku-clone-version%2F1102-ps5-40-5f88208a82f7f30e9262d71afbfa0398c36dac20.jpg)
:quality(60):no_upscale()/https%3A%2F%2Fimg.4gamers.com.tw%2Fpuku-clone-version%2F1102-ps5-35-859729065d3e0c204940566d65cbcf02ca8ad303.jpg)
:quality(60):no_upscale()/https%3A%2F%2Fimg.4gamers.com.tw%2Fpuku-clone-version%2F1102-ps5-34-2597e64bac286c7dc97cfb48632c454bb5208b95.jpg)
:quality(60):no_upscale()/https%3A%2F%2Fimg.4gamers.com.tw%2Fpuku-clone-version%2F1102-ps5-33-e6316552235d47896c23a1dea88b4c99e1b78182.jpg)
:quality(60):no_upscale()/https%3A%2F%2Fimg.4gamers.com.tw%2Fpuku-clone-version%2F1102-ps5-7-02bc3d2ccd41b52066d74ed4b030af487514f2c7.jpg)
:quality(60):no_upscale()/https%3A%2F%2Fimg.4gamers.com.tw%2Fpuku-clone-version%2F1102-ps5-6-323241f6e1e1e912c29ea7afa47bd747a889d322.jpg)
:quality(60):no_upscale()/https%3A%2F%2Fimg.4gamers.com.tw%2Fpuku-clone-version%2F1102-ps5-5-655e20b2f795fa23947530e2c498d0e3b1da244f.jpg)
:quality(60):no_upscale()/https%3A%2F%2Fimg.4gamers.com.tw%2Fpuku-clone-version%2F1102-ps5-4-a611d21294f50de4b028501b98dcd6ea25bd52db.jpg)
:quality(60):no_upscale()/https%3A%2F%2Fimg.4gamers.com.tw%2Fpuku-clone-version%2F1102-ps5-12-5c062fe3dbaa25e472c463d682a18a1d996b899f.jpg)
:quality(60):no_upscale()/https%3A%2F%2Fimg.4gamers.com.tw%2Fpuku-clone-version%2F1102-ps5-8-8443bd2944c3648c5b15eea3243190930b7036c7.jpg)
:quality(60):no_upscale()/https%3A%2F%2Fimg.4gamers.com.tw%2Fpuku-clone-version%2F1102-ps5-9-9278aef351a900ca96f8e91050b25150064f2370.jpg)
:quality(60):no_upscale()/https%3A%2F%2Fimg.4gamers.com.tw%2Fpuku-clone-version%2F1102-ps5-1-bc7553e8d3f26bca8aeb02dcd7b0803e14b44f86.jpg)
:quality(60):no_upscale()/https%3A%2F%2Fimg.4gamers.com.tw%2Fpuku-clone-version%2F1102-ps5-2-2b85e23de836de77ea2c6ed8e174823ab24935d3.jpg)